User Manuals: Digi IX10 Cellular Router
Manuals and User Guides for Digi IX10 Cellular Router. We have 6 Digi IX10 Cellular Router manuals available for free PDF download: User Manual, Quick Start Manual, Quick Start, Install

Digi IX10 User Manual (996 pages)
Brand: Digi
|
Category: Network Router
|
Size: 15 MB
Table of Contents
-
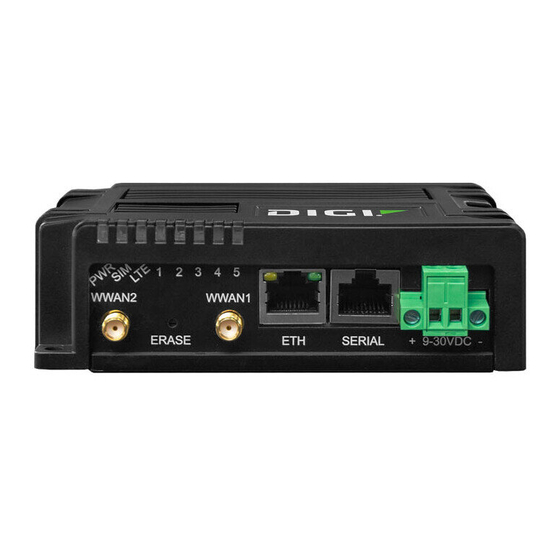
IX10 Leds27
-
Power (PWR)28
-
Sim28
-
Lte28
-
SIM Removal36
-
Local Webui41
-
Learn more69
-
Interfaces70
-
Disable Surelink101
-
Delete a WWAN140
-
Configure a LAN144
-
Delete a LAN155
-
DHCP Servers157
-
Serial Port185
-
Routing246
-
IP Routing247
-
Routing Services273
-
Dynamic DNS277
-
Vrrp283
-
Configure VRRP283
-
Configure VRRP287
-
Ipsec309
-
Ipsec Mode309
-
Ipsec Modes309
-
Authentication310
-
Openvpn375
-
Show GRE Tunnels424
-
L2Tp448
-
L2TP with Ipsec457
-
L2Tpv3 Ethernet459
-
Nemo465
-
Show NEMO Status471
-
Configure DNS504
-
Show DNS Server510
-
SNMP Security512
-
Download Mibs517
-
Modbus Gateway550
-
System Time568
-
Python Modules613
-
Local Users692
-
Ldap718
-
Packet Filtering757
-
Web Filtering777
-
Downgrading811
-
Intelliflow853
-
File System872
-
View System Logs887
-
View Event Logs889
Advertisement
Digi IX10 User Manual (874 pages)
Brand: Digi
|
Category: Network Router
|
Size: 13 MB
Table of Contents
-
IX10 Leds27
-
Power (PWR)28
-
Sim28
-
Lte28
-
SIM Removal35
-
Local Webui40
-
Learn more68
-
Interfaces69
-
Delete a WWAN121
-
Configure a LAN125
-
Delete a LAN137
-
DHCP Servers139
-
Serial Port162
-
Routing204
-
IP Routing205
-
Routing Services219
-
Dynamic DNS223
-
Vrrp229
-
Configure VRRP229
-
Configure VRRP233
-
Ipsec255
-
Ipsec Mode255
-
Ipsec Modes255
-
Authentication256
-
Openvpn311
-
Show GRE Tunnels350
-
L2Tp366
-
L2TP with Ipsec383
-
L2Tpv3 Ethernet385
-
Nemo391
-
Show NEMO Status397
-
Configure DNS430
-
Show DNS Server436
-
SNMP Security438
-
Download Mibs443
-
Modbus Gateway476
-
System Time494
-
Python Modules529
-
Local Users600
-
Ldap626
-
Packet Filtering665
-
Downgrading703
-
Intelliflow741
-
File System754
-
View System Logs766
-
View Event Logs768
Digi IX10 User Manual (624 pages)
Brand: Digi
|
Category: Network Router
|
Size: 10 MB
Table of Contents
-
-
IX10 Leds21
-
-
Interfaces
40 -
Serial Port
109 -
Routing
122-
IP Routing123
-
Dynamic DNS139
-
-
-
Services
257-
Configure DNS281
-
Modbus Gateway292
-
System Time309
-
Applications
331 -
-
Local Users385
-
Ldap411
-
Firewall
430-
Packet Filtering441
-
Advertisement

Digi IX10 Quick Start Manual (4 pages)
Brand: Digi
|
Category: Network Hardware
|
Size: 0 MB

Digi IX10 Quick Start (4 pages)
Brand: Digi
|
Category: Network Router
|
Size: 0 MB

Digi IX10 Install (2 pages)
Brand: Digi
|
Category: Network Router
|
Size: 0 MB
Advertisement