Table of Contents
Advertisement
Quick Links
SERIAL NUMBERS
This manual applies directly to any swept CW generator with the
model and serial number prefix combination shown below. You
may have to modify this manual so that it applies directly to your
instrument version. Refer to the "Instrument History" chapter.
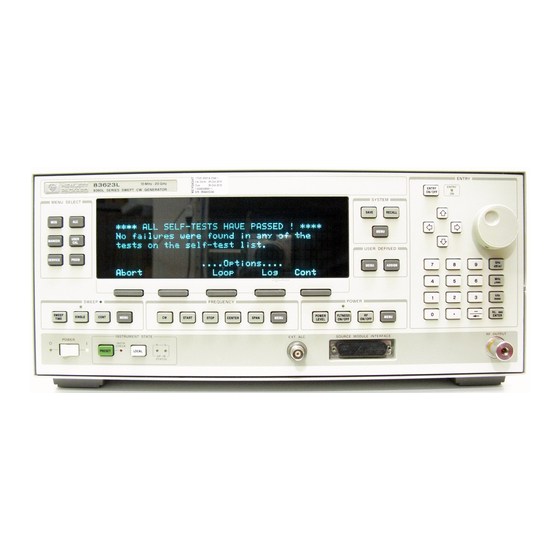
HP 83623L/3OL/4OL/5OL
3844A and below
HEWLETT
PACKARD
HP Part No. 08380-90134
Printed in USA
February 1999 Supersedes: September 1997
Advertisement
Chapters
Table of Contents


Need help?
Do you have a question about the HP 8360 L Series and is the answer not in the manual?
Questions and answers