
Related Manuals for HP ESG-D Series


Summary of Contents for HP ESG-D Series
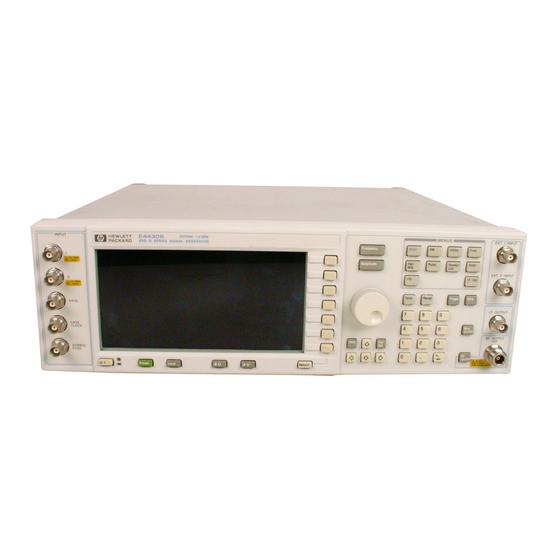
- Page 1 Installation Note HP ESG-D Series Signal Generators HP E4430B, HP E4431B, HP E4432B, and HP E4433B Upgrade Standard ESG-D “B” Add Option UN9 (UN8 + UN9) HP Kit Part Number E4400-60185 HP Part Number E4400-90252 Printed in USA August 1999...
- Page 2 Notice. The information contained in this document is subject to change without notice. Hewlett-Packard makes no warranty of any kind with regard to this material, including but not limited to, the implied warranties of merchantability and fitness for a particular purpose. Hewlett-Packard shall not be liable for errors contained herein or for incidental or consequential damages in connection with the furnishing, performance, or use of this material.
- Page 3 ESG-D Series Signal Generators Models Affected: ......HP E4430B, HP E4431B, HP E4432B, and HP E4433B Serial Numbers: .
-
Page 4: Tools Required
Upgrade Kit E4400-60185 The tools and kit contents required to install the Option UN9 upgrade. Tools Required T-10 TORX screwdriver T-15 TORX screwdriver Ratchet, 21 in-lbs Socket, 9/16 Socket, 9/32 Socket, 3/8 Socket, 3/16 Socket, 5/8 Socket, 5.5 mm Hand torque driver, 9 in-lbs, socket 9/32 Hand torque driver, 6 in-lbs, socket 3/16 Long-nose pliers Scissors... - Page 5 Upgrade Kit E4400-60185 Contents Item Quantity Description Part Number This installation note E4400-90252 Rear panel (Option UN8) E4400-00031 Rear- panel board assembly (A17) E4400-60145 Real-time I/Q baseband generator E4400-60070 board assembly (A7) 8 M generator board assembly (A8) E4400-60195 Firmware upgrade kit, digital E4400-60172 Front-panel overlay (Option UN8) E4400-80006...
-
Page 6: Functionality Check
WARNING Before you disassemble the instrument, turn the power switch off and unplug the instrument. Failure to unplug the instrument can result in personal injury. CAUTION Electrostatic discharge (ESD) can damage or destroy electronic components. All work on electronic assemblies should be performed at a static-safe workstation. Functionality Check This procedure verifies that the signal generator powers up and that the internal instrument check does not identify any errors. - Page 7 Install the Option UN9 (UN8 + UN9) Hardware The following procedures describe how to install the hardware for the Option UND upgrade. Remove the instrument covers 1. Turn the power switch off and unplug the signal generator. 2. Remove the two strap handles (item 1 in Figure 1) from each side of the signal generator by loosening the two screws (item 2 in Figure 1) on each handle.
- Page 8 Remove the standard instrument rear panel 1. Disconnect A16W1 from the power supply (A4). A16W1 can be accessed through an opening on the bottom of the power supply shield (item 1 in Figure 2). 2. Disconnect the COHERENT CARRIER cable, W12, from the rear panel. Figure 2 A16W1 Location Installation Note E4400-90252...
- Page 9 5. Remove the hex screws and washers that secure the AUXILIARY INTERFACE (item 2 in Figure 3) and the HP-IB connector (item 3 in Figure 3) to the rear panel. 6. Remove the 10 screws (item 4 in Figure 3) that secure the rear panel to the instrument chassis.
- Page 10 3. Replace the hex screws on the AUXILIARY INTERFACE. Torque to 6 in-lbs. 4. Replace the hex screws and washers on the HP-IB connector. Torque to 9 in-lbs. 5. Replace the nuts and washers securing the BNC connectors at the base of the rear panel. Torque to 21 in-lbs.
- Page 11 Modify the front panel Refer to Figure 4 for the following steps. 1. Remove the nut and washer that secures the front panel I INPUT connector to W1. 2. Remove the nut and washer that secures the front panel Q INPUT connector to W2. 3.
- Page 12 4. Install Option UN9 (UN8 + UN9) overlay and align it with the connector holes. Press firmly on the overlay, from the center outward, to eliminate air bubbles. 5. Reinstall W1 in the I INPUT hole (now located at the top). Attach it to the BNC with a hex nut and spring washer.
- Page 13 Figure 5 Option UN9 (UN8 + UN9) Top View Installation Note E4400-90252...
-
Page 14: Baseband Genref In
Install the new Internal I and Q cables 1. Remove W25 cable from between the motherboard (A14P103) and the daughterboard INT Q. Refer to the cable diagram located on the top chassis for location of INT Q. Discard the old cable. A14P103 and A14P102 are located under W18 on the A14 motherboard. - Page 15 Figure 6 Cables W25 and W26 Installation Note E4400-90252...
- Page 16 Install the Firmware New firmware is required to operate the Option UN( (UN8 + UN9) real-time I/Q baseband generator. Install the firmware performing all the instructions included in the firmware upgrade kit (HP part number E4400-60172) Verify the Firmware Verify the firmware by performing the operate the Option UN( (UN8 + UN9) real-time I/Q baseband generator.
Need help?
Do you have a question about the ESG-D Series and is the answer not in the manual?
Questions and answers