Do you have a question about the 3850T and is the answer not in the manual?
Questions and answers
Oberhauser
February 17, 2025
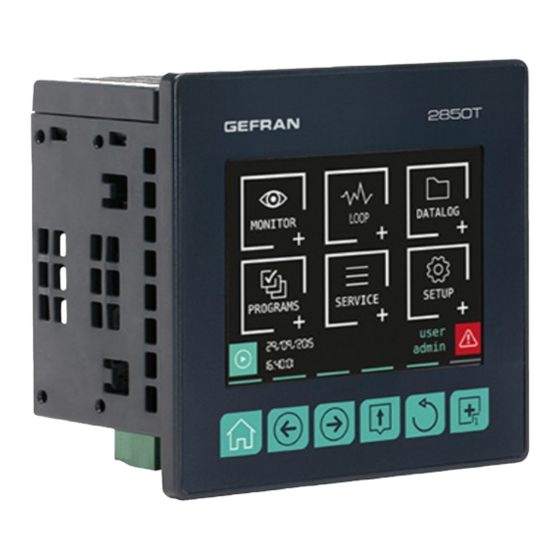
hello the gefran screen displays startup. What should I do to have a normal display of data?
1 comments:
Mr. Anderson
February 17, 2025
To resolve the startup display issue on the Gefran 3850T screen and ensure it shows normal data, follow these steps:
1. Check Connectivity: Ensure the device is properly connected via Modbus TCP (Ethernet) or USB and that communication with the controller is established. 2. Verify Configuration: Use the GF_express programming tool to check the controller configuration and ensure the correct production recipes and parameters are loaded. 3. Inspect Alarm Status: Check for active or historical alarms stored in the controller that may be affecting the display. Acknowledge any active alarms if required. 4. Sync Application Files: If changes were made to the project, ensure all necessary files are written to the target device using the “Write files to target” option. 5. Check Display Settings: Ensure the display is not directly exposed to intense light or sunlight, which may affect visibility. 6. Confirm Installation: Ensure the device is properly mounted with the supplied brackets and rubber gasket to maintain proper operation. 7. Restart the Device: Power cycle the device by turning it off and on to check if the startup issue is resolved.
If the issue persists, reloading the application files or reconfiguring the device may be necessary.


Need help?
Do you have a question about the 3850T and is the answer not in the manual?
Questions and answers
hello the gefran screen displays startup. What should I do to have a normal display of data?
To resolve the startup display issue on the Gefran 3850T screen and ensure it shows normal data, follow these steps:
1. Check Connectivity: Ensure the device is properly connected via Modbus TCP (Ethernet) or USB and that communication with the controller is established.
2. Verify Configuration: Use the GF_express programming tool to check the controller configuration and ensure the correct production recipes and parameters are loaded.
3. Inspect Alarm Status: Check for active or historical alarms stored in the controller that may be affecting the display. Acknowledge any active alarms if required.
4. Sync Application Files: If changes were made to the project, ensure all necessary files are written to the target device using the “Write files to target” option.
5. Check Display Settings: Ensure the display is not directly exposed to intense light or sunlight, which may affect visibility.
6. Confirm Installation: Ensure the device is properly mounted with the supplied brackets and rubber gasket to maintain proper operation.
7. Restart the Device: Power cycle the device by turning it off and on to check if the startup issue is resolved.
If the issue persists, reloading the application files or reconfiguring the device may be necessary.
This answer is automatically generated