Table of Contents
Advertisement
Quick Links
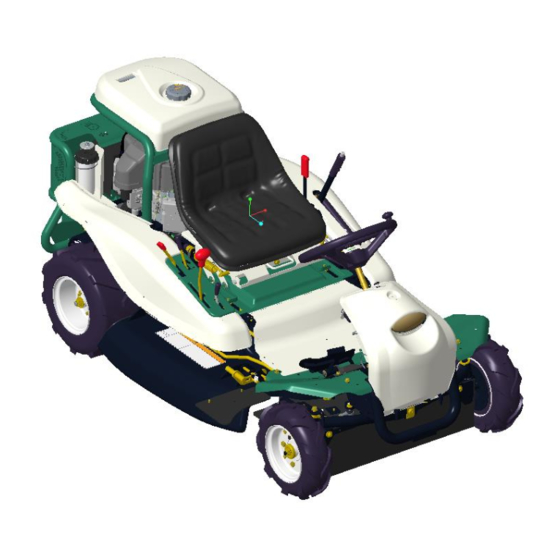
Ride on Mower
RM953・953X
RM883・883X
●Please read carefully and fully understand the important dangerous parts
that appear in the text of the instruction manual before using the product.
●When purchasing this product, please receive an explanation from the
retailer about how to use it for safety.
●Please keep the instruction manual in a safe place so that you can read it
at any time.
●To maintain safety, perform annual inspections according to the regular
inspection table on this paper.
●Be sure to use the manufacturer's genuine product for maintenance of this
product.
Rabbit Mower
改訂 00
0343-70500
Advertisement
Table of Contents


Need help?
Do you have a question about the RM953 and is the answer not in the manual?
Questions and answers