Sony STR-AN1000 Help Manual
Multi channel av receiver/multi channel av amplifier
Hide thumbs
Also See for STR-AN1000:
- Startup manual (434 pages) ,
- Operating instructions manual (209 pages)
Table of Contents
Advertisement
Help Guide
Multi Channel AV Receiver/Multi Channel AV Amplifier
STR-AN1000/TA-AN1000
Use this Help Guide when you have any questions on how to use the receiver/amplifier.
This Help Guide mainly describes the procedures for using the remote control. You can also use the controls on the
receiver/amplifier if they have the same or similar names as those on the remote control.
The US, Canadian, and Asia-Pacific models are used for illustrative purposes in this Help Guide unless otherwise noted.
Parts and Controls
Receiver/Amplifier
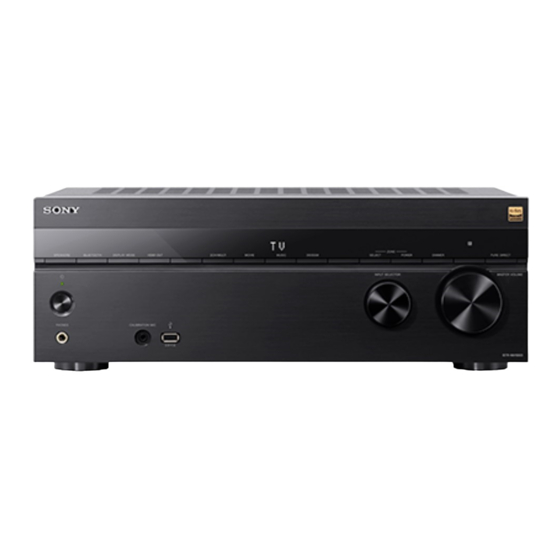
Front panel
Indicators on the display panel
Rear panel
Remote control
Remote control
Remote control buttons that can be operated for each zone
Preparation
About input/output of video signals
Supported audio/video formats
Playable types of audio files
Digital audio formats supported by the unit
Video formats supported by the unit
Notes on connections
Notes on connecting cables
About HDMI connections
1. Installing speakers
1
Advertisement
Table of Contents


Need help?
Do you have a question about the STR-AN1000 and is the answer not in the manual?
Questions and answers