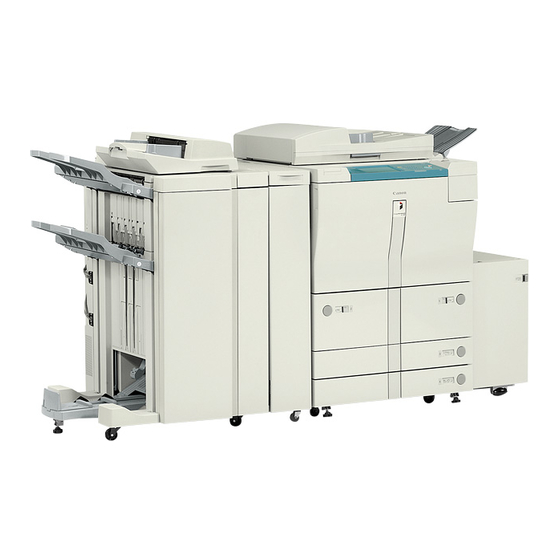
Canon iR8500 Service Manual
Hide thumbs
Also See for iR8500:
- Service manual (1122 pages) ,
- Servise manual (655 pages) ,
- Function manual (167 pages)


Need help?
Do you have a question about the iR8500 and is the answer not in the manual?
Questions and answers
Paper jam showing but no paper problem
If a Canon iR8500 shows a paper jam error without any visible paper obstruction, follow these troubleshooting steps:
1. Check the jam location using service mode: COPIER > DISPLAY > JAM. This helps identify the specific area where the jam is detected.
2. Inspect the following assemblies for issues:
- [1] Pickup assembly
- [2] Separation/feeding assembly
- [3] Fixing delivery assembly
- [4] Drum cleaner assembly
- [5] Holding tray assembly
- [6] Feeding assembly
3. For the Pickup Assembly:
- Check if the paper is curled or wavy.
- If YES: Replace the paper.
4. If the issue involves the side deck:
- Measure the voltage at GND (–) on the side deck driver PCB:
- 0 V when the deck is open
- 5 V when the deck is closed
- If the voltage readings are correct: Check the lever and wiring. If they are normal, replace the sensor.
- If the voltage readings are incorrect: Replace the side deck drive PCB.
5. If a Clean message appears without dust on the glass, check:
- ADF feeding belt condition (should not be too solid).
- Whether ‘CCD-ADJ’ or ‘LUT-ADJ’ has been properly executed.
- If not: Clean the belt and re-execute these adjustments.
These steps help identify sensor or mechanical issues that may falsely trigger a jam error.
This answer is automatically generated