Sign In
Upload
Download
Add to my manuals
Delete from my manuals
Share
URL of this page:
HTML Link:
Bookmark this page
Add
Manual will be automatically added to "My Manuals"
Print this page
×
Bookmark added
×
Added to my manuals
Manuals
Brands
Honda Manuals
Motorcycle
CRF450RL 2021
Owner's manual & off-road handbook
Honda CRF450RL 2021 Owner's Manual & Off-Road Handbook
Hide thumbs
1
2
3
4
5
6
7
8
9
10
11
12
13
14
15
16
17
18
19
20
21
22
23
24
25
26
27
28
29
30
31
32
33
34
35
36
37
38
39
40
41
42
43
44
45
46
47
48
49
50
51
52
53
54
55
56
57
58
59
60
61
62
63
64
65
66
67
68
69
70
71
72
73
74
75
76
77
78
79
80
81
82
83
84
85
86
87
88
89
90
91
92
93
94
95
96
97
98
99
100
101
102
103
104
105
106
107
108
109
110
111
112
113
114
115
116
117
118
119
120
121
122
page
of
122
Go
/
122
Bookmarks
Advertisement
Quick Links
Download this manual
2021
OFF-ROAD HANDBOOK
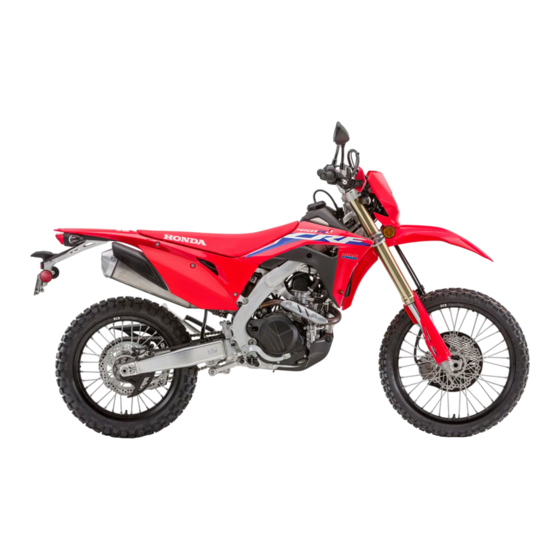
CRF450RL
Previous
Page
Next
Page
1
2
3
4
5
Advertisement
Need help?
Do you have a question about the CRF450RL 2021 and is the answer not in the manual?
Ask a question
Questions and answers
Related Manuals for Honda CRF450RL 2021
Motorcycle Honda CRF450RL 2024 Owner's Manual
(122 pages)
Motorcycle Honda CRF450R Owner's Manual
(108 pages)
Motorcycle Honda CRF450R Owner's Manual
Owner’s manual & competition handbook (172 pages)
Motorcycle Honda CRF450R Owner's Manual
(177 pages)
Motorcycle Honda CRF450R 2006 Owner's Manual
(172 pages)
Motorcycle Honda CRF450X 2005 Service Manual
Motorcycle (465 pages)
Motorcycle Honda CRF450R 2009 Service Manual
(556 pages)
Motorcycle Honda CRF450R 2011 Owner's Manual
(1058 pages)
Motorcycle Honda 2005 CRF450R Owner's Manual
2007 honda crf450r (169 pages)
Motorcycle Honda CRF450RX 2020 Owner's Manual & Competition Handbook
(199 pages)
Motorcycle Honda CRF450R 2017 Owner's Manual & Competition Handbook
(172 pages)
Motorcycle Honda CRF450RX Manual
(79 pages)
Motorcycle Honda CRF450R 2022 Owner's Manual
(82 pages)
Motorcycle Honda CRF450R 2023 Owner's Manual
(82 pages)
Motorcycle Honda CRF450RWE 2023 Owner's Manual
(82 pages)
Motorcycle Honda CRF450RX 2019 Owner's Manual & Competition Handbook
(201 pages)
This manual is also suitable for:
Crf450l
Print
Rename the bookmark
Delete bookmark?
Delete from my manuals?
Login
Sign In
OR
Sign in with Facebook
Sign in with Google
Upload manual
Upload from disk
Upload from URL


Need help?
Do you have a question about the CRF450RL 2021 and is the answer not in the manual?
Questions and answers