Table of Contents
Advertisement
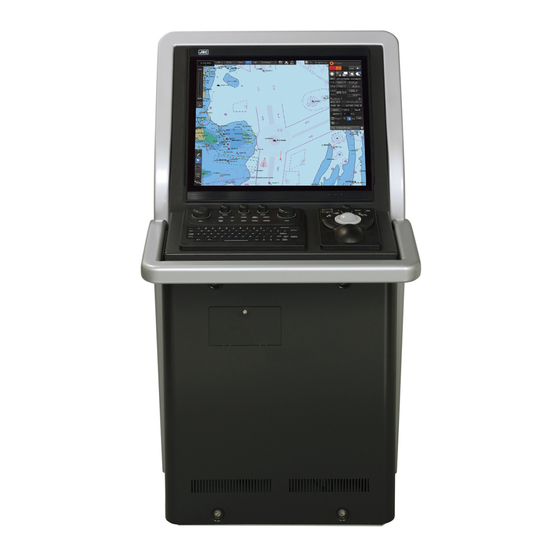
JMR - 9230
9230 - S3/S
JMR
JMR - 9225
9225 - 7X3/9X3/6X/9X/6XH
JMR
JMR - 9210
9210 - 6X/6XH
JMR
JMR - 9272
9272 - S
JMR
JMR - 9282
9282 - S/SH
JMR
JMR - 7230
7230 - S3/S
JMR
JMR - 7225
7225 - 7X3/9X3/6X/9X/6XH
JMR
JMR - 7210
7210 - 6X/6XH
JMR
JMR - 7272
7272 - S
JMR
JMR - 7282
7282 - S/SH
JMR
JAN - 9201
JAN
9201
JAN - 7201
JAN
7201
JAN - 9202
JAN
9202
JAN - 7202
JAN
7202
MARINE RADAR EQUIPMENT
MARINE RADAR EQUIPMENT
FIELD SERVICE MANUAL
FIELD SERVICE MANUAL
S3/S
7X3/9X3/6X/9X/6XH
6X/6XH
S/SH
S3/S
7X3/9X3/6X/9X/6XH
6X/6XH
S/SH
CONNING DISPLAY
CONNING DISPLAY
ECDIS
ECDIS
Advertisement
Table of Contents


Need help?
Do you have a question about the JMR-92 Series and is the answer not in the manual?
Questions and answers