Siemens SIMATIC NET S7-300 Manual
Cps for industrial ethernet
Hide thumbs
Also See for SIMATIC NET S7-300:
- Operating instructions manual (50 pages) ,
- Equipment manual (37 pages) ,
- Manual (76 pages)
Table of Contents
Advertisement
Quick Links
SIMATIC NET
S7-CPs for Industrial Ethernet
Configuring and Commissioning
Manual
Part A - General Application
Release 01/2007
C79000 - G8976 - C182 - 07
Preface, Contents
Communication in S7 Stations
Characteristics of the Ethernet
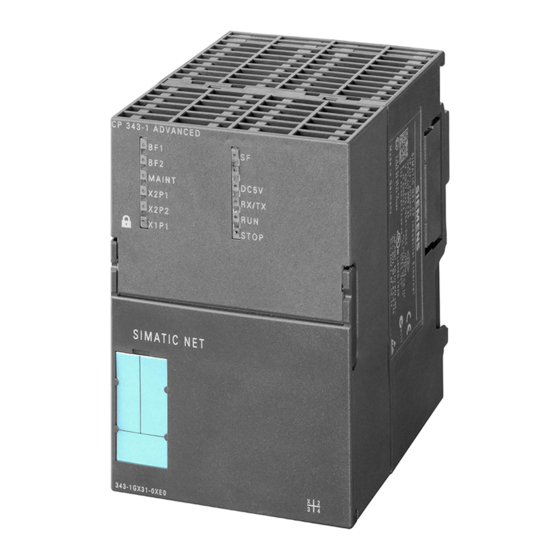
CPs
Commissioning an Ethernet CP
SEND/RECEIVE
interface
Configuring Connections
Programmed Connections
FCs (Functions) and FBs
NCM S7 Diagnostics
Firmware Loader
Appendix A - E / Index
1
2
3
4
5
6
7
8
9
Advertisement
Table of Contents


Need help?
Do you have a question about the SIMATIC NET S7-300 and is the answer not in the manual?
Questions and answers