Do you have a question about the iR2422 series and is the answer not in the manual?
Questions and answers
Nadhiru
May 17, 2025
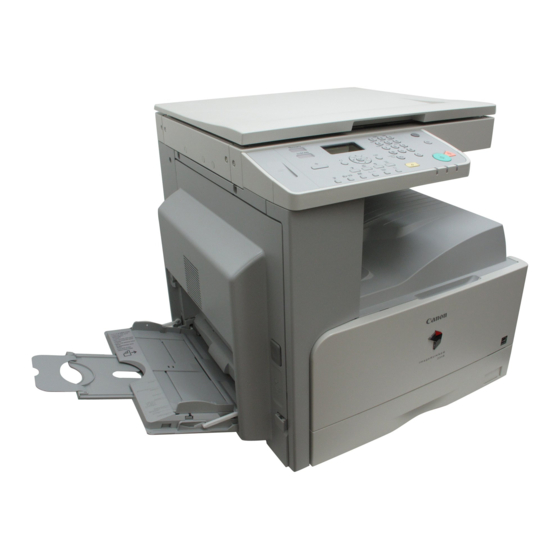
Why my machine produce faint copies
1 comments:
Mr. Anderson
May 22, 2025
The Canon iR2422 series may produce faint copies due to condensation forming inside the machine when it is rapidly heated in a cold environment. This can degrade image quality. Additionally, if the sharpness setting is too low, faint or fine text may not be clearly reproduced.


Need help?
Do you have a question about the iR2422 series and is the answer not in the manual?
Questions and answers
Why my machine produce faint copies
The Canon iR2422 series may produce faint copies due to condensation forming inside the machine when it is rapidly heated in a cold environment. This can degrade image quality. Additionally, if the sharpness setting is too low, faint or fine text may not be clearly reproduced.
This answer is automatically generated