Sign In
Upload
Download
Table of Contents
Contents
Add to my manuals
Delete from my manuals
Share
URL of this page:
HTML Link:
Bookmark this page
Add
Manual will be automatically added to "My Manuals"
Print this page
×
Bookmark added
×
Added to my manuals
Manuals
Brands
GLP Manuals
Lighting Equipment
Creative Light 1
User manual
GLP Creative Light 1 User Manual
Hide thumbs
Also See for Creative Light 1
:
Introduction & product information, technical data
(2 pages)
1
2
Table Of Contents
3
4
5
6
7
8
9
10
11
12
13
14
15
16
17
18
19
20
21
22
23
24
25
26
27
28
29
30
31
32
33
34
35
36
37
38
39
40
41
42
43
44
45
46
47
48
49
50
51
52
53
54
page
of
54
Go
/
54
Contents
Table of Contents
Bookmarks
Table of Contents
Table of Contents
1 Safety
General Safety Information
Electrical Safety
Installation Safety and Protection from Personal Injury
Battery Safety
2 Features
3 Product Overview
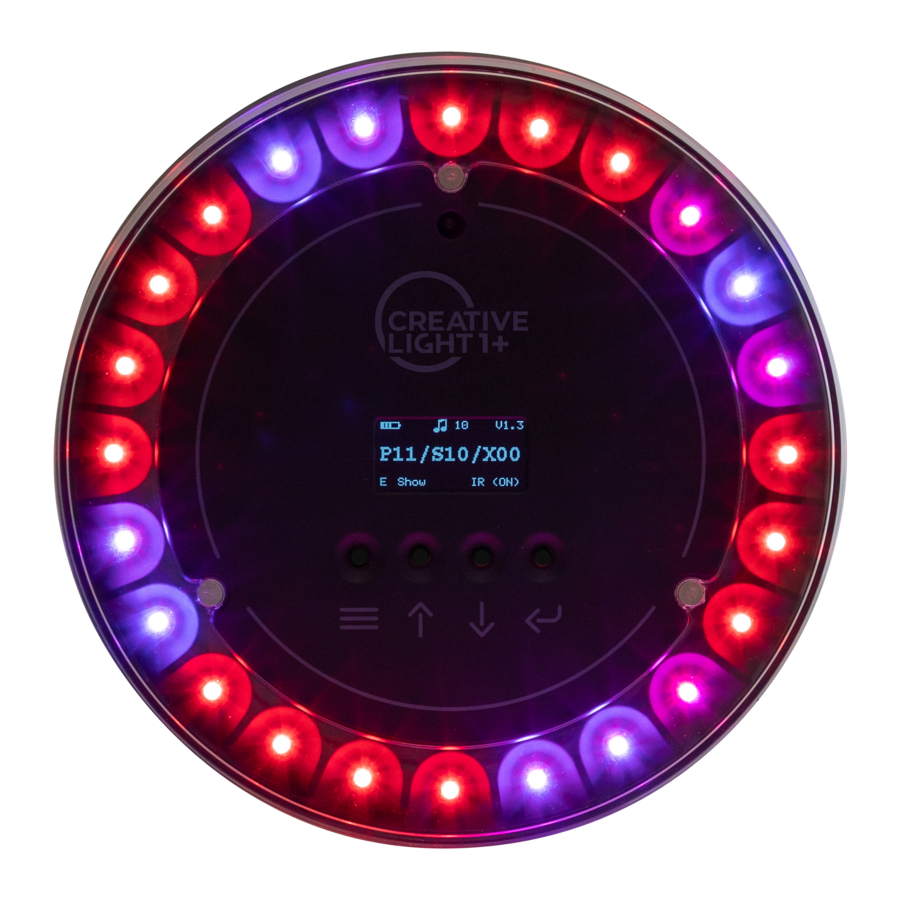
4 Control Panel and Display
Control Panel Display
Control Panel Functions
Accessing the Control Menus
5 Preparing for Use
Charging
Transport Lock
Powering on and off
6 Configuring the CL1
Default Control Settings
Control Options
Fixture Settings
Manual Control Menu
Fixture and Iq.mesh Information
Service
Loading Factory Backup
Linking to a CRMX Transmitter (CL1+ Only)
DMX Settings (CL1+ Only)
Setting up Iq.mesh Control
7 Manual Control
8 Infrared Remote Control
Pattern Color
Pattern Effects
Effect Speed
Global Intensity / Blackout
Automatic Colors
Color Changing Type
Light Output On/Off
9 Creative Light App Control
Setting up the Iq.mesh Network
Using the Creative Light App
10 DMX Control (CL1+ Only)
Global Intensity
Global Shutter / Pattern Shutter
Virtual Color Wheel
RGB / Pattern RGB
Control / Settings
Pattern Control (Available in Pattern DMX Mode)
11 Mounting and Installing
Temporary Installation
Fixed Installation
Adding Optical Accessories
Securing with a Safety Cable
Mounting on a UFO1 (Universal Fixing Object 1)
Using an External Power Source
12 Cleaning and Product Care
Suggested Cleaning Intervals
Checking Firmware Version
Uploading New Firmware
Battery Care
Caring for the Environment
GLP Service and Support
13 Control Menus
14 DMX Control Modes Overview (CL1+ Only)
15 DMX Channel Index (CL1+ Only)
DMX Mode 1: Basic
DMX Mode 2: Pattern (Default Mode)
DMX Mode 3: Multipix
16 Technical Data
17 Dimensions
Advertisement
Quick Links
Download this manual
Creative Light 1 (CL1)
Creative Light 1 Plus (CL1+)
Revision 20210303-01
Table of
Contents
Previous
Page
Next
Page
1
2
3
4
5
Advertisement
Table of Contents
Need help?
Do you have a question about the Creative Light 1 and is the answer not in the manual?
Ask a question
Questions and answers
Related Manuals for GLP Creative Light 1
Light Fixture GLP Creative Light 1 Introduction & Product Information, Technical Data
(2 pages)
Light Fixture GLP Creative Light 1 Plus Introduction & Product Information, Technical Data
(2 pages)
Lighting Equipment GLP Patend Light 1200 Series Instruction Manual
(22 pages)
Lighting Equipment GLP Patend Light 1200 HMI Instruction Manual
(24 pages)
Lighting Equipment GLP Light Operator 48 User Manual
(32 pages)
Lighting Equipment GLP Wild Bar 16 User Manual
(23 pages)
Lighting Equipment GLP impression X4 Instruction Manual
(27 pages)
Lighting Equipment GLP impression spot one Instruction Manual
(31 pages)
Lighting Equipment GLP impression X5 Quick Start And Safety Manual
(28 pages)
Lighting Equipment GLP impression X4 Bar 20 Instruction Manual
(19 pages)
Lighting Equipment GLP VOLKS LICHT SPOT Instruction Manual
(26 pages)
Lighting Equipment GLP Volks Licht R-G-B Instruction Manual
(17 pages)
Lighting Equipment GLP SCAN OPERATOR FX User Manual
(55 pages)
Lighting Equipment GLP impression X5 IP Bar 1000 User Manual
(84 pages)
Lighting Equipment GLP iQ.Tool Quick Start Manual
(2 pages)
Lighting Equipment GLP SCAN OPERATOR FX II User Manual
(57 pages)
This manual is also suitable for:
Creative light 1 plus
Cl1
Table of Contents
Print
Rename the bookmark
Delete bookmark?
Delete from my manuals?
Login
Sign In
OR
Sign in with Facebook
Sign in with Google
Upload manual
Upload from disk
Upload from URL


Need help?
Do you have a question about the Creative Light 1 and is the answer not in the manual?
Questions and answers