Sign In
Upload
Download
Table of Contents
Contents
Add to my manuals
Delete from my manuals
Share
URL of this page:
HTML Link:
Bookmark this page
Add
Manual will be automatically added to "My Manuals"
Print this page
×
Bookmark added
×
Added to my manuals
Manuals
Brands
Aquatronica Manuals
Pet Care Product
evolution ACQ110
Instruction manual
Aquatronica evolution ACQ110 Instruction Manual
Aquarium controller
Hide thumbs
Also See for evolution ACQ110
:
Quick start manual
(12 pages)
1
2
Table Of Contents
3
4
5
6
7
8
9
10
11
12
13
14
15
16
17
18
19
20
21
22
23
24
25
26
27
28
29
30
31
32
33
34
35
36
37
38
39
40
41
42
43
44
45
46
47
48
49
50
51
52
53
54
55
56
57
58
59
60
page
of
60
Go
/
60
Contents
Table of Contents
Bookmarks
Table of Contents
Table of Contents
Index
Information on Safety
General Description
Package Contents
Battery Connection
Controller Connections
Possible Bracket Assemblies
Connection Diagrams
Power Failure
Keypad Functions
Map of Characters
Getting Started
Main Screen
Icons Glossary
Panorama of the Menus
Program Priority
Main Menu
Settings Menu
Settings
Language
Time/Date
Graphic Period
Password
Display
Brightness
Contrast
Screen Mode
Scrolling Time
Power Unit Menu
Power Unit
Change Name
Manual Commands
Insert
Program Timer
Delete All
View/Mod/Del
Insert
Wave Effect
Delete All
Insert
Tide Effect
View/Mod/Del
Blackout
Unlock All
Summer Function
Function Key Menu
Time Function
Switch Function
Push-Button
Sequences Menu
XY Program Menu
Insert
Program Link Settings
Program Functions And Accessories Settings
Resetting A Program
Agenda Menu
Agenda
Delete All
Insert
Sound
View/Mod/Del
Temperature Menu
Temperature
Change Name
Programs
Insert
Data Record
Delete All
View/Mod/Del
Alarm
Calibrate Sensor
About
Measurement Unit
Disconnect
Level Menu
Level
Change Name
Programs
Delete All
Insert
View/Mod/Del
Alarm
Disconnect
Measurement Unit
Certificate of Warranty
Declaration of Conformity
Technical Data
Advertisement
Quick Links
1
Table of Contents
2
Controller Connections
Download this manual
Instruction Manual
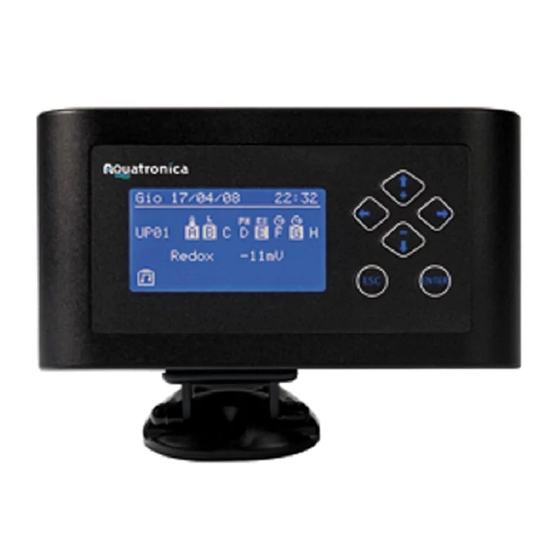
AQUARIUM CONTROLLER
EVOLUTION
ACQ110/115
Table of
Contents
Previous
Page
Next
Page
1
2
3
4
5
Advertisement
Table of Contents
Need help?
Do you have a question about the evolution ACQ110 and is the answer not in the manual?
Ask a question
Questions and answers
Related Manuals for Aquatronica evolution ACQ110
Portable Generator Aquatronica ACQ012 Quick Start Manual
(12 pages)
Pet Care Product Aquatronica evolution ACQ115 Instruction Manual
Aquarium controller (60 pages)
Pet Care Product Aquatronica ACQ450 Instruction Manual
Aquarium 3 dosing pump (14 pages)
Pet Care Product Aquatronica ACQ210-TL Instruction Manual
Temperature & level interface (8 pages)
This manual is also suitable for:
Evolution acq115
Table of Contents
Print
Rename the bookmark
Delete bookmark?
Delete from my manuals?
Login
Sign In
OR
Sign in with Facebook
Sign in with Google
Upload manual
Upload from disk
Upload from URL


Need help?
Do you have a question about the evolution ACQ110 and is the answer not in the manual?
Questions and answers