Panasonic BL-C210 Series Operating Instructions Manual
Indoor use only, wireless/wired type
Hide thumbs
Also See for BL-C210 Series:
- Specifications (2 pages) ,
- Setup manual (2 pages) ,
- Comparison chart (6 pages)
Table of Contents
Advertisement
Please read this document before using the product, and save this document for future reference.
Panasonic Network Camera Website: http://panasonic.net/pcc/ipcam/
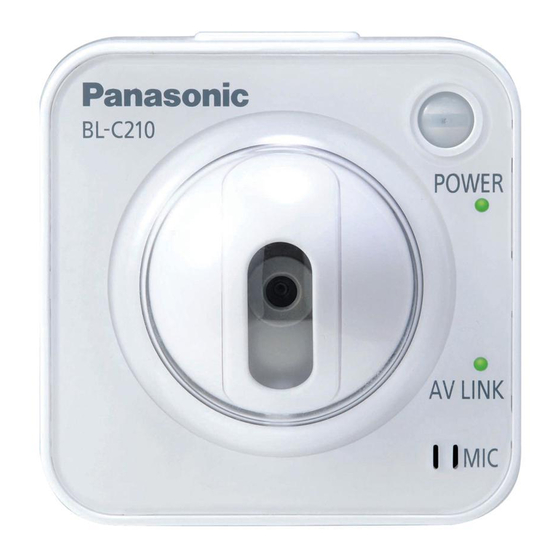
Operating Instructions
Network Camera
BL-C210
Model No.
BL-C230
BL-C210A
BL-C230A
(Wired Type)
(Wireless/Wired Type)
BL-C210CE
BL-C210E
BL-C230CE
BL-C230E
Indoor Use Only
Advertisement
Table of Contents


Need help?
Do you have a question about the BL-C210 Series and is the answer not in the manual?
Questions and answers