Sign In
Upload
Download
Table of Contents
Contents
Add to my manuals
Delete from my manuals
Share
URL of this page:
HTML Link:
Bookmark this page
Add
Manual will be automatically added to "My Manuals"
Print this page
×
Bookmark added
×
Added to my manuals
Manuals
Brands
Epever Manuals
Inverter
IPT Series
User manual
Epever IPT Series User Manual
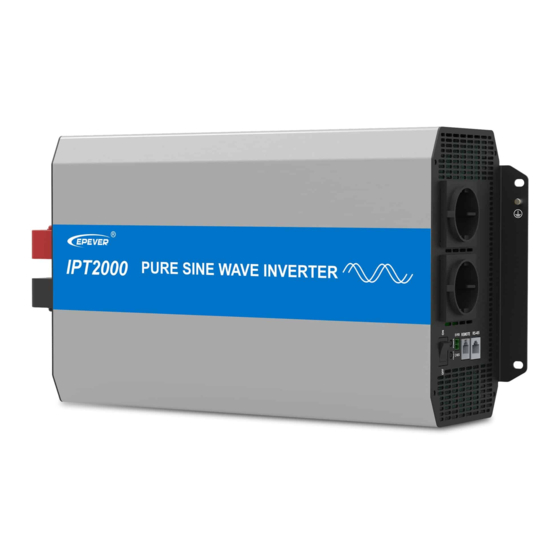
Pure sine wave inverter
Hide thumbs
Also See for IPT Series
:
User manual
(44 pages)
1
2
Table Of Contents
3
4
5
6
7
8
9
10
11
12
13
14
15
16
17
18
19
20
21
22
23
24
25
26
27
28
29
30
31
32
33
34
35
36
37
38
39
40
41
42
43
44
page
of
44
Go
/
44
Contents
Table of Contents
Troubleshooting
Bookmarks
Table of Contents
Table of Contents
Important Safety Instructions
Overview
Appearance
Naming Rule
Connection Diagram
Installation
Attentions
Wire Size and Circuit Breaker
Mounting
Parameters Setting
Power Saving Mode
Other Parameters
Protections
Troubleshooting
Maintenance
Specifications
Appendix 1 Disclaimers
Advertisement
Quick Links
1
Connection Diagram
2
Specifications
Download this manual
Pure sine wave inverter
USER MANUAL
IPT350, IPT500
IPT1000, IPT1500
IPT2000, IPT3000
IPT4000, IPT5000
1
Table of
Contents
Previous
Page
Next
Page
1
2
3
4
5
Advertisement
Table of Contents
Need help?
Do you have a question about the IPT Series and is the answer not in the manual?
Ask a question
Questions and answers
Related Manuals for Epever IPT Series
Inverter Epever IPT Series User Manual
Pure sine wave inverter (44 pages)
Inverter Epever IPower Series User Manual
Pure sine wave inverter (20 pages)
Inverter Epever IP350-12 User Manual
Pure sine wave inverter (24 pages)
Inverter Epever IP350-11 Manual
(2 pages)
Inverter Epever IPower IP1500-11 User Manual
Pure sine wave inverter (20 pages)
Inverter Epever IP350-12 User Manual
Pure sine wave inverter (24 pages)
Inverter Epever IP350-12 User Manual
Pure sine wave inverter (24 pages)
Inverter Epever IP1500-Plus Series User Manual
Pure sine wave inverter (36 pages)
Inverter Epever IP500-Plus User Manual
Pure sine wave inverter (44 pages)
Inverter Epever Sunshine Solar IP350-Plus User Manual
Pure sine wave inverter (44 pages)
Inverter Epever IP1000-Plus User Manual
Pure sine wave inverter (52 pages)
Inverter Epever IPower-Plus Series User Manual
Pure sine wave inverter (48 pages)
Inverter Epever IPT1500-12 User Manual
Pure sine wave inverter (44 pages)
Inverter Epever IPB500-12 User Manual
Pure sine wave inverter (36 pages)
Inverter Epever UP1500-M3222 User Manual
Upower series inverter/changer (28 pages)
Inverter Epever UPower Series User Manual
Inverter/charger (28 pages)
This manual is also suitable for:
Ipt350
Ipt500
Ipt1000
Ipt1500
Ipt2000
Ipt3000
...
Show all
Ipt4000
Ipt5000
Ipt350-11
Ipt350-21
Ipt500-11
Ipt500-21
Ipt1000-11
Ipt1000-21
Ipt1500-11
Ipt1500-21
Ipt1500-41
Ipt350-12
Ipt350-22
Ipt500-12
Ipt500-22
Ipt1000-12
Ipt1000-22
Ipt1500-12
Ipt1500-22
Ipt1500-42
Table of Contents
Print
Rename the bookmark
Delete bookmark?
Delete from my manuals?
Login
Sign In
OR
Sign in with Facebook
Sign in with Google
Upload manual
Upload from disk
Upload from URL


Need help?
Do you have a question about the IPT Series and is the answer not in the manual?
Questions and answers