Magtek ExpressCard 2000 Manual
Instant issuance card personalization system hopper module replacement procedure
Hide thumbs
Also See for ExpressCard 2000:
- Hardware service manual (356 pages) ,
- User's installation and operation manual (84 pages) ,
- Preventive maintenance procedure (25 pages)
Table of Contents
Advertisement
Quick Links
Advertisement
Table of Contents

Related Manuals for Magtek ExpressCard 2000


Summary of Contents for Magtek ExpressCard 2000
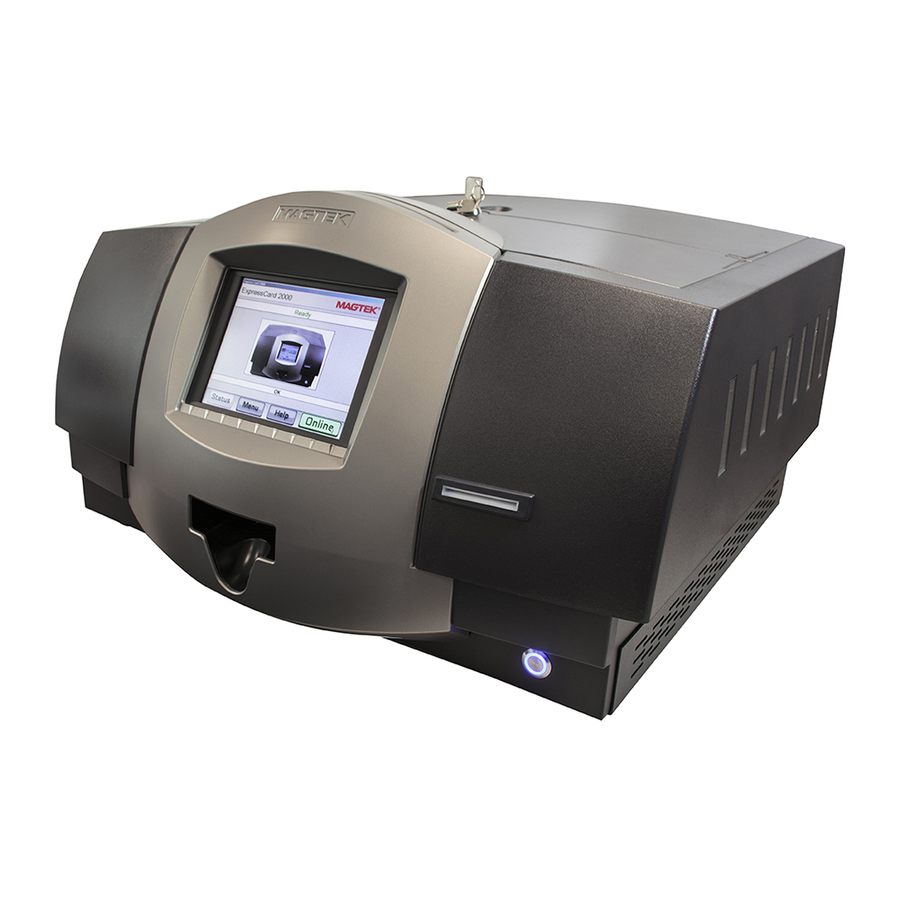
- Page 1 ExpressCard 2000 Instant Issuance Card Personalization System Hopper Module Replacement Procedure March 2017 Manual Part Number: D99875700-30 REGISTERED TO ISO 9001:2008 MagTek I 1710 Apollo Court I Seal Beach, CA 90740 I Phone: (562) 546-6400 I Technical Support: (888) 624-8350 www.magtek.com...
- Page 2 Initial release derived from 99875607-5.01-DRAFT 01/30/2015 Update preparation steps / hopper transport movement steps Update and streamline procedure based on design changes; 03/21/2017 misc. clarifications and corrections ExpressCard 2000| Instant Issuance Card Personalization System | Hopper Module Replacement Procedure Page 2 of 42 (D99875700-30)
- Page 3 Use materials and supplies specifically designed for MagTek devices. Using unsuitable materials may result in poor performance, and in some cases may be hazardous. ExpressCard 2000| Instant Issuance Card Personalization System | Hopper Module Replacement Procedure Page 3 of 42 (D99875700-30)
-
Page 4: Table Of Contents
How to Prepare the Device for Removing / Re-installing Modules .......... 7 Remove / Re-install the Hopper Module ..................8 How to Calibrate the Hopper Transport Module ................ 41 ExpressCard 2000| Instant Issuance Card Personalization System | Hopper Module Replacement Procedure Page 4 of 42 (D99875700-30) -
Page 5: Required Tools, Materials, And Documents
ASSEMBLY, FIELD SERVICE KIT, SPARE PARTS STARTER, 33011009 1 ea. EC2000 Required Software and Documents MagTek recommends loading the following required software and documents on a USB thumb drive or service laptop before visiting the customer site. Part Number Quantity Description D99875600 1 ea. -
Page 6: Introduction
2 - Introduction Introduction This procedure describes how to replace the hopper module in the ExpressCard 2000 (EC2000), and is based on content in D99875607 ExpressCard 2000 Hardware Service Manual. It assumes the reader is familiar with basic operation of the ExpressCard 2000’s user and maintenance functions, so many of the cross-references to deeper “how-to”... -
Page 7: Hopper Module Replacement Procedure
Depending on the installation location, you may need to move the device to a service location. ExpressCard 2000| Instant Issuance Card Personalization System | Hopper Module Replacement Procedure Page 7 of 42 (D99875700-30) -
Page 8: Remove / Re-Install The Hopper Module
2) Remove the cover (see D99875607 ExpressCard 2000 Hardware Service Manual for details). 3) Remove all the card stock hoppers and set them aside in a secure location, or give them to the customer for secure temporary storage. - Page 9 7) Disconnect the two sensor cables and set the hopper deck plate aside in a safe place with the printed circuit board facing the floor to protect the sensor flags. ExpressCard 2000| Instant Issuance Card Personalization System | Hopper Module Replacement Procedure Page 9 of 42 (D99875700-30)
- Page 10 9) Use the 5/32” ball end hex wrench to remove the four screws and washers that hold the four corners of the hopper module to the top deck plate, and set them aside for later use. ExpressCard 2000| Instant Issuance Card Personalization System | Hopper Module Replacement Procedure Page 10 of 42 (D99875700-30)
- Page 11 11) Slip the hopper shuttle belt completely off the pulley near the rear of the device. ExpressCard 2000| Instant Issuance Card Personalization System | Hopper Module Replacement Procedure Page 11 of 42 (D99875700-30)
- Page 12 HOPPER SHUTTLE EXC HOME SENSOR J4 EXC HOME SENS circuit board. Unplug the cable from the circuit board. HOPPER SHUTTLE ExpressCard 2000| Instant Issuance Card Personalization System | Hopper Module Replacement Procedure Page 12 of 42 (D99875700-30)
- Page 13 HOPPER SHUTTLE EXC HOME SENSOR corner of the device’s case, and route it outside the case to keep it out of the way. ExpressCard 2000| Instant Issuance Card Personalization System | Hopper Module Replacement Procedure Page 13 of 42 (D99875700-30)
- Page 14 18) Disconnect the flex cable from the hopper shuttle. It may require both hands to apply enough force, because the hopper shuttle obstructs direct access. ExpressCard 2000| Instant Issuance Card Personalization System | Hopper Module Replacement Procedure Page 14 of 42 (D99875700-30)
- Page 15 20) Use your fingers to rub all foam tape residue off the connector end of the flex cable. 21) Gently push the hopper shuttle toward the front of the device, past the connectors on the top deck plate. ExpressCard 2000| Instant Issuance Card Personalization System | Hopper Module Replacement Procedure Page 15 of 42 (D99875700-30)
- Page 16 HOPPER SHUTTLE 23) Trace the cable back to the hopper module and cut any cable HOPPER SHUTTLE HOME SENSOR ties holding it. ExpressCard 2000| Instant Issuance Card Personalization System | Hopper Module Replacement Procedure Page 16 of 42 (D99875700-30)
- Page 17 25) Gently push the hopper shuttle to the middle of the device. ExpressCard 2000| Instant Issuance Card Personalization System | Hopper Module Replacement Procedure Page 17 of 42 (D99875700-30)
- Page 18 Set the hopper module aside. 28) If you are removing the hopper transport gearbox, locate it at the rear of the device. ExpressCard 2000| Instant Issuance Card Personalization System | Hopper Module Replacement Procedure Page 18 of 42 (D99875700-30)
- Page 19 The screw nearer the front of the device is beneath a bundle of cables, which you will have to move out of the way. 30) Disconnect the gearbox cable from the device. ExpressCard 2000| Instant Issuance Card Personalization System | Hopper Module Replacement Procedure Page 19 of 42 (D99875700-30)
- Page 20 31) Remove the hopper gearbox and screws and set them aside. 32) Remove the screws and washers from the hopper gearbox for later use. ExpressCard 2000| Instant Issuance Card Personalization System | Hopper Module Replacement Procedure Page 20 of 42 (D99875700-30)
- Page 21 2) Locate the cutout in the top deck plate near the rear of the device where the hopper gearbox will be installed. 3) Locate the lip of the image printer base plate that overlaps the cutout. ExpressCard 2000| Instant Issuance Card Personalization System | Hopper Module Replacement Procedure Page 21 of 42 (D99875700-30)
- Page 22 5) Make sure the thick light-colored cable is behind and below the gearbox, and use the 5/32” hex wrench tighten the two screws that hold the gearbox to the top deck plate. ExpressCard 2000| Instant Issuance Card Personalization System | Hopper Module Replacement Procedure Page 22 of 42 (D99875700-30)
- Page 23 Make sure the hopper shuttle pusher is retracted and clear of the hopper deck plate. ExpressCard 2000| Instant Issuance Card Personalization System | Hopper Module Replacement Procedure Page 23 of 42 (D99875700-30)
- Page 24 10) Use one hand to lift the hopper module into the device, freeing up your other hand to move the cables and drive belt and any other obstructions out of the way. Focus on installing the rear side first. ExpressCard 2000| Instant Issuance Card Personalization System | Hopper Module Replacement Procedure Page 24 of 42 (D99875700-30)
- Page 25 12) Carefully lower the front side of the hopper module to the top deck plate and line it up with the screw holes. Use your free hand to make sure the module doesn’t pinch any cables or the drive belt. ExpressCard 2000| Instant Issuance Card Personalization System | Hopper Module Replacement Procedure Page 25 of 42 (D99875700-30)
- Page 26 14) Use the 5/32” hex wrench to insert and tighten the four screws and washers that secure the hopper module to the top deck plate. ExpressCard 2000| Instant Issuance Card Personalization System | Hopper Module Replacement Procedure Page 26 of 42 (D99875700-30)
- Page 27 17) Route the cable along the rear wall of the device and tuck it below the shielding around the image printer, then route the free end toward the front of the device. ExpressCard 2000| Instant Issuance Card Personalization System | Hopper Module Replacement Procedure Page 27 of 42 (D99875700-30)
- Page 28 19) Use cable ties 89800023 and 89800006 at the locations shown to tie the HOPPER SHUTTLE HOME cable to the bundle of cables. Use wire cutters or a cable tie tool to trim the ties. SENSOR ExpressCard 2000| Instant Issuance Card Personalization System | Hopper Module Replacement Procedure Page 28 of 42 (D99875700-30)
- Page 29 22) Route the cable underneath the other cables that run HOPPER SHUTTLE EXC HOME SENSOR along the right side of the device. ExpressCard 2000| Instant Issuance Card Personalization System | Hopper Module Replacement Procedure Page 29 of 42 (D99875700-30)
- Page 30 24) Plug the cable into the HOPPER SHUTTLE EXC HOME SENSOR J4 EXC HOME SENS connector on the circuit board. HOPPER SHUTTLE ExpressCard 2000| Instant Issuance Card Personalization System | Hopper Module Replacement Procedure Page 30 of 42 (D99875700-30)
- Page 31 HOPPER SHUTTLE EXC HOME SENSOR cable into the cable clip along the right wall of the device, and take up any slack along its length. ExpressCard 2000| Instant Issuance Card Personalization System | Hopper Module Replacement Procedure Page 31 of 42 (D99875700-30)
- Page 32 During testing, the belt should not slip or make grinding sounds. If it does, the tension may need to be re-adjusted. ExpressCard 2000| Instant Issuance Card Personalization System | Hopper Module Replacement Procedure Page 32 of 42 (D99875700-30)
- Page 33 7 and before it rotates to the manual feed slot. Do not pull on the hopper shuttle directly or you may damage it. 30) Remove the protective backing from the foam tape on the hopper shuttle motor. ExpressCard 2000| Instant Issuance Card Personalization System | Hopper Module Replacement Procedure Page 33 of 42 (D99875700-30)
- Page 34 32) Pull on the hopper shuttle drive belt to move the hopper shuttle all the way to the front of the device, until it rotates completely into the manual feed position and stops. ExpressCard 2000| Instant Issuance Card Personalization System | Hopper Module Replacement Procedure Page 34 of 42 (D99875700-30)
- Page 35 D998200047 ExpressCard 2000 Hopper Flex Cable Replacement Procedure. 34) While holding the flex cable taut, use your left hand to press the flex cable straight back onto the double-stick tape. ExpressCard 2000| Instant Issuance Card Personalization System | Hopper Module Replacement Procedure Page 35 of 42 (D99875700-30)
- Page 36 36) Pull on the hopper shuttle drive belt to move the hopper shuttle all the way to the rear of the device until it stops. Do not pull on the hopper shuttle directly or you may damage it. ExpressCard 2000| Instant Issuance Card Personalization System | Hopper Module Replacement Procedure Page 36 of 42 (D99875700-30)
- Page 37 Do not pull on the hopper shuttle directly or you may damage it. ExpressCard 2000| Instant Issuance Card Personalization System | Hopper Module Replacement Procedure Page 37 of 42 (D99875700-30)
- Page 38 41) Use the 5/64” hex wrench to re-install 5 ea. screw 46500187 that hold the hopper deck plate to the hopper module. ExpressCard 2000| Instant Issuance Card Personalization System | Hopper Module Replacement Procedure Page 38 of 42 (D99875700-30)
- Page 39 They should be routed down toward the rear of the device and out of the path of the hopper shuttle. ExpressCard 2000| Instant Issuance Card Personalization System | Hopper Module Replacement Procedure Page 39 of 42 (D99875700-30)
- Page 40 45) Perform any additional service that requires the device to be powered off and open. 46) Re-install the cover and top access door (see D99875607 ExpressCard 2000 Hardware Service Manual for details). 47) Pull on the hopper transport drive belt to move the hopper transport to the front of the device, just past hopper 7 and before it rotates to the manual feed slot.
-
Page 41: How To Calibrate The Hopper Transport Module
5) Insert a blank card into the manual feed slot with its magstripe facing down and to the right. The slot will not automatically take the card. ExpressCard 2000| Instant Issuance Card Personalization System | Hopper Module Replacement Procedure Page 41 of 42 (D99875700-30) - Page 42 12) Remove the card from the image printer exit and recycle it. 13) Re-install hopper 2 and hopper 3 in the device. 14) Press the button to return to the page. Status Status ExpressCard 2000| Instant Issuance Card Personalization System | Hopper Module Replacement Procedure Page 42 of 42 (D99875700-30)
Need help?
Do you have a question about the ExpressCard 2000 and is the answer not in the manual?
Questions and answers