Magtek ExpressCard 2000 Replacement Procedure
Instant issuance card personalization system power supply replacement procedure
Hide thumbs
Also See for ExpressCard 2000:
- Hardware service manual (356 pages) ,
- User's installation and operation manual (84 pages) ,
- Manual (42 pages)
Table of Contents
Advertisement
Quick Links
Download this manual
See also:
Manual
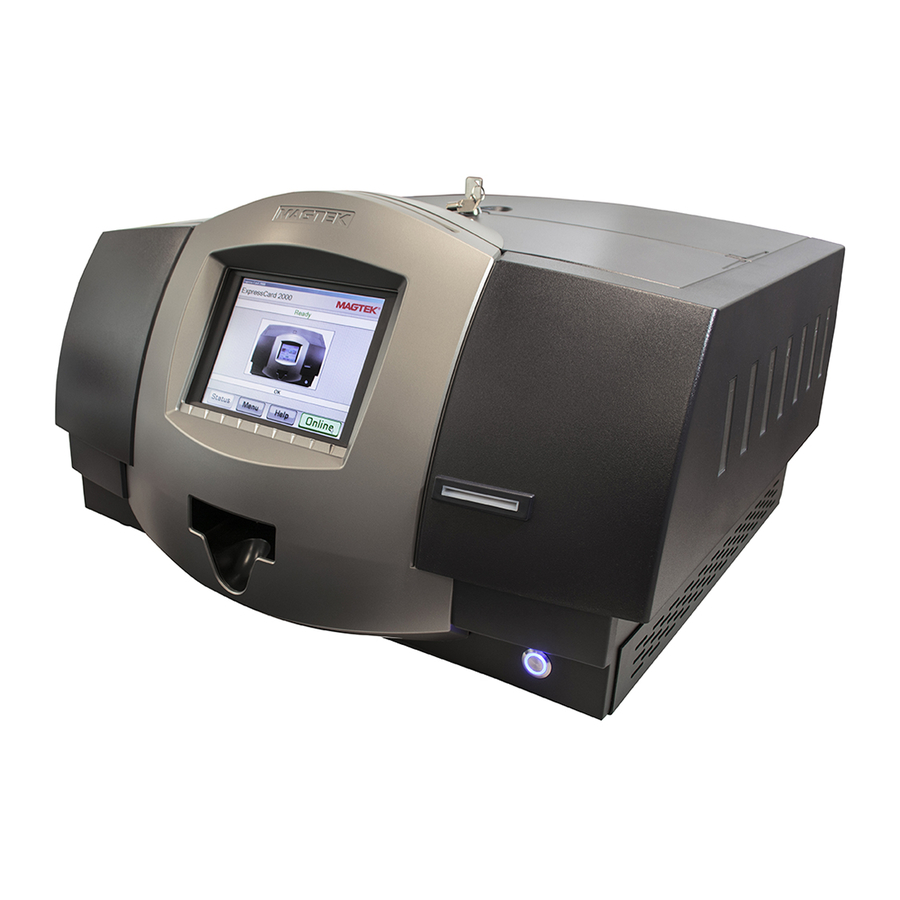
ExpressCard 2000
Instant Issuance Card Personalization System
Power Supply Replacement Procedure
September 22, 2014
Manual Part Number:
99875717-1.01
REGISTERED TO ISO 9001:2008
MagTek I 1710 Apollo Court I Seal Beach, CA 90740 I Phone: (562) 546-6400 I Technical Support: (888) 624-8350
www.magtek.com
Advertisement
Table of Contents

Related Manuals for Magtek ExpressCard 2000


Summary of Contents for Magtek ExpressCard 2000
- Page 1 Instant Issuance Card Personalization System Power Supply Replacement Procedure September 22, 2014 Manual Part Number: 99875717-1.01 REGISTERED TO ISO 9001:2008 MagTek I 1710 Apollo Court I Seal Beach, CA 90740 I Phone: (562) 546-6400 I Technical Support: (888) 624-8350 www.magtek.com...
- Page 2 No part of this document may be reproduced or transmitted in any form or by any means, electronic or mechanical, for any purpose, without the express written permission of MagTek, Inc. MagTek® is a registered trademark of MagTek, Inc.
- Page 3 Be careful when moving or relocating the device. Use proper lifting techniques. Use materials and supplies specifically designed for MagTek devices. Using unsuitable materials may result in poor performance, and in some cases may be hazardous. ExpressCard 2000| Instant Issuance Card Personalization System | Power Supply Replacement Procedure Page 3...
-
Page 4: Table Of Contents
Required Software and Documents ................. 5 Introduction ..........................6 Power Supply Replacement Procedure .................. 7 Prepare the Device ......................7 Remove / Re-install the Power Supply ................8 ExpressCard 2000| Instant Issuance Card Personalization System | Power Supply Replacement Procedure Page 4... -
Page 5: Required Tools, Materials, And Documents
Quantity Description 33011009 1 ea. ASM KIT,STARTER,SPARE,FIELD SERVICE,EC2000 Required Software and Documents MagTek recommends loading the following required software and documents on a USB thumb drive or service laptop before visiting the customer site. Part Number Quantity Description 99875600 1 ea. -
Page 6: Introduction
2 - Introduction Introduction This procedure describes how to replace the power supply in the ExpressCard 2000 (EC2000), and is based on content in 99875607 ExpressCard 2000 Hardware Service Manual. It assumes the reader is familiar with basic operation of the ExpressCard 2000’s user and maintenance functions, so many of the cross-references to deeper “how-to”... -
Page 7: Power Supply Replacement Procedure
5) Power down the device. 6) Disconnect the device’s power and network cables and any security hardware. ExpressCard 2000| Instant Issuance Card Personalization System | Power Supply Replacement Procedure Page 7... -
Page 8: Remove / Re-Install The Power Supply
2) Open the left side access door. See 99875607 ExpressCard 2000 Hardware Service Manual for detailed steps. 3) Take appropriate steps to protect the work surface the EC2000 is on. - Page 9 Figure 3-3 - Four Power Supply Screws Exposed (BOTTOM LEFT VIEW) 5) Locate the power supply on the rear left side of the device, behind the left side access door. ExpressCard 2000| Instant Issuance Card Personalization System | Power Supply Replacement Procedure Page 9...
- Page 10 Figure 3-5 - Power Supply Input Wires (LEFT VIEW) 8) Unplug the white plastic power supply control and monitoring connector shown in Figure 3-6. ExpressCard 2000| Instant Issuance Card Personalization System | Power Supply Replacement Procedure Page 10...
- Page 11 11) Remove the power supply and set it aside. 12) If you are not immediately installing a replacement, with a partner, safely and carefully move the device back to a stable operating position. ExpressCard 2000| Instant Issuance Card Personalization System | Power Supply Replacement Procedure Page 11...
- Page 12 7) Snap the clear plastic cover in place to cover the input wires. 8) With a partner, safely and carefully move the device back to a stable operating position. 9) Replace the left side access door (see 99875607 ExpressCard 2000 Hardware Service Manual for detailed steps).
Need help?
Do you have a question about the ExpressCard 2000 and is the answer not in the manual?
Questions and answers