Do you have a question about the BLACK EAGLE VA388 and is the answer not in the manual?
Questions and answers
Muhammad Sohail
February 8, 2025
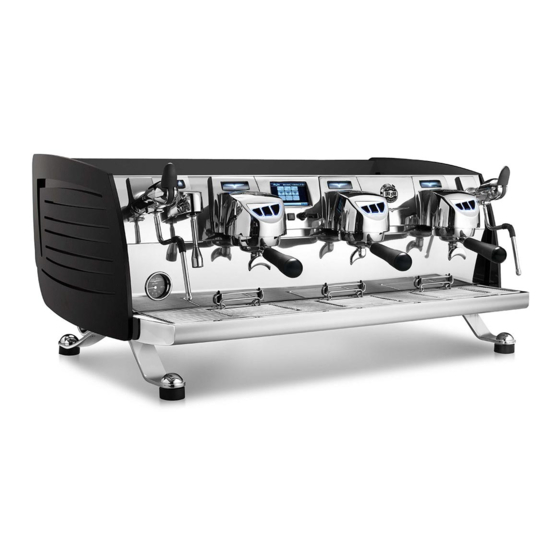
good afternoon i have black eagle whenever i go to program dose only one icone apear there for hot water why other not
1 comments:
Mr. Anderson
May 14, 2025
Only one icon for hot water appears when programming the Victoria Arduino VA388 Black Eagle because the display shows the icon for the Dose programming function selected and the value already programmed. This allows the user to adjust or confirm the hot water dose setting.
This answer is automatically generated
Abhijith
August 5, 2025
How to reset forget password
Related Manuals for Victoria Arduino BLACK EAGLE VA388


Need help?
Do you have a question about the BLACK EAGLE VA388 and is the answer not in the manual?
Questions and answers
good afternoon i have black eagle whenever i go to program dose only one icone apear there for hot water why other not
Only one icon for hot water appears when programming the Victoria Arduino VA388 Black Eagle because the display shows the icon for the Dose programming function selected and the value already programmed. This allows the user to adjust or confirm the hot water dose setting.
This answer is automatically generated
How to reset forget password