Det-Tronics X5200 Addendum
Hart communication with the uvir flame detector
Hide thumbs
Also See for X5200:
- Instructions manual (35 pages) ,
- Addendum (16 pages) ,
- Instructions manual (20 pages)

Related Manuals for Det-Tronics X5200


Summary of Contents for Det-Tronics X5200
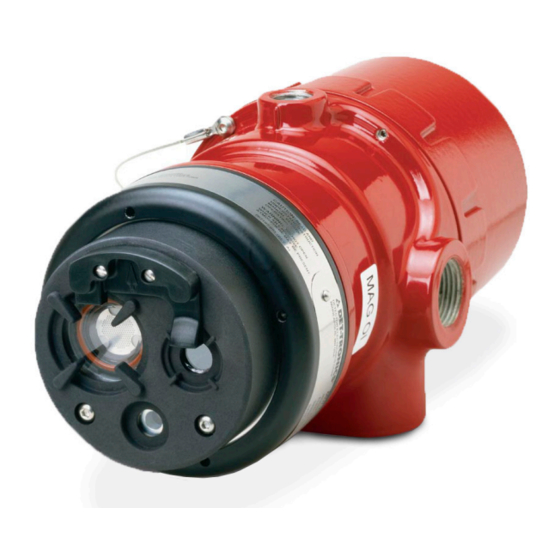
- Page 1 Addendum ® HART Communication with the X5200 UVIR Flame Detector Rev: 9/16 95-8636...
-
Page 2: Table Of Contents
X5200 Root Menu ........ -
Page 3: Interconnecting The Hart Communicator With The Detector
This addendum provides guidance for establishing HART communication, and describes the HART menu structure when using the X5200 with a HART Handheld Communicator, a PC, or other process interface device that... - Page 4 MAN O i + Vin A2459 – Vin –Vin –Vin –Vin E2061 Figure 4—X5200 Detector Wired for Non-Isolated 0 to 20 mA Figure 1—X5200 HART Wiring Terminal Identification Current Output (Sinking) X5200 UVIR DETECTOR 24 VDC X5200 UVIR DETECTOR – 600 Ω MAX* 4-20 mA + 4-20 mA –...
-
Page 5: Hart Device Description Language
2.5 watts. In the event that your Communicator does not establish communications with the X5200, ensure that the appropriate DDs for the X5200 have been programmed into your Communicator. To review the DDs programmed into your HART Communicator: From the Main menu, access the Offline menu. -
Page 6: Hart Menu Structure
HART PV Menu X5200 Root Menu Device Info Menu General Info Menu 1) Fire (Yes/No) 1) General Info Menu 1) PV Unit 1) Manufacturer 2) Fault (Yes/No) 2) HART Info Menu 2) PV 2) Model 3) Device Info Menu... -
Page 7: X5200 Root Menu
X5200 rooT menu When HART communication is established, the first menu displayed is the X5200 Root menu: X5200 Root Menu 1) Fire (Yes/No) 2) Fault (Yes/No) 3) Device Info Menu 4) Command Menu 5) Device Setup Menu Indicates “Y” if the device is in a fire alarm status — analog output is at 20 mA, 1) Fire (Yes/no) fire alarm relay is actuated, and LED is red. -
Page 8: General Info Menu
General Info Menu 1) Manufacturer X5200 Root Menu Device Info Menu 2) Model 1) Fire (Yes/No) 1) General Info Menu 3) Serial Number 2) Fault (Yes/No) 2) HART Info Menu 4) Part Number 3) Device Info Menu... -
Page 9: Hart Info Menu
HART Info Menu 1) Universal rev 2) Fld dev rev X5200 Root Menu Device Info Menu 3) Final asmbly num 1) Fire (Yes/No) 1) General Info Menu 4) Tag 2) Fault (Yes/No) 2) HART Info Menu 5) Long tag... -
Page 10: Hart Pv Menu
4) Pv usl Not implemented for X5200. 5) Pv lsl Not implemented for X5200. 6) Pv minimum span Not implemented for X5200. 7) Pv damp Not implemented for X5200. 8) Pv Ao Analog Output. The value that tracks the Digital Value representation, under normal operating modes. -
Page 11: Condensed Status
Condensed sTATus HART Info Menu 1) Universal rev Condensed Status 2) Field dev rev X5200 Root Menu Device Info Menu 1) Xmtr Addstatus 0 3) Final asmbly num 1) Fire (Yes/No) 1) General Info Menu 2) Xmtr Addstatus 1 4) Tag... -
Page 12: Status Info Menu
2) Fire (Y/N) 3) UV Alarm (Y/N) 4) IR Alarm (Y/N) 5) TDSA Alarm (Y/N) 6) Quick Alarm (Y/N) X5200 Root Menu Device Info Menu 7) UV Pre Alarm (Y/N) 1) Fire (Yes/No) 1) General Info Menu 8) IR Pre Alarm (Y/N) -
Page 13: Hardware Menu
2) Fire (Y/N) 3) UV Alarm (Y/N) 4) IR Alarm (Y/N) 5) TDSA Alarm (Y/N) 6) Quick Alarm (Y/N) Hardware Menu X5200 Root Menu Device Info Menu 7) UV Pre Alarm (Y/N) 1) Temperature 1) Fire (Yes/No) 1) General Info Menu... -
Page 14: O I Menu
4) IR Alarm (Y/N) Oi Menu 5) TDSA Alarm (Y/N) 1) Consecutive UV Oi Fails 6) Quick Alarm (Y/N) X5200 Root Menu Device Info Menu 2) Consecutive IR Oi Fails 7) UV Pre Alarm (Y/N) 1) Fire (Yes/No) 1) General Info Menu... -
Page 15: Detector Settings
This menu shows factory settings relating to relay operation, detector sensitivity, and response. Detector Settings 1) UV Mode 2) IR Mode 3) ARC Rejection X5200 Root Menu Device Info Menu 4) UV Sensitivity 1) Fire (Yes/No) 1) General Info Menu... -
Page 16: Command Menu
CommAnd menu The Command Menu allows the operator to initiate a manual o i test and also to perform various reset/ clear functions. Command Menu X5200 Root Menu 1) Start Passive Oi 2) Start Active Oi 1) Fire (Yes/No) 3) Clear Oi Fault... -
Page 17: Hart Command Menu
CommAnd menu The HART Command Menu allows the operator to perform diagnostic and service functions as follows: Command Menu X5200 Root Menu 1) Start Passive Oi HART CMD Menu 1) Fire (Yes/No) 2) Start Active Oi 2) Fault (Yes/No) -
Page 18: Configuration Menu
ConFigurATion menu Device Setup Menu X5200 Root Menu Configuration Menu 1) Configuration Menu 1) Fire (Yes/No) 2) Calibration Menu 1) Consecutive UV Oi Fails 2) Fault (Yes/No) 3) Write Protect 2) Consecutive IR Oi Fails 3) Device Info Menu 4) HART Setup... -
Page 19: Write Protect
The device is provided from the factory with Write Protect off. With Write Protect on, the use of a password is required to enable writing to the device. Device Setup Menu X5200 Root Menu Write Protect 1) Configuration Menu... -
Page 20: Hart Setup
This menu allows editing of the following functions: HART Setup Device Setup Menu X5200 Root Menu 1) Poll addr 1) Configuration Menu 1) Fire (Yes/No) 2) Final asmbly num 2) Calibration Menu 2) Fault (Yes/No) 3) Tag 3) Write Protect... - Page 21 Phone: 952.946.6491 Corporate office © 2017 Detector Electronics Corporation. All rights reserved. Toll-free: 800.765.3473 6901 West 110 Street Det-Tronics manufacturing system is certified to ISO 9001— Fax: 952.829.8750 Minneapolis, MN 55438 USA the world’s most recognized quality management standard. det-tronics@det-tronics.com www.det-tronics.com...
Need help?
Do you have a question about the X5200 and is the answer not in the manual?
Questions and answers