GIRBAU EH020 Operating Instructions Manual
Hide thumbs
Also See for EH020:
- Operating instructions manual (50 pages) ,
- Installation instructions manual (47 pages) ,
- Operation instructions manual (25 pages)
Advertisement
Quick Links
Download this manual
See also:
Installation Manual
Training – Start up procedures
Vended – Logi – Logi Pro controls
Reference manuals:
(1) Operating Instructions Manual for Vended washers Cod. 598144 Rev.
11/0717 or higher
(2) Operating Instructions Manual for Logi control washers Cod. 523340 Rev.
11/1218 or higher
(3) Operating Instructions Manual for Logi Pro control washers Cod. 523340
Rev. 11/1218 or higher
X-Series control with Profit Plus
section 1-6 Logi Control
section 7-8 Logi Pro Control
Rev. 01/0419
Advertisement

Related Manuals for GIRBAU EH020


Summary of Contents for GIRBAU EH020
- Page 1 Training – Start up procedures Vended – Logi – Logi Pro controls Reference manuals: (1) Operating Instructions Manual for Vended washers Cod. 598144 Rev. 11/0717 or higher X-Series control with Profit Plus (2) Operating Instructions Manual for Logi control washers Cod. 523340 Rev. 11/1218 or higher section 1-6 Logi Control (3) Operating Instructions Manual for Logi Pro control washers Cod.
-
Page 2: Safety Instruction
Safety Instruction... -
Page 3: Safety Instructions
Safety Instructions... - Page 4 Safety Instructions...
- Page 5 Safety Instructions...
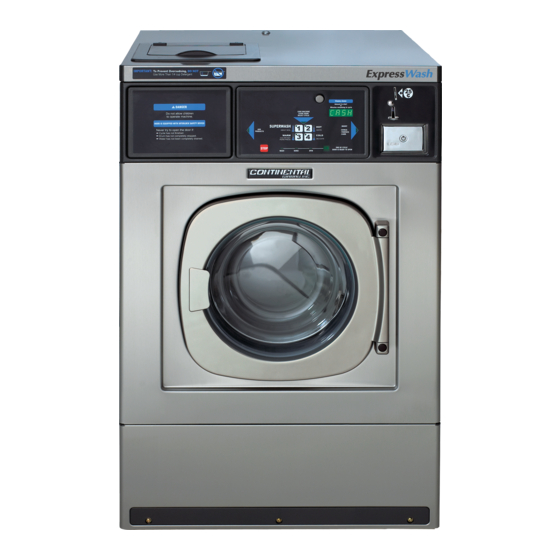
- Page 6 Introduction and Use (Vended control & profit plus) This guide is intended to inform owner/operator of operation and basic equipment set up for vended controlled washing machines with extra options. Vended X-series control for EH20, 030, 040, 060, 080 and 090 soft mount units plus REM025, RMG033, 040, 055 and 070 rigid mount units.
- Page 7 Access to Advanced use Mode. All models With power on, open loading door. Press and hold down key 1 until the COD report shows on display then release. Next we enter the 4 digit security cod and display will show “0000”, enter the code a second time and display will show “0000”. Next the display will show “Pro”.
- Page 8 The extra options are extra wash, extra rinse and extra spin. Each option can be selected independently from each other, once the washing program has been selected. In the EoPt menu each of the extra options can be turned off if desired. In the case of extra wash, the user can choose between turning off and increasing time of wash phase 2.
- Page 9 With display showing EoPt press number 1 and display will show EUA 1, indicating extra time selection, if you want to turn off this feature press number 2 – 4 to change. If extra time is what you want press number 1 and display will show UT-x 1 indicating 1 minute of time.
- Page 10 In order to understand the change of cycles from SP-0 to SP-1 look in section 6.2.2 Program contents. USA configuration, all models. SP-0 and compare to EH020 and REM025 models. SP-1, SP-2, SP-3. Other EH and RMG models SP-1. To change setting SP-0 to SP-1, washer display shows Nod, press number 1 until display shows SP-0, press number 2 and change to SP-1.
- Page 11 Fill the compartments with the corresponding products, according to these symbols. In fig. 4.5 we see the front loading dispenser system used only in EH020 models with a pump drain system. In fig. 4.6 we show the top mounted dispenser system on all other EH, REM and RMG models with exception of EH090 washers.
- Page 12 Sequence of starting a program is the same for all vended controls with the Profit Plus control. Start signal activated by satisfying vend price, signal is sent to door lock to start locking process and to drain valve causing valve to close. Door lock normally open: after the lock has received a start signal, a 30 second delay time is started, during this time the drum rotation and water inlet operate at short impulses and door remains unlocked.
- Page 13 Thermister; is a probe located under washer outer drum at its lowest point just left of center, where it will allow contact with water entering washer drum. The temperature of the water is sent from thermister to washer control and in turn the control activates fill valve required to produce programmed temperature of wash bath.
- Page 14 On Premise Logi control for EH030, 040, 060, 070, 080 soft mount units with software version 25 or higher plus REM025 all versions of software. The next chart explains the control panel and its use, each key has special functions and use.
- Page 15 It is important that the owner/operator understand as much as possible during the training startup of the new equipment. Use the control panel above to explain key functions and display segments. Characteristics of the control • Ease of use microprocessor control •...
- Page 17 In fig. 4.3 we see the front loading dispenser system used only in EH020 models with a pump drain system. In fig.4.4 we show the top mounted dispenser system used on all...
- Page 18 Starting a program Logi Control • Close loading door, PR ** report on display(indicating last program run) • Place laundry products into dispenser • Select desired program using up arrow or down arrow keys • Press start key; the display will show a temperature value (f *** ) indicates main bath temperature of selected program.
- Page 19 Drain valve: drain valve closes moment signal received and remains closed till the end of programmed phase. Water valves; as soon as door lock signals to micro that door is locked it powers the water valves. These valves work independently of each other meaning when cold fill valve has power the hot fill valve does not and vice versa, when hot fill valve has power the cold does not.
- Page 20 This guide is intended to inform owner/operator of operation and basic equipment set up for Logi Pro controlled washing machines. On Premise Logi Pro control for EH020, EM-REM025, EM-MG-RMG033, 040, 055 and 070 The next chart explains the control panel and its use, each key has special functions.
- Page 21 It is important that the owner/operator understands as much as possible during the training startup of the new equipment. Use the control panel above to explain key functions and display segments. Characteristics of the control • Ease of use • Ability of individual program modification •...
- Page 24 Main reports that appear on the display The reports on display can be viewed during normal cycle operation as shown below, it is also possible to show only time remaining if desired. Setting can be altered. See sec 8. Logi Pro Advanced use Mode of Operations manual. Loading the washing machine Open the loading door and load the machine.
- Page 25 In fig. 4.3 we see the front loading dispenser system used only in the EH020 models with a pump drain system. In fig. 4.4 we show the top mounted dispenser system used on all other models with the Logi Pro control.
- Page 26 Sequence of starting a program will vary depending on door lock type normally open on models EH020, REM025, RMG033, 040 and 055. The RMG070 uses a normally closed door lock Start signal activated by operator with press of start key, signal is sent to door lock starting locking process and drain valve causing valve to close.
- Page 27 • Interrupting a program; during a cycle operation the stop can be activated at any time. Pressing the “Stop” key signals the control to turn off all power to washers outputs allowing drain to open, door unlock time count down and all other cycle functions to halt.
Need help?
Do you have a question about the EH020 and is the answer not in the manual?
Questions and answers
code BAL mean and how to fix
The code "bAL" on a GIRBAU EH020 indicates an unbalance condition during the spin cycle. This happens when there is an uneven load in the drum, such as a heavy quilt mixed with lighter items like sheets. The imbalance causes the motor to use more power, and if the current levels remain unstable, the washer may complete the cycle at a reduced spin speed.
To fix this, redistribute the laundry inside the drum more evenly to balance the load. Then restart the spin cycle.
This answer is automatically generated