
Subscribe to Our Youtube Channel
Related Manuals for urmet domus 1099


Summary of Contents for urmet domus 1099
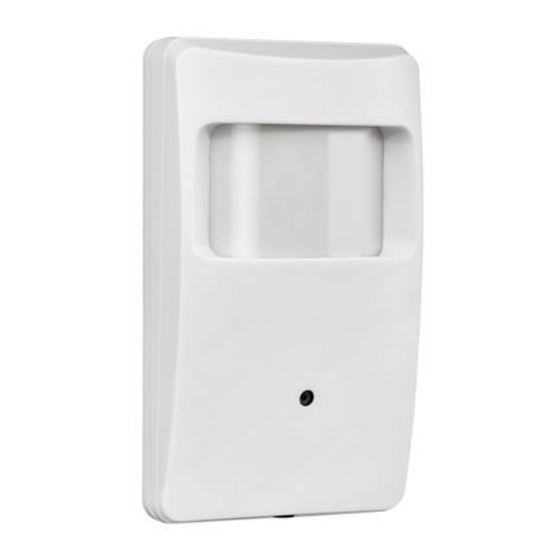
- Page 1 Mod. 1099 DS1099-164 PIR SENSOR 3 MP IP CAMERA FIXED OPTICS 3.7MM Ref. 1099/204B USER MANUAL...
-
Page 2: Table Of Contents
ENGLISH CONTENTS CONTENTS ................................2 INTRODUCTION ..............................3 PRODUCT TECHNICAL FEATURES ......................3 Technical specifications ....................... 3 Opening the package ........................3 Warnings ............................4 INSTALLATION ............................. 5 ADDING TLC TO NETWORK ........................5 Configuration on wired network ....................5 EASYTOOL .............................. -
Page 3: Introduction
Care if you encounter problems during operations. The manual will be regularly updated without prior notice. PRODUCT TECHNICAL FEATURES URMET device Ref. 1099/204B is an IP camera which may be controlled entirely by connecting to the TCP/IP network. Technical specifications ➢... -
Page 4: Warnings
WARNINGS Power ➢ Make sure that the rating plate data corresponds to the power specifications before connecting the device to the mains. ➢ Arrange a suitable circuit breaker and fuse upstream of the devices. ➢ Disconnect power by means of the circuit breaker in the event of a failure and/or bad operation. Safety precautions ➢... -
Page 5: Installation
Privacy and Copyright ➢ The IP camera is a CCTV system device. Recording of imagines is subject to the laws in force in your country. Recording of images protected by copyright is forbidden. ➢ Product users shall be responsible for checking and respecting all local rules and regulations concerning monitoring and recording video signals. -
Page 6: Easytool
EASYTOOL The software is capable of detecting the IP address of the IP camera in the LAN network. Firstly, download the easytool.zip file from the Urmet website and unzip it. Install and run EasyTool.exe. Start “Easy Tool” by selecting : the IP Address, Subnet Mask, Gateway and MAC Address will be automatically shown for each IP camera, as shown in the following figure. -
Page 7: Activex Control Configuration
ACTIVEX CONTROL CONFIGURATION You will need to install the plug-ins when inspecting the IP camera using Internet Explorer (Edge running in IE mode) for the first time. To install the plug-in, the browser protection level must be set. Select the “Tools/Internet Options/Security/Custom Level”... -
Page 8: Connection From Other Web Browsers
CONNECTION FROM OTHER WEB BROWSERS The camera web page can be accessed using a browser other than Internet Explorer, simply by keying in the IP address of the camera on the navigation bar of the browser. In this case, no additional components need to be installed and the displayed stream live consists in a fixed resolution MJPEG video stream (352x288) for which selecting Main/Sub/Mobile is not effective on the login home page. -
Page 9: Remote Settings
Other Live interface buttons (on Internet Explorer with ActiveX only): : This can be used to access the device setup menu to set the various customised parameters; : Snapshot, file type, saving path etc.; : Close and go back to the login page; : Control button preview. - Page 10 IMAGE CONTROL Click on 【Display】→【Image Control】 to access the following interface. ➢ IRCUT Mode: 3 modes: GPIO & Video Mode, Color Mode and Black & White Mode (Not available for this camera model). ➢ IR-CUT Delay: This is the IRcut delay time (Not available for this camera model). ➢...
- Page 11 PRIVACY ZONE Click on 【Display】→【Privacy Zone】 to access the following interface. Privacy zone setting: 1. Click to enable the privacy zone. 2. Select the Privacy area to be activated from the available four (Window 1, Window 2, Window 3, Window 4). 3.
-
Page 12: Network
7.2.2 NETWORK Network configuration Click on 【Network】→【Network Setting】 to access the following network. This page can be used to display and set the parameters related to the LAN of the camera: ➢ Type: DHCP, Static or PPoE. The default setting is Static. ➢... - Page 13 Video Stream Click on 【Network】→【Video Streaming】 to access the following interface. ➢ Type: MainStream and SubStream. The user can set: Resolution (Resolution), FPS, Audio, control of the bitrate (Rate control: CBR/VBR and the MainStream/SubStream/MobileStream Bitrate. ➢ Resolution: MainStream (2304×1296, 1920x1080,1280×720), SubStream (640×360). ➢...
- Page 14 Click on【Network】→【FTP】 to access the following interface. ➢ FTP: enables the FTP server. ➢ Server: enter the name of the FTP server. ➢ Port: enter the port of the FTP server. ➢ User name: enter the user name to access the FTP server. ➢...
- Page 15 Subject: Enter the e-mail subject. Content: Enter the e-mail text. Snap Interval: This is the email sending Test Email: This sends a email to test that frequency in case of event. parameter are correct. RTSP Click on 【Network】) →【RTSP】 to access the following interface. ➢...
-
Page 16: Alarm
7.2.3 ALARM AI SETTING Click on 【Alarm】→【AI Config.】 to access the following interface. Setting procedure 1. Enable/disable person detection (Human) and/or motion detection (Motion). 2. While holding down the left button, drag the mouse to select the person and/or motion detection area. It is also possible to choose polygonal-shaped areas (triangle, pentagon, hexagon, etc.) as shown opposite the image. -
Page 17: System
Schedule: this is used to program when the alarm must be activate (【All Day】, 【User_defined】). If 【User_defined】 is chosen: holding the left button pressed, drag the mouse to select the programming periods. It is also possible to: click on the name of each day of the week to enable/disable the entire day. Enable/disable individual cells by clicking on them. - Page 18 The device sets to the automatic time synchronisation function: ➢ NTP: Synchronise time with the NTP server on the Internet. Click on NTP to enable the NTP setting. Enter the NTP server address, select the time zone and click on Save. The system will automatically synchronise the time with the NTP server.
- Page 19 DS1099-164...
-
Page 20: Advanced
7.2.5 ADVANCED The 【Firmware Update】, 【Load Default】 and 【Maintain】 options are present, as shown in the following figure. . Firmware upgrade Click on 【Advanced】→【Firmware Update】 to access the following interface. The “Firmware Update” option can be used to "Scan" to select the update file; click on Upgrade to update the system automatically. -
Page 21: Local Settings
Maintenance Click on 【Advanced】 →【Maintain】 to access the following interface. ➢ Auto Reboot: enable/disable automatic restart of the device according to the indicated time programming. ➢ Auto Reboot: Select one of the three options Everyday, Everyweek, Once. ➢ Week plan: Select the days of the week on which to start automatic reboot. ➢... -
Page 22: Technical Specifications
TECHNICAL SPECIFICATIONS Description Item IR IP Camera 1099/204B Type of sensor T31N Video format 16/9 Minimum luminance 1 Lux Fixed lens, 3.7mm Lens Viewing angle HOV: 83.8 White balance Auto/Manual Camera Digital WDR Backlight compensation SD Memory Card Slot Audio... -
Page 23: Appendix
APPENDIX TROUBLESHOOTING ◆ IE does not load or install the plug-ins. Possible cause: The IE protection level setting is too high. Solution: Set the IE protection level to minimum. ◆ After updating, the user cannot inspect the IP camera using IE. Solution: Empty the IE cache. - Page 24 DS1099-164 DS1099-164...
Need help?
Do you have a question about the 1099 and is the answer not in the manual?
Questions and answers