Table of Contents
Advertisement
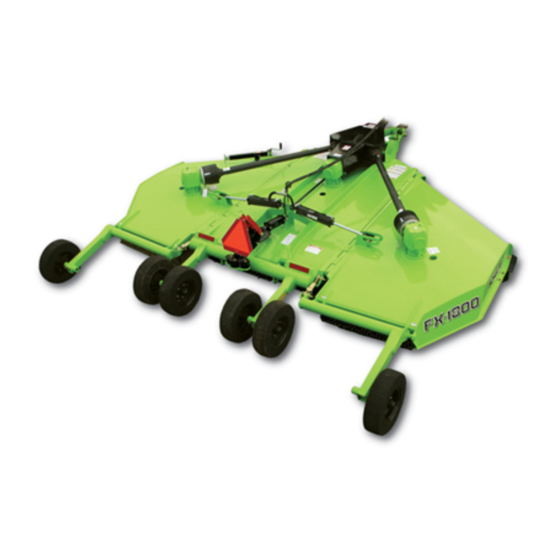
FX-1800/FX-1200 Series 2
Published 07/20
This Operator's Manual is an
integral part of the safe operation
of this machine and must be
maintained with the unit at all
times. READ, UNDERSTAND, and
FOLLOW
Operation Instructions contained
in this manual before operating
the equipment. C01-Cover_S
Schulte Industries Ltd.
PO Box 70
Englefeld Saskatchewan
Canada S0K 1N0
Tel. (306) 287-3715
Fax. (306) 287-3355
Parts Fax. (306) 287-4066
Web: www.schulte.ca
Rotary Cutter
S/N C18510002009 - C18510026009
S/N C19510001009 - C19510005009
OPERATOR'S MANUAL
the
Safety
©2020 Alamo Group Inc.
Important
Operating
and
Instructions are found
in the Mower Safety
Video
that
can
instantly accessed on
and
the
internet
www.algqr.com/sve
Part No. C185-010C
Part No. C195-010C
Safety
be
at:
$0.00
Advertisement
Table of Contents


Need help?
Do you have a question about the FX-1800 and is the answer not in the manual?
Questions and answers