Table of Contents
Advertisement
Quick Links
Stage AD Mover
SAM-50
User Manual
Please read the instructions carefully before use
TABLE OF CONTENTS
3. Description of the fixture
8. Fixture Cleaning
CAUTION!
Keep this device away from rain and moisture!
Unplug mains power before opening the housing!
1-
Advertisement
Table of Contents

Related Manuals for ACME SAM-50


Summary of Contents for ACME SAM-50
-
Page 1: Table Of Contents
TABLE OF CONTENTS Stage AD Mover 1. Safety Instruction 2. Technical Specification 3. Description of the fixture SAM-50 4. Installation 5. How to set the unit 5.1 Control Panel 5.2 Main Function 5.3 Home position adjustment 6. How to Control the unit 6.1 Master/Slave Built-In Preprogrammed Function... -
Page 2: Safety Instruction
1. Safety Instruction 2. Technical Specification Power supply - AC 120V~60Hz (US) WARNING: - AC 230/240/250V ~ 50-60Hz (EU) Please read carefully the instruction which including important information about Circuit break the installation, usage and maintenance. - T15A DMX Connection The following points are important for safety as well as for the installation and - Input: 3-pin XLR socket performance. -
Page 3: Installation
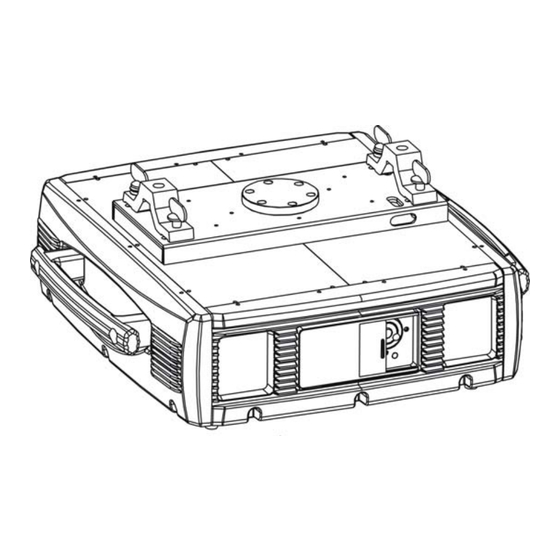
3. Description of the device 4. Installation Quick-lock fastener Omega clamp Front panel of the fixture : Power switch Power cord Circuit break DMX input Overhead installation: DMX Output Bolt each clamp (1) (not included) to the omega holder (4) with M12 bolt and lock nut through the hole in the holder. -
Page 4: How To Set The Unit
5. How to Set the Unit 5.2 Main Function To select any functions, press MENU button until the required one is shown on the display. Select the function by ENTER button and the display will blink. Use DOWN and UP button 5.1 Control Panel to change the mode. - Page 5 DMX 512 Address Setting Program Movement Press ENTER button and turn jog wheel until is shown on the monitor. Press the ENTER button and turn jog wheel until is shown DMX Address Program Movement Pressing ENTER button and the display will blink. Use jog wheel to change the DMX 512 on the monitor.
-
Page 6: Home Position Adjustment
6. How to Control the Unit Software Version Press ENTER button and turn jog wheel until Software Version is shown on the monitor. Pressing ENTER button and the display will blink. Use jog wheel to select the (A) The unit can be controlled by any universal DMX controller: No need to turn the unit off or (B) or (C) or (D) mode. -
Page 7: Dmx512 Configuration
6.3 DMX512 Configuration 6.4 DMX 512 Connection The fixture is equipped with 3-pin XLR sockets for DMX input and output. The sockets are wired in parallel. Only use a shielded twisted-pair cable designed for 3-pin XLR-plugs and connectors in order to connect the controller with the fixture or one fixture with another. If you are using the standard DMX controllers, you can connect the DMX output of the controller directly with the DMX input of the first fixture in the DMX-chain. -
Page 8: Troubleshooting
7. Troubleshooting D. If pan belt is broken 1. Turn off main power. DANGER !! 2. Unscrew all screws (A) and open the base-housing cover. Disconnect from the mains before starting any maintenance work 3. Unplug all connect wires. 4. Unscrew the screws (C) and remove the Verify the power supply settings before applying power ! fixture head. - Page 9 8. Maintenance and cleaning Internal and external must be carried out periodically to optimize machine operation. Cleaning frequency depends on the environment in which the fixture operates. Clean with soft cloth using normal cleaning fluid. Always dry the parts carefully. Clean the external optics at least every 20 days.
Need help?
Do you have a question about the SAM-50 and is the answer not in the manual?
Questions and answers