
Related Manuals for ACME MH-575S


Summary of Contents for ACME MH-575S
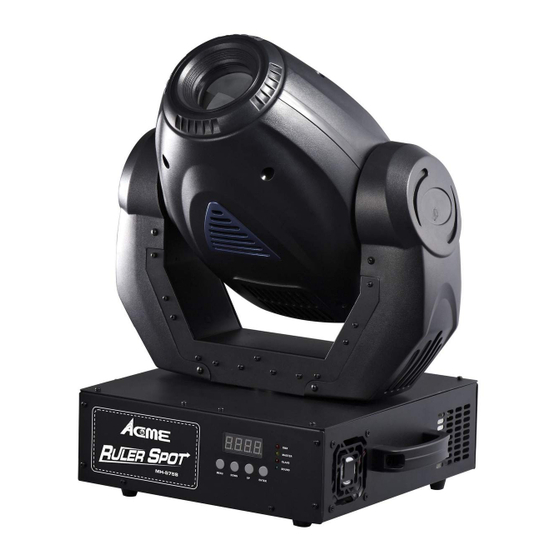
- Page 1 RULER SPOT MH-575S User Guide Please read these instructions carefully before use...
-
Page 2: Table Of Contents
1. Safety Instruction TABLE OF CONTENTS Please read carefully the instruction, which includes important information about the installation, usage and maintenance. 1. Safety Instruction WARNING Please keep this User Guide for future consultation. If you sell the unit to another user, 2. -
Page 3: Technical Specification
moisture. Lamp - NSD 575/2, MSD 575/2 Never touch bulb with bare fingers, as it is very hot after using. Optical system Hot lamp explosion hazard. Do not open the unit within five minutes after switching off. - High efficiency optical system Do not start on the unit without bulb enclosure or when housing is damaged. - Page 4 Luminous intensity: Dimension: 425 x 556 x 372 mm Weight: 23 kg CAUTION! Never unscrew the screws of the rotating gobo as the ball bearing will otherwise be opened! 3. Lamp In case of replacement of the lamp or maintenance, do not open the fixture within 15 minutes until the unit cools down after switching off.
-
Page 5: How To Set The Unit
4. When burning, the lamp operates at high pressure and there is a slight risk of arc tube Power Switch Switch power ON/OFF rupture. The risk increases with age, temperature and improper handling of the lamp. Do Power Input not use the lamp any longer than its specified life. Connect to supply power for the fixture. - Page 6 DMX512 Address Setting Press the MENU button up to when the is shown on the display. Pressing ENTER button and the display will blink. Use DOWN and UP button to change the DMX512 address. Once the address has been selected, press the ENTER button to setup or automatically return to the main functions without any change after 8 seconds.
- Page 7 button to setup or automatically return to the main functions without any change after 8 Blackout Mode seconds. To go back to the functions without any change press the MENU button again. Press the MENU button up to when the is shown on the display.
-
Page 8: Home Position Adjustment
functions without any change after 8 seconds. Firmware version Tilt offset Press the MENU button up to when the is blinking on the display. Pressing ENTER button and the display will show the firmware version of the unit. To go back to the Press the MENU button for at least 5 seconds into offset mode, use DOWN and UP button functions press the MENU button again. -
Page 9: How To Control The Unit
(2 light show) mode, Their DMX cables plugged into the DMX input jacks (daisy Focus Adjust chain) and the slave LED lights will constantly on. Press the MENU button for at least 5 seconds into offset mode, use DOWN and UP button 2-light show up to when the is shown on the display. -
Page 10: Dmx 512 Configuration
5.3 DMX 512 Configuration 5.4 DMX512 Connection If you use a controller with 5 pins DMX connector, you need to use a 5 to 3 pin adapter. At last unit, the DMX cable has to be terminated with a terminator. Solder a 120-ohm 1/4W resistor between pin 2(DMX-) and pin 3(DMX+) into a 3-pin XLR-plug and plug it in the DMX-output of the last unit. -
Page 11: Troubleshooting
2. Internal temperature may be too high. Check and if necessary replace the fan on the head. 6. Troubleshooting G. If The pan belt is broken Following are a few common problems that may occur during operation. Here are 1. Turn off the main power. some suggestions for easy troubleshooting: 2. - Page 12 Pay attention to the belt tension when install the belt. Please refer to the photos below: F. If The tilt belt is broken 1. Turn off the main power. 2. Unscrew all the screws (A) and open the right arm cover (B). 3.
-
Page 13: Maintenance And Cleaning
7. Maintenance and Cleaning EC Declaration of Conformity Maintenance: We declare that our products (lighting equipments) comply with the following specification and bears CE mark in accordance with the provision of the Electromagnetic Compatibility (EMC) Directive 89/336/EEC. EN55014-2: 1997 A1:2001, EN61000-4-2: 1995; EN61000-4-3:2002; EN61000-4-4: 1995;... - Page 14 Innovation , Quality , Performance...
Need help?
Do you have a question about the MH-575S and is the answer not in the manual?
Questions and answers