Table of Contents
Advertisement
Quick Links
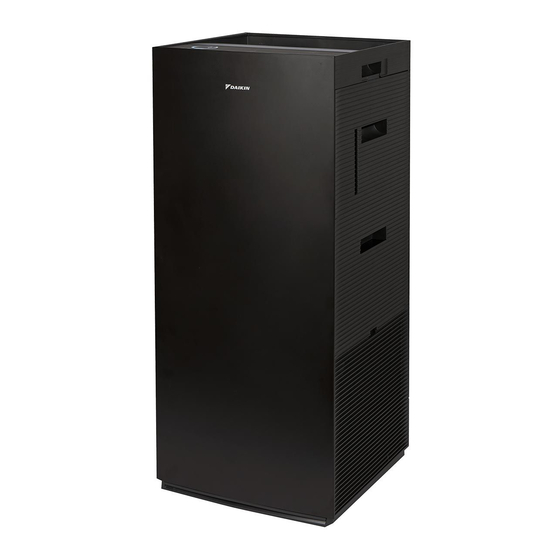
Humidifying air purifier
Floor standing type
Models
MCK70ZVM-W
MCK70ZVM-H
• The [SSID] and [KEY] printed on the
SSID/KEY sticker are required when
connecting the humidifying air purifier and
smartphone via wireless LAN.
• [SSID] and [KEY] are different for each
product, so keep the SSID and KEY in a
safe place with the production no.
For the production no., please check
the back of the product.
SSID/KEY entry field
Production no. entry field
• Thank you for purchasing this humidifying air purifier.
• Please read the operation manual carefully and follow it for correct use.
• Please read the "Safety Precautions" section before use.
Please keep the operation manual in a safe place for later reference.
►Page 8
►Page 8
Humidifying
Air Purifier
OPERATION MANUAL
►Page 2-6
Advertisement
Table of Contents


Need help?
Do you have a question about the MCK70ZVM-H and is the answer not in the manual?
Questions and answers