Table of Contents
Advertisement
Advertisement
Table of Contents

Related Manuals for ACME Dotline360 TB-1230 QW


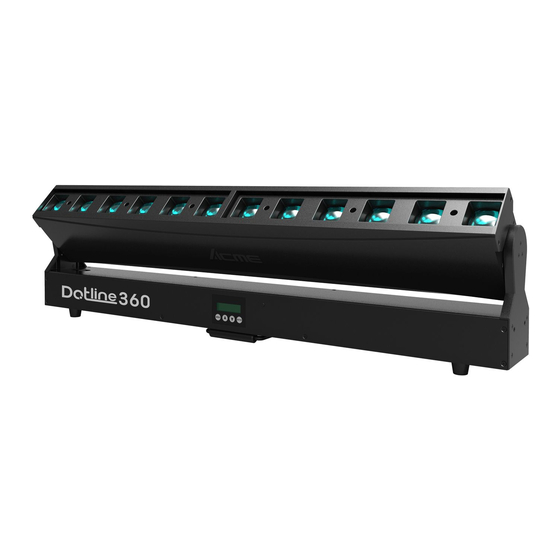
Summary of Contents for ACME Dotline360 TB-1230 QW
- Page 1 TB-1230 QW User Manual Please read the instruc on carefully before use...
-
Page 2: Table Of Contents
CONTENTS 1. Safety Instructions ..................... 2 2. Technical Specifications ..................3 3. How To Set The Unit ................... 4 3.1 Control panel .......................... 4 3.2 Main Functions........................6 3.3 HomePosition Adjustment ....................13 4.DMX Controller ....................14 4.1 DMX 512 Configurations ...................... 15 5. -
Page 3: Safety Instructions
1. Safety Instructions Please read the instructions carefully which includes important information about the installation, operation and maintenance. WARNING Please keep this User Guide for future consultation. If you sell the unit to another user, be sure that they also receive this instruction booklet. ... -
Page 4: Technical Specifications
Warning: To prevent or reduce the risk of electrical shock or fire, do not expose the unit to rain or moisture. The housing and lenses must be replaced if they are visibly damaged. Installation: The fixture should be mounted via its screw holes on the bracket. Always ensure that the unit is firmly fixed to avoid vibration and slipping while operating and make sure that the structure to which you are attaching the unit is secure and is able to support a weight of 10 times of the fixtures weight. -
Page 5: How To Set The Unit
3. How To Set The Unit 3.1 Control panel LCOK UNLCOK... - Page 6 1. Button: MENU To select the programming functions DOWN To go backward in the selected functions To go forward in the selected functions ENTER To confirm the selected functions 2. Function Display: Show the various menus and the selected functions; 3.
-
Page 7: Main Functions
3.2 Main Functions To select any functions, press the MENU button until the required one is shown on the display. Select the function by the ENTER button and the display will blink. Use the DOWN/UP button to change the mode. Once the required mode has been selected, press the ENTER button to setup or it will automatically return to the main functions without any change after idling one minute. - Page 9 DMX Setting To select DMX Settings press the ENTER button to confirm, use the UP/DOWN button to select ArtNet Setup DMX Address Channel Mode RDM Device ID ArtNet Setup To select ArtNet Setup, press the ENTER button to confirm. Use the UP/DOWN button to select Ethernet IP Setup or ArtNet Port Setup channels mode, press the ENTER button to store.
- Page 10 DMX Last State To select DMX Last State , press the ENTER button to show DMX Last State on the display. Use the DOWN/UP buttons to select , Once the mode has been selected, press the ENTER Black Out, Hold Manu button to setup.
- Page 11 Optically Linear: The increase in light intensity appears to be linear as DMX value is increased. Square Law: Light intensity control is finer at low levels and coarser at high levels. Inverse Square Law: Light intensity control is coarser at low levels and finger at high levels. S-cure: Light intensity control is finger at low levels and high levels and coarser at medium levels.
- Page 12 Bl.O. Tilt Moving To select Bl.O. Tilt Moving, press the ENTER button to confirm. Use the UP/DOWN button to select Disable or Enable, press the ENTER button to store. Press the MENU button back to the last menu or let the unit idle one minute to exit menu mode. Fan Mode To select Fan Mode, press the ENTER button to confirm.
- Page 13 Language To select Language, press the ENTER button to confirm. Use the UP/DOWN button to select , press the ENTER button to store. Press the MENU button back to the last menu English Chinese or let the unit idle one minute to exit menu mode. Temperature Unit To select Temperature Unit, press the ENTER button to confirm.
-
Page 14: Homeposition Adjustment
to select All, Tilt Zoom All — Reset All Select All, press the ENTER button to confirm, use the UP/DOWN button to select Yes (the unit will run built-in program to reset all motors to their home positions) or No, press ENTER button to store. -
Page 15: Dmx Controller
Tilt Offset—Tilt home position adjustment Enter offset mode, Select Tilt, press the ENTER button to confirm, the present position will blink on the display, use the UP/DOWN button to offset the value from -128 to 127, press the ENTER button to store. Press the MENU button to exit. -
Page 16: Dmx 512 Configurations
Unit 1 Unit 2 Unit 3 Unit 4 Channel Mode Address Address Address Address 57 Channel 14 Channel 4.1 DMX 512 Configurations 57 Channels Mode: CHANNEL VALUE FUNCTION 000-255 Tilt DMX 000-255 Tilt DMX Fine Tilt Speed 000-007 auto speed 008-247 slow-fast 248-255... - Page 17 LED2 GREEN 000-255 0% ~ 100% LED2 BLUE 000-255 0% ~ 100% LED2 WHITE 000-255 0% ~ 100% … … … LED12 RED 000-255 0% ~ 100% LED12 GREEN 000-255 0% ~ 100% LED12 BLUE 000-255 0% ~ 100% LED12 WHITE 000-255 0% ~ 100% Special Function...
- Page 18 160-191 shutter open 192-223 Random strobe effect slow to fast 224-255 shutter open Macro 000-008 No function 009-038 macro1 039-068 macro2 069-098 macro3 099-128 macro4 129-158 macro5 159-187 macro6 188-255 macro7 000-255 Foreground Color 000-255 Background Color 000-255 000-255 GREEN 000-255 BLUE 000-255...
-
Page 19: How To Control The Unit
5. How to Control the Unit 5.1 DMX 512 Connections The DMX512 is widely used in intelligent lighting control, with a maximum of 512 channels. 1. Connect the fixture together in a “daisy chain” by XLR plug cable from the output of the fixture to the input of the next fixture. -
Page 20: Troubleshooting
6. Troubleshooting Following are a few common problems that may occur during operation. Here are some suggestions for easy troubleshooting: Problem Possible Cause Action The unit does not work, Incorrect power cable Check the connection of no light. connection. power. Incorrect mains voltage. - Page 23 Declaration of Conformity We declare that our products (lighting equipments) comply with the following specification and bears CE mark in accordance with the provision of the Electromagnetic Compatibility (EMC) Directive 89/336/EEC. EN55103-1: 2009 ; EN55103-2: 2009; EN62471: 2008; EN61000-3-2: 2006 + A1:2009 + A2:2009; EN61000-3-3: 2008. &...
- Page 24 Innovation, Quality, Performance...
Need help?
Do you have a question about the Dotline360 TB-1230 QW and is the answer not in the manual?
Questions and answers