Table of Contents
Advertisement
Quick Links
Advertisement
Table of Contents

Related Manuals for Extron electronics SF 26PT


Summary of Contents for Extron electronics SF 26PT
- Page 1 User Guide Audio Speakers SF 26PT Pendant Speakers 68-3135-01 Rev. A 03 19...
- Page 2 Safety Instructions Safety Instructions • English Istruzioni di sicurezza • Italiano AVVERTENZA: Il simbolo, , se usato sul prodotto, serve ad WARNING: This symbol, ,when used on the product, is avvertire l’utente della presenza di tensione non isolata pericolosa intended to alert the user of the presence of uninsulated dangerous all’interno del contenitore del prodotto che può...
- Page 3 安全記事 • 繁體中文 안전 지침 • 한국어 警 告 경고: 이 기호 가 제품에 사용될 경우, 제품의 인클로저 내에 있는 若產品 上使 用此 符 號 , 是 為了提 醒 使 用者,產品 機 殼內 存 在 著 접지되지 않은 위험한 전류로 인해 사용자가 감전될 위험이 있음을 可能會導致觸電之風險的未絕緣危險電壓。...
- Page 4 NOTE: A note draws attention to important information. Specifications Availability Product specifications are available on the Extron website, www.extron.com. Copyright © 2019 Extron Electronics. All rights reserved. Trademarks All trademarks mentioned in this guide are the properties of their respective owners. The following registered trademarks...
-
Page 5: Table Of Contents
SF 26PT Application Example ......2 Installation ............. 3 Installing the SF 26PT Speaker ......3 Setting the Tap Selection Switch ..... 4 Wiring the SF 26PT Speaker Assembly ... 5 Wiring the Amplifier/Previous Speaker..... 9 Wiring the Speaker ........10 Reference Information ....... 12 Optional Ceiling Bracket Kit ...... - Page 6 SF 26PT User Guide • Contents...
-
Page 7: Introduction
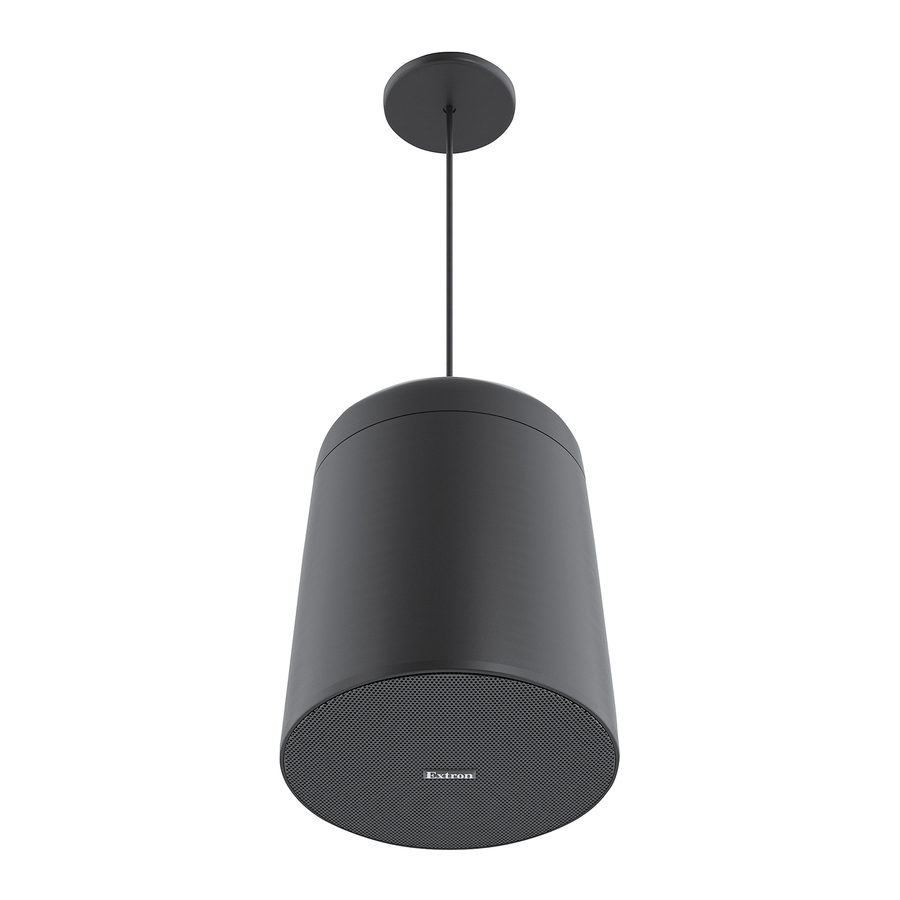
This guide describes the installation and set up of the SF 26PT pendant speaker. Overview The Extron SF 26PT speaker is a pendant speaker suspended by steel aircraft cables. The SF 26PT is ideal for open and mixed ceiling applications. -
Page 8: Sf 26Pt Application Example
Optional 500 foot (152 m) spool of PendantConnect PCC-2 speaker cable — • Black • White • • Optional SMK C SF 26PT Ceiling Surface Mount Kits — Used to surface mount an SF 26PT with a ceiling electrical box. Black • White • •... -
Page 9: Installation
Installation This section describes the installation of the SF 26PT speaker and includes the following topic: WARNING: Risk of personal injury or property damage. The final installation should be able to continuously support the speaker weight. The final installation should also be able to support any short term overloading. Since applications can vary considerably, it is assumed that the installer will exercise good judgment when selecting the mounting location, method, and hardware. -
Page 10: Setting The Tap Selection Switch
Removing the Speaker Grille Use a Tweeker or small screwdriver to set the tap selection switch to the desired position. 8Ω Adjust the Tap Selector Figure 4. Setting the Tap Selection Switch SF 26PT User Guide • Installation Replace the speaker grille. -
Page 11: Wiring The Sf 26Pt Speaker Assembly
Wiring the SF 26PT Speaker Assembly The SF 26PT speaker system includes the two SF 26PT speakers with a removable top cap, a 30-foot length of PendantConnect-2 cable (that consists of two 30-foot lengths of steel support cable, and a 30-foot length of speaker wire), four cable locks, grille hook, and two removable grilles. - Page 12 Cut the cables using value T for the cut length. NOTE: The total cable length includes 1" of cable that must extend beyond the bottom of the cable lock, as shown on the next page. SF 26PT User Guide • Installation...
- Page 13 At the structure attachment point end of the support cable, route the cable around or through the attachment structure 2. An attachment example is shown below. NOTE: Be sure to allow extra cable length and speaker wire length for the structure attachment points. SF 26PT User Guide • Installation...
- Page 14 1 inch of steel cable protrudes out of the cable lock 3. See the figure above. “Optional Ceiling Bracket Kit” in NOTE: If using the optional ceiling bracket kit, see Reference Information chapter. SF 26PT User Guide • Installation...
-
Page 15: Wiring The Amplifier/Previous Speaker
Red Wire (+) from Previous Speaker/Amplifier Red Wire (+) to Next Speaker Red Wire (+) to Speaker Black Wire (-) from Previous Speaker/Amplifier Black Wire (-) to Next Speaker Black Wire (-) to Speaker Figure 9. Loop-through Configuration SF 26PT User Guide • Installation... -
Page 16: Wiring The Speaker
2 that is attached to the red wire coming from the speaker. Press the lever down to lock the red wire in place 3. Repeat this procedure for the black wire. Figure 11. 2-pole Splicing Connector SF 26PT User Guide • Installation... - Page 17 The speaker wires are now connected at the back of the speaker. 2-Pole Splicing Connectors Replace the speaker cap. SF 26PT User Guide • Installation...
-
Page 18: Reference Information
Painting the Speaker Enclosure Optional Ceiling Bracket Kit The optional SMK C SF 26PT Extron Ceiling Bracket Kit allows the SF 26PT speaker assembly to be suspended from a junction box. The kit consists of a ceiling bracket and a matching magnetic cover. - Page 19 à ce type de câble. Strip off the cable at the strip point using value D in the previous step. See the illustration (above left) showing the dimensions of the SF 26PT. SF 26PT User Guide • Reference Information...
-
Page 20: Completing The Ceiling Bracket Installation
Ceiling Bracket to Junction Box Attachment Attach the ceiling bracket cover onto the ceiling bracket. Two small magnets secure the cover plate in place. Wire the speaker (see Wiring the Speaker on page 11). SF 26PT User Guide • Reference Information... -
Page 21: Optional 2-Aircraft Cable Installation Kit
Setting the Tap Selection Switch on page 5. The optional Extron SMK A 2C 2-aircraft cable installation kit allows the SF 26PT speaker to be suspended from 3 overhead points using the two included PendantConnect-2 steel cables and the two additional cables from the kit. - Page 22 Steel Cable as each other. Cable Lock Wiring the Amplifier/Previous Speaker on page 10. Wiring the Speaker on page 11. NOTE: The speaker cap will have to remain attached while wiring the speaker. SF 26PT User Guide • Reference Information...
-
Page 23: Optional 4-Aircraft Cable Installation Kit
Optional 4-aircraft cable Installation Kit The optional Extron SMK A 4C 4-aircraft cable installation kit allows the SF 26PT speaker to be suspended from 4 overhead points or 5 overhead points (when also using the PendantConnect-2 cable). 0° Vertical Speaker... - Page 24 3. Repeat this process for the black amplifier/ speaker wire (see the figure below). Figure 17. 3-pole Splicing Connector To Next From Speaker Amplifier Speaker Wires 3-Pole Splicing Connectors Figure 18. Using 3-pole Splicing Connectors SF 26PT User Guide • Reference Information...
- Page 25 19. NOTE: Amplifier wires going to the 3-pole splicing connector, and speaker wires being daisy chained to the next speaker may be neatly routed along a steel cable using zip ties. SF 26PT User Guide • Reference Information...
-
Page 26: Five Mounting Points
If cable locks need to be within 2 inches of each other they must be at the same height. Pipe Cable locks must be at the same height Steel Cable as each other. Cable Lock SF 26PT User Guide • Reference Information... -
Page 27: Measuring And Pre-Cutting Bulk Speaker Cable
If cable locks need to be within 2 inches of each other they must be at the same height. Pipe Cable locks must be at the same height Steel Cable as each other. Cable Lock SF 26PT User Guide • Reference Information... - Page 28 2 inches from the the top of the speaker hook, then position the two loops through the hook. Proceed to the “Wiring the SF 26PT Speaker Assembly” section on page 6 and SF 26PT User Guide • Reference Information...
-
Page 29: Cutting Bulk Cable For The Optional Ceiling Bracket
Strip Point E = 2" Strip Point F = 10" 10" Total Length T = A - B - 3.5" Floor T= Total length of PendantConnect-2 cable PendantConnect-2 Figure 22. Cutting Bulk Cable for Ceiling Bracket Cable SF 26PT User Guide • Reference Information... - Page 30 Side View Release PendantConnect-2 Cable Figure 23. Installing Bulk Cable at Ceiling Bracket Proceed to the “Completing the ceiling bracket installation” section on page 15 and continue the installation. Cable Lock Min. 1” SF 26PT User Guide • Reference Information...
-
Page 31: Painting The Speaker Grille
Wait for the paint to dry. Reattach the cloth scrim that was removed in step 2 to the back of the grille. Reattach the grille to the speaker. Six small magnets secure the grille in place. SF 26PT User Guide • Reference Information... -
Page 32: Painting The Speaker Enclosure
Remove the grille from the front of the speaker and paint it separately (see the previous section for grille painting details). Mask the front baffle when painting the enclosure. Spray paint the enclosure with a plastics-safe paint. Wait for the paint to dry. Reattach the grille. SF 26PT User Guide • Reference Information... - Page 33 Extron Electronics makes no further warranties either expressed or implied with respect to the product and its quality, performance, merchantability, or fitness for any particular use. In no event will Extron Electronics be liable for direct, indirect, or consequential damages resulting from any defect in this product even if Extron Electronics has been advised of such damage.
Need help?
Do you have a question about the SF 26PT and is the answer not in the manual?
Questions and answers