
Related Manuals for Extron electronics SF 26X


Summary of Contents for Extron electronics SF 26X
- Page 1 User Guide Speakers SF 26X SpeedMount ® Ceiling Mount Speakers 68-2222-01 Rev. A 12 13...
-
Page 2: Safety Instructions
Safety Instructions Safety Instructions • English Инструкция по технике безопасности • Русский WARNING: This symbol, , when used on the product, is intended to ПРЕДУПРЕЖДЕНИЕ: Данный символ, , если указан alert the user of the presence of uninsulated dangerous voltage within на... -
Page 3: Conventions Used In This Guide
NOTE: A note draws attention to important information. Specifications Availability Product specifications are available on the Extron website, www.extron.com. Copyright © 2013 Extron Electronics. All rights reserved. Trademarks All trademarks mentioned in this guide are the properties of their respective owners. The following registered trademarks... -
Page 4: Table Of Contents
About the SF 26X Speaker ........ 1 Features ............. 1 Application Example ........... 2 Installation ............3 Installing the SF 26X in a Suspended Ceiling ..3 Painting the Baffle and Grille ......12 SF 26X User Guide • Contents... -
Page 5: Introduction
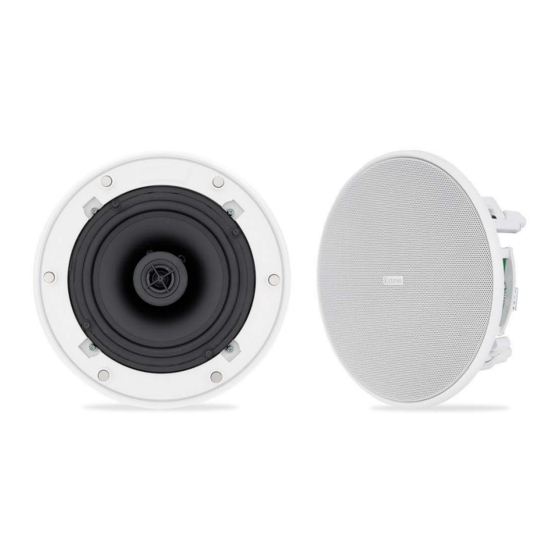
Introduction This user guide contains information about the Extron SF 26X Ceiling Mount Speaker. About the SF 26X Speaker The SF 26X speaker is a two-way, low impedance, ceiling-mount speaker system that features an 8 ohm open back speaker with a 6.5 inch woofer and a 3/4 inch tweeter designed for use in non-plenum airspace environments. -
Page 6: Application Example
Application Example The illustration below is one example of configuring a system using the SF 26X speakers. Extron TLP 1000TV 10" Tabletop TouchLink Touchpanel Extron DTP HDMI 230 Tx TCP/IP Ethernet Transmitter Network INPUTS LINK OVER DTP POWER AUDIO RS-232 0.7A MAX... -
Page 7: Installation
The maximum ceiling tile thickness that the speaker can go into is 1.22 inches (31 mm). Cut a hole for the SF 26X. Use the provided cutout template to outline the hole to be cut in the ceiling tile, as described below. - Page 8 • Strip no more than 3/16" (5 mm) of insulation from the end of the wire before inserting it into the captive screw connector. Do not tin the wires! SF 26X User Guide • Installation...
- Page 9 Wiring Multiple Speakers Using Loop-through: A loop-through electrical connection is made on the crossover board of the SF 26X. Connect the wires to the captive screw connectors of the speakers, as shown below. Be sure to tighten the screws. NOTES: •...
- Page 10 (LOOP) terminals, otherwise you may damage the test meter. Red Wire (+) from Amplifier Amplifier To next speaker Black Wire (-) from Amplifier Test Points Captive Screw Connector Impedance Test Points SF 26X User Guide • Installation...
- Page 11 The source signal can be tested by connecting to the inner + (IN) and inner – (IN) terminals of the captive screw connector, as shown below. Red Wire (+) from Amplifier Amplifier Black Wire (-) from Amplifier Test Points Captive Screw Connector Signal Test Points SF 26X User Guide • Installation...
- Page 12 • Wiring a Single Speaker: Connect the wires to the captive screw connector of the speaker, as shown below. Be sure to tighten the screws. (Red) (Black) Power Ampli er Speaker 1 SF 26X User Guide • Installation...
- Page 13 Mount the SF 26X. Insert the SF 26X through the bottom of the hole in the ceiling tile that was cut in step 2. Tighten the four screws (clockwise) of the locking arms until the arms are fully engaged and the speaker is securely clamped to the ceiling, as shown below.
- Page 14 Do not allow any slack in the secondary support line. Replace the adjacent ceiling tile. Pivot the tweeter to aim the mid and high frequencies to the desired spot, as shown below. Figure 6. Pivoting the Tweeter ATTENTION: The tweeter can be pivoted only. Do not attempt to rotate the tweeter. SF 26X User Guide • Installation...
- Page 15 Position the outer perimeter of the grille into the groove of the speaker baffle. Six magnets pull the grille securely into place, as shown below. Speaker Grille Figure 7. Installing the SF 26X Grille NOTE: Grille hooks are provided for removal of the grille after installation. SF 26X User Guide • Installation...
-
Page 16: Painting The Baffle And Grille
Carefully spray paint the outside surface of the grille. ATTENTION: Be sure to keep the paint from clogging the grille perforations, otherwise the speaker output will be affected. After the paint has completely dried, reattach the logo and scrim. SF 26X User Guide • Installation... - Page 17 Extron Electronics makes no further warranties either expressed or implied with respect to the product and its quality, performance, merchantability, or fitness for any particular use. In no event will Extron Electronics be liable for direct, indirect, or consequential damages resulting from any defect in this product even if Extron Electronics has been advised of such damage.
Need help?
Do you have a question about the SF 26X and is the answer not in the manual?
Questions and answers