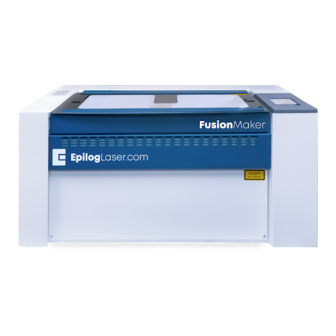
Epilog Laser Fusion Maker Manual
Hide thumbs
Also See for Fusion Maker:
- Manual (11 pages) ,
- Assembly replacement (9 pages) ,
- Step-by-step (8 pages)
Advertisement
Quick Links
Fusion Maker - Fusion Edge - Fusion Pro 24 & 36
Parts Required
•
LC0397 - Holder, Target, Alignment
CO2 Laser Alignment
•
•
•
•
Tools/ Materials Required
5/32" Allen Wrench
3/32" Allen Wrench
Masking Tape
Eyeglasses or protective eyewear
www.epiloglaser.com
tech@epiloglaser.com
303-215-9171
07/2023
.
Advertisement

Summary of Contents for Epilog Laser Fusion Maker
- Page 1 303-215-9171 CO2 Laser Alignment Fusion Maker - Fusion Edge - Fusion Pro 24 & 36 Parts Required Tools/ Materials Required • LC0397 - Holder, Target, Alignment • 5/32” Allen Wrench • 3/32” Allen Wrench • Masking Tape •...
- Page 2 17000 - CO2 Laser Alignment CO2 Laser Alignment CO2 Laser Safety CO2 laser alignment should be checked periodically to ensure that the engraver is operating at optimum performance. The laser assembly used in the Fusion Pro CO2 engraver can cause serious and or Complete this procedure if any of the permanent injury if safety procedures are following behaviors are observed:...
- Page 3 17000 - CO2 Laser Alignment The CO2 laser alignment consists of three (3) parts: The Alignment Mode menu allows you to move the lens carriage to specific table • Pre-alignment to ensure that the CO2 position and fire the laser without the laser and red dot diode are coaxial.
- Page 4 17000 - CO2 Laser Alignment Adjusting the Red Dot 1. Inspect the location of the red dot in relation to the burn mark left by the 1. Adjust the red dot so that it is laser. centered over the burn mark on the masking tape made by the laser using If additional viewing space is needed to the three (3) Allen adjustment screws:...
- Page 5 17000 - CO2 Laser Alignment Table Positions Mirror 2 / Position 2 Mirror 3 / Positions 3 & 4 There are four (4) mirrors in the Fusion Pro CO2-only engraver, all of which may need to be adjusted while aligning the cutting laser.
- Page 6 17000 - CO2 Laser Alignment Adjusting the Red Dot 1. Inspect the location of the red dot in relation to the burn mark left by the 1. Adjust the red dot so that it is laser. centered over the burn mark on the masking tape made by the laser using If additional viewing space is needed to the three (3) Allen adjustment screws:...
- Page 7 17000 - CO2 Laser Alignment Table Positions Mirror 2 / Position 2 Mirror 3 / Positions 3 & 4 There are four (4) mirrors in the Fusion Pro CO2-only engraver, all of which may need to be adjusted while aligning the cutting laser.
- Page 8 17000 - CO2 Laser Alignment Adjusting Mirror/Position 1 6. Adjust the red dot position so it is centered on the alignment target using the three (3) Allen adjustment 1. Place a new piece of masking tape on screws located on the back of mirror 1: the alignment target.
- Page 9 17000 - CO2 Laser Alignment 4. Remove the upper mirror cover at the 6. Once the red dot position is centered back left corner of the engraver: on the alignment target, move the carriage back to position 1. 7. If the red dot position is still centered on the alignment target while the lens carriage is in position 1, move to Adjusting Mirror/Position 3.
- Page 10 17000 - CO2 Laser Alignment 4. Remove the left panel of the engraver. 9. Move between positions 1, 2, and 3, adjusting the respective mirror for each position until the red dot is 5. Adjust the red dot position so it is centered on the alignment target at centered on the alignment target all three positions.
- Page 11 If further assistance is required, contact Epilog Laser Technical Support by phone at 303-215-9171, or by email at tech@epiloglaser.com...


Need help?
Do you have a question about the Fusion Maker and is the answer not in the manual?
Questions and answers