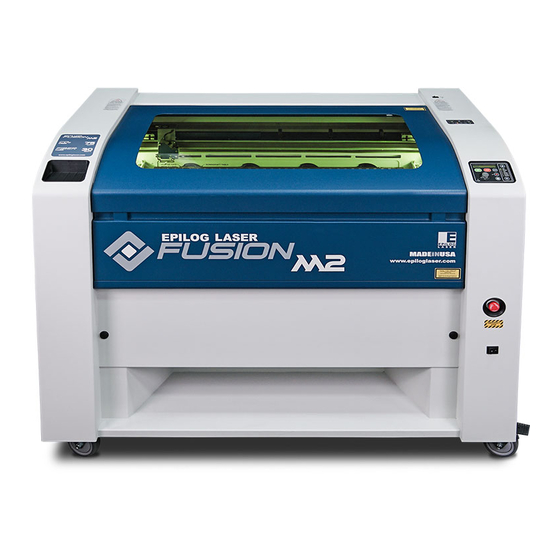
Epilog Laser Fusion Manual
Adjusting the table level
Hide thumbs
Also See for Fusion:
- Manual (11 pages) ,
- Assembly replacement (9 pages) ,
- Step-by-step (8 pages)
Advertisement
Quick Links
EPILOG LASER
16371 Table Mountain Parkway
Golden, Colorado 80403
Phone 303-215-9171
FAX 303-277-9669
www.epiloglaser.com
Adjusting the Table Level
For the Epilog Fusion and FiberMark Fusion
Requirements:
Tools:
• 3/32" Allen Wrench
• Manual Focus Gauge
When to use this document:
• Uneven power in various areas of the table.
• Reduction in quality in various areas of the table.
• General reduction in power or quality.
• Inconsistent or Inaccurate Auto Focus.
• When instructed by Epilog Tech Support.
Overview:
This procedure will guide you through the process of properly checking and
adjusting the table level on the Epilog Fusion. This will ensure proper focus on every
point of the engraving area.
Adjusting the Table Level
Fusion and FiberMark Fusion
Revision Date: 9/10/2014
9/10/20 14
pg. 1 of 10
Advertisement

Related Manuals for Epilog Laser Fusion


Summary of Contents for Epilog Laser Fusion
- Page 1 • When instructed by Epilog Tech Support. Overview: This procedure will guide you through the process of properly checking and adjusting the table level on the Epilog Fusion. This will ensure proper focus on every point of the engraving area. Adjusting the Table Level...
- Page 2 Joystick to move the Lens Carriage to the Back Right Corner of the engraver. Step 2: Place Manual Focus Gauge Place the Manual Focus Gauge on the Lens Carriage. Adjusting the Table Level Fusion and FiberMark Fusion Revision Date: 9/10/2014 pg. 2 of 10...
- Page 3 Manual Focus Gauge in each corner, the table level is good. If the table drops away or rises up as you move the Lens Carriage, please continue to the next procedure. Adjusting the Table Level Fusion and FiberMark Fusion Revision Date: 9/10/2014 pg. 3 of 10...
- Page 4 Procedure A – Step Do not use a Bubble, Laser, or Gravity Level. The table must be level to the Movement Axis of the engraver rather than gravity. Adjusting the Table Level Fusion and FiberMark Fusion Revision Date: 9/10/2014 pg. 4 of 10...
- Page 5 Look at the bottom of the table and locate the Table Level Adjusters. There is one on the Left and one on the Right sides of the table. Adjusting the Table Level Fusion and FiberMark Fusion Revision Date: 9/10/2014 pg. 5 of 10...
- Page 6 Right will raise the corner. Turning the wheel to the Left will lower the corner. Turn the wheel until the corner of the table is lightly touching the Manual Focus Gauge. Adjusting the Table Level Fusion and FiberMark Fusion Revision Date: 9/10/2014 pg. 6 of 10...
- Page 7 This will lock the level in place. Procedure C: Step 1: Move the Lens Carriage Check the table level on each corner of the engraver. Adjusting the Table Level Fusion and FiberMark Fusion Revision Date: 9/10/2014 pg. 7 of 10...
- Page 8 Locate and remove the 4 Philips head screws on the rear of the engraver to remove the exhaust weldment. Step 3: Locate the Left Rear Table Level Adjuster Adjusting the Table Level Fusion and FiberMark Fusion Revision Date: 9/10/2014 pg. 8 of 10...
- Page 9 Right will raise the corner. Turning the wheel to the Left will lower the corner. Turn the wheel until the corner of the table is lightly touching the Manual Focus Gauge. Adjusting the Table Level Fusion and FiberMark Fusion Revision Date: 9/10/2014 pg. 9 of 10...
- Page 10 Tighten the two 3/32” Allen screws on the bottom of the Table Level Adjuster. This will lock the level in place Step 7: Replace Exhaust Weldment Adjusting the Table Level Fusion and FiberMark Fusion Revision Date: 9/10/2014 pg. 10 of 10...
Need help?
Do you have a question about the Fusion and is the answer not in the manual?
Questions and answers