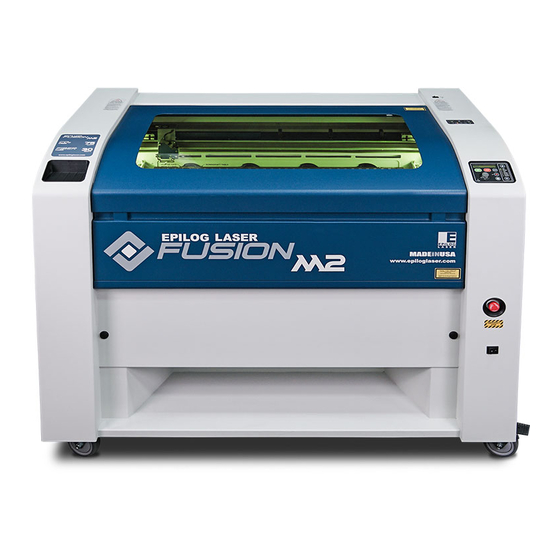
Epilog Laser Fusion Manual
X axis belt tensioning
Hide thumbs
Also See for Fusion:
- Manual (11 pages) ,
- Assembly replacement (9 pages) ,
- Step-by-step (8 pages)
Table of Contents
Advertisement
Quick Links
EPILOG LASER
16371 Table Mountain Parkway
Golden, Colorado 80403
Phone 303-215-9171
FAX 303-277-9669
www.epiloglaser.com
X Axis Belt Tensioning
Requirements:
Tools:
• 7/32" Allen Key
• 7/64" Allen Key
Overview:
The following procedure describes how to tension the X axis belt in the case that
of a positioning error caused by belt slippage. Contact Tech Support before attempting
this procedure.
X Axis Belt Tensioning
Fusion
Revision Date: 9/30/2013
For the Epilog Fusion
9/30/20 13
pg. 1 of 4
Advertisement
Table of Contents

Related Manuals for Epilog Laser Fusion


Summary of Contents for Epilog Laser Fusion
- Page 1 EPILOG LASER 16371 Table Mountain Parkway Golden, Colorado 80403 Phone 303-215-9171 FAX 303-277-9669 www.epiloglaser.com X Axis Belt Tensioning For the Epilog Fusion 9/30/20 13 Requirements: Tools: • 7/32” Allen Key • 7/64” Allen Key Overview: The following procedure describes how to tension the X axis belt in the case that of a positioning error caused by belt slippage.
- Page 2 Locate the Mirror and Pulley Block on the Left hand end of the arm. Two of the four Pulley Mounting Screws are on the top of the block. With a 7/64” Allen Key loosen (but do not remove) the first two Mounting Screws. X Axis Belt Tensioning Fusion Revision Date: 9/30/2013 pg. 2 of 4...
- Page 3 Locate the Tensioner Screw in the left hand end of the Mirror and Pulley block. It is inset into the left side. Using a 7/64” Allen Key, turn the screw Clockwise one (1) full turn. X Axis Belt Tensioning Fusion Revision Date: 9/30/2013 pg. 3 of 4...
- Page 4 Tighten the Mounting Screws on the Mirror and Pulley Block to hold the belt tension in place. Step 7: Replace the Left Side Access Panel. Conclusion If you encounter any problems please contact Epilog Tech Support at (303) 215-9171. X Axis Belt Tensioning Fusion Revision Date: 9/30/2013 pg. 4 of 4...
Need help?
Do you have a question about the Fusion and is the answer not in the manual?
Questions and answers