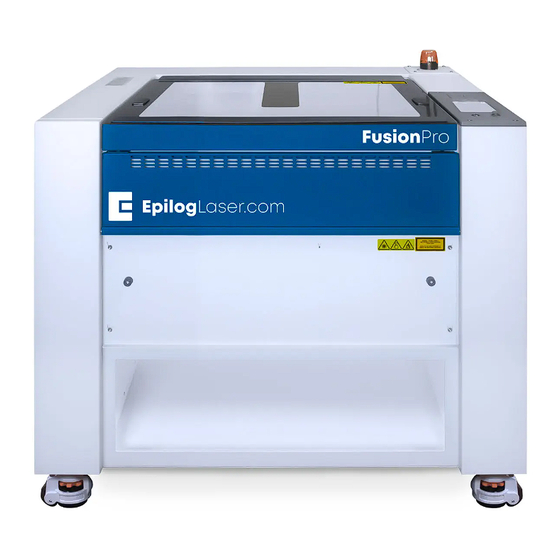
Epilog Laser Fusion Maker Assembly Replacement
Hide thumbs
Also See for Fusion Maker:
- Manual (11 pages) ,
- Assembly replacement (9 pages) ,
- Step-by-step (8 pages)
Advertisement
Quick Links
Z-Axis Switch Board (PCB) Replacement
Fusion Maker - Fusion Edge - Fusion Pro 24 & 36
Parts Required
•
LC0802 - PCBA, Z Switch
•
24 x 12 tables
•
LC0824 - PCBA, Z Switch, 24
•
24 x 24 and 36 x 24 tables
Tools/ Materials Required
•
5/32" Allen Wrench
•
5/16" Nut Driver or Adjustable Wrench
•
Anti-Static Bracelet
•
Pencil or Marker
www.epiloglaser.com
tech@epiloglaser.com
303-215-9171
07/2023
.
Advertisement

Summary of Contents for Epilog Laser Fusion Maker
- Page 1 303-215-9171 Z-Axis Switch Board (PCB) Replacement Fusion Maker - Fusion Edge - Fusion Pro 24 & 36 Parts Required Tools/ Materials Required • LC0802 - PCBA, Z Switch • 5/32” Allen Wrench • 24 x 12 tables •...
- Page 2 17000 - Z-Axis PCB Replacement Z-Axis PCB Replacement 5. Using a pencil, make a mark on the engraver chassis that corresponds with the top edge of the z-axis PCB. Z-Axis PCB Removal This will help to ensure that the new z-axis PCB is installed in the correct position: 1.
- Page 3 17000 - Z-Axis PCB Replacement 7. Loosen and remove the four (4) 5/16 2. Place the z-axis PCB over the nuts that secure the z-axis PCB to the mounting studs: engraver chassis: 3. Install, but do not fully tighten the four 8.
- Page 4 PCB to the chassis of focus, and autofocus calibrations. the engraver: If further assistance is required, please contact Epilog Laser Technical Support by phone at 303-215-9171, or by email at tech@epiloglaser.com 6. Connect the communication cable to...


Need help?
Do you have a question about the Fusion Maker and is the answer not in the manual?
Questions and answers