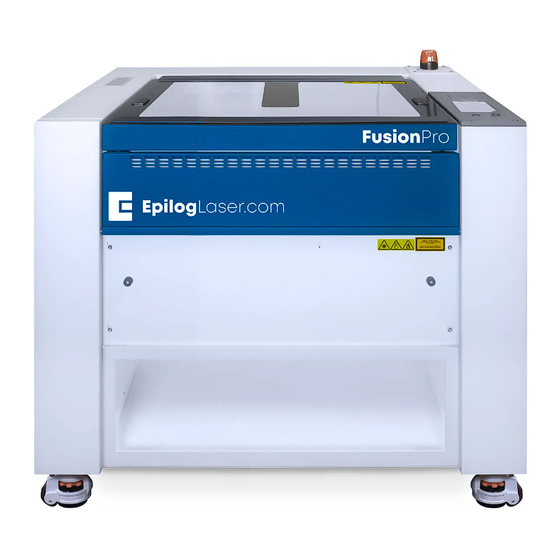
Epilog Laser Fusion Maker Manual
Hide thumbs
Also See for Fusion Maker:
- Manual (11 pages) ,
- Assembly replacement (9 pages) ,
- Step-by-step (8 pages)
Table of Contents

Summary of Contents for Epilog Laser Fusion Maker
- Page 1 303-215-9171 Y-Axis Bearing Block Assembly Replacement Fusion Maker - Fusion Edge - Fusion Pro 24 & 36 Parts Required Tools/ Materials Required • Varies by Model • 5/32”, 7/64” Allen Wrench • Phillips Head Screwdriver 07/2023...
- Page 2 17000 - Y-Axis Bearing Block Replacement Y-Axis Bearing Block Right Side Assembly Replacement Y-Axis Bearing Block Assembly Removal 1. Turn off the engraver. 2. Disconnect engraver from power source. 3. Remove the left or right panel of the engraver, depending on which y-axis bearing block assembly is being 5.
- Page 3 17000 - Y-Axis Bearing Block Replacement 10. The y-axis bearing blocks ride on the 7. Loosen and remove the four (4) Phillips y-axis guide rails in the engraver which screws that secure the y-axis motor: are secured to the y-axis guide rail supports: 8.
- Page 4 17000 - Y-Axis Bearing Block Replacement Y-Axis Bearing Block Assembly 12. Remove the rubber bumper from the front of the y-axis guide rail: Installation 1. Place the y-axis assembly on top of the y-axis guide rail supports, ensuring the threaded holes are facing downwards: 13.
- Page 5 17000 - Y-Axis Bearing Block Replacement 5. Connect the y-axis motor harness to 3. Install, but do not fully tighten the four the y-axis motor: to seven (4-7) 7/64” Allen screws that secure the y-axis assembly to the y-axis guide rail supports through the circular cutouts under the y-axis guide rail: 6.
- Page 6 17000 - Y-Axis Bearing Block Replacement 9. Place the x-axis assembly on the 7. Ensure that the y-axis motor is properly y-axis bearing blocks: seated in the y-axis assembly: 10. Install and tighten the four (4) x-axis assembly fasteners 8. Install and tighten the four (4) Phillips screws that secure the y-axis motor to the y-axis assembly:...
- Page 7 17000 - Y-Axis Bearing Block Replacement 11. Replace the side panels of the engraver. If further assistance is required, contact Epilog Laser Technical Support by phone at 303-215-9171, or by email at tech@ epiloglaser.com.


Need help?
Do you have a question about the Fusion Maker and is the answer not in the manual?
Questions and answers