Advertisement
Quick Links
Advertisement

Summary of Contents for Epilog Laser Fusion
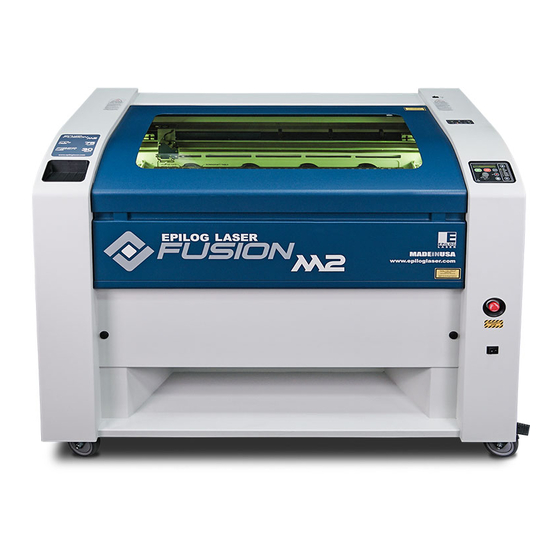
- Page 1 X Axis Sensor Replacement Step-By-Step for the Epilog Fusion/Fusion M2...
- Page 2 Replacing the X Axis sensor should be done if: • You cannot Jog left or right • During boot up the head doesn’t go to the left. X Axis Sensor Replacement Fusion...
-
Page 3: Things You Will Need
Things You Will Need • Phillips Screwdriver • X-Y Limit Switch (2 total on each Axis) X Axis Sensor Replacement Fusion... - Page 4 Remove X Axis Cover Make sure Fusion is turned off and disconnected from power source. Remove the top cover from the X-Axis assembly by using a Phillips screwdriver to unscrew the Phillips screws at the front and the back of the cover.
- Page 5 Locate and Remove Sensors on X- Axis With a Phillips Screwdriver, unscrew the two Philips screws that are holding the black sensor and the silver housing. Please see pictures for reference. Right Sensor Left Sensor X Axis Sensor Replacement Fusion...
- Page 6 Axis Flip the X Axis. Cut the zip tie that holds the harness in place. Then Disconnect the black connector. The right sensor will have an additional white clip that you will need to unscrew. X Axis Sensor Replacement Fusion...
- Page 7 Locate and Remove Sensors on X- Axis Now you can pull the Sensor out from the top through the opening. X Axis Sensor Replacement Fusion...
- Page 8 Install New Sensor Reverse these steps to install the new sensors. Be sure to put the X Axis cover back on before running the machine more. For further questions contact Epilog Tech Support. EPILOG LASER Phone 303-215-9171 tech@epiloglaser.com www.epiloglaser.com Laser Alignment, Epilog 8000 Series...


Need help?
Do you have a question about the Fusion and is the answer not in the manual?
Questions and answers