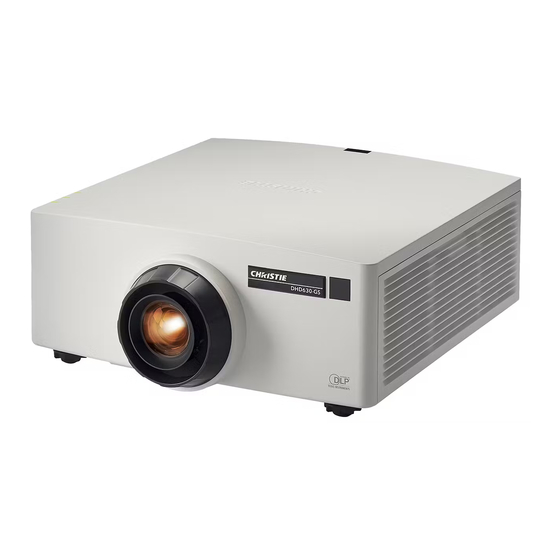
Christie DHD630-GS Installation Manual
Ultra short throw
Hide thumbs
Also See for DHD630-GS:
- User manual (90 pages) ,
- Service manual (79 pages) ,
- Instruction sheet (17 pages)
Advertisement
Quick Links
Ultra short throw lens
installation
The ultra short throw lens—0.36 UST GS (P/N: 140-133108-XX)—allows you to position your projector
as close as possible to your screen or display.
Unless otherwise indicated, the 700-GS and 850-GS model is shown for illustration purposes and may
vary from your model.
Affected products
The following products are affected:
•
GS Series
Identifying product versions
The Ultra short throw lens kit is designed with two types of installation accessories to fit the different
lens shift modules (LSM) on the projectors. Check the boresight of the projector to identify the version
of the lens shift module. This document provides installation steps for both types of LSMs.
Make sure the projector is turned off before checking the boresight.
Lens shift module
LSM1
LSM2 - A
Ultra Short Throw Lens Installation Instruction Sheet
020-102569-07 Rev. 1 (12-2022)
Copyright
©
2022 Christie Digital Systems USA, Inc. All rights reserved.
If printed, please recycle this document after use.
Boresight description
Has a lens release button. The
boresight plate is secured with three
screws.
Does not have a lens release button.
The boresight plate is secured with
four screws
Projectors
Christie DHD630-GS
Christie DWU630-GS
Christie DHD635-GS
Christie DWU635-GS
Christie DHD850-GS
Christie DWU850-GS
Christie DHD700-GS
Christie DWU700-GS
Christie DHD1075-GS
Christie DWU1075-GS
Christie DHD630-GS
Christie DWU630-GS
Christie DHD635-GS
Christie DWU635-GS
1
Advertisement


Need help?
Do you have a question about the DHD630-GS and is the answer not in the manual?
Questions and answers