Table of Contents
Advertisement
Quick Links
USER MANUAL
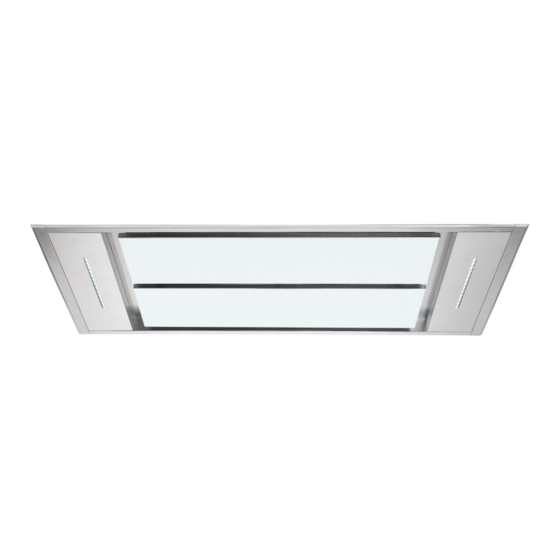
CANOPY COOKER HOOD KITCHEN
EXTRACTOR FAN IN SILVER
eiQCH110CEILING
Thank you for choosing your electriQ cooker hood.
This instruction manual is designed to provide you with all required instructions
related to the installation, use and maintenance of the appliance. In order to operate
the unit correctly and safely, please read this instruction manual carefully before
installation and usage.
Advertisement
Table of Contents

Related Manuals for ElectrIQ eiQCH110CEILING


Summary of Contents for ElectrIQ eiQCH110CEILING
- Page 1 CANOPY COOKER HOOD KITCHEN EXTRACTOR FAN IN SILVER eiQCH110CEILING Thank you for choosing your electriQ cooker hood. This instruction manual is designed to provide you with all required instructions related to the installation, use and maintenance of the appliance. In order to operate the unit correctly and safely, please read this instruction manual carefully before installation and usage.
-
Page 2: Table Of Contents
CONTENTS SAFETY PARTS LIST VENTING INFORMATION INSTALLATION OPERATION REMOTE CONTROL CLEANING AND MAINTENANCE FILTER INFORMATION BULB REPLACEMENT TROUBLESHOOTING PRODUCT FICHE SUPPORT... -
Page 3: Safety
SAFETY PRECAUTIONS Whilst this product is compliant with all safety requirements, incorrect or inappropriate use can lead to both personal injury and potential damage to property. Please read the contents of this instruction booklet thoroughly before fitting or using this appliance. •... - Page 4 and 75cm gives peak efficiency. • The air must not be discharged into a flue that is used for exhausting fumes from appliances burning gas or other fuels. • When the hood is vented externally and used with appliances which burn fuel (e.g.
-
Page 5: Parts List
PARTS LIST 138B 110cm DESCRIPTION ILLUSTRATION cooker hood adjustable angle iron bracket assembly hanging board angle iron(length 140mm) Explode screw(φ6*60mm) screw(ST6*40mm) wall plug gasket(φ4*12*1mm) screw nut (M4) screw with gasket(M4×10mm) cable tie(8×550mm) v-flap(150) expansion pipe converter remote control... -
Page 6: Venting Information
V-FLAP INSTALLATION OPTIONS FOR VENTILATION This hood can be set up for either external venting or recirculation of the air. The type of setup should be decided before commencing installation. EXTERNAL VENTING A flexible pipe is provided which allows the cooking odours to be extracted outside. If this is the chosen installation method consideration to the route of the vent pipe should be made. -
Page 7: Installation
INSTALLATION 1. The cooker hood should not be placed at a distance of no more than 1500mm from the cooking surface for the best performance. Refer to Pic 1. 2. The ceiling must can bear at least 120KGs weight, and the thickness of the ceiling must be greater than 30MM. - Page 8 Decide on the direction of the air outlet. ①/②/③/④ 6. open the decorative plate in order, and take out the filter. Refer to Pic 7, unscrew and take away the 4 pcs ST4*8mm screws that on the panel decorative strip. Unscrew the 8pcs machine silk from the bottom of the cabinet housing and rotate it by 90°/180°/270°...
- Page 9 10. Connect the 4 adjustable angle iron brackets with the housing using M4*12mm machine silk screws. Lift up the housing and use M4*12mm machine silk screws and M4 nut with gasket to fix the housing onto the 2 hanging board and pull the expansion pipe outside.
-
Page 10: Operation
OPERATION OPERATION DESCRIPTION Press the power button to turn the unit on and off. When the unit POWER is turned on the hood will start automatically at low fan speed. When the hood is turned off, the hood will remember the last speed used and start at the speed when next turned on. -
Page 11: Remote Control
REMOTE CONTROL 15 seconds after the cooker hood is connected to the power supply, press and hold for 5 seconds, the indicator lights will begin flashing. The cooker hood is in connection mode. Press any button on remote control to confirm the connection. The connection process finished and the remote control can be used for speed selection, lighting and timer setting. -
Page 12: Cleaning And Maintenance
There is a fire risk if cleaning is not carried out in accordance with the instructions. Replacement grease filters are available under the following codes: HOOD GREASE FILTER eiqgfceiling eiqch110ceiling INSTALLING GREASE MESH FILTERS To install filters for the following four steps. 1. Angle the filter into slots at the back of the hood. - Page 13 CARBON FILTER-not supplied Activated carbon filter can be used to trap odors. Normally the activated carbon filter should be changed at three or six months according to your cooking habit. The installation procedure of activated carbon filter is as below. Attention for outdoor ventilation of cooker hood: If you choose②or④...
-
Page 14: Bulb Replacement
TROUBLESHOOTING Fault Cause Solution The fan blade is jammed. Switch off the unit. Repair to be Light on, but fan carried out by qualified service does not work The motor is damaged. personnel only. Both light and Power cord loose Plug in to the power supply again. -
Page 15: Product Fiche
PRODUCT FICHE Symbol Value Unit Model identification eiQCH110CEILING Annual Energy 62,9 kWh/a Consumption hood Time increase factor Fluid Dynamic Efficiency 32.4 hood Fluid Dynamic Efficiency Class A class Energy Efficiency Index 50.7 hood Energy Efficiency class Class A Maximum air flow - boost 886.2... -
Page 16: Support
UK SUPPORT www.electriQ.co.uk/support Call: 0330 390 3061 Office hours: 9AM - 5PM Monday to Friday www.electriQ.co.uk Unit J6, Lowfields Business Park Lowfields Way, Elland West Yorkshire, HX5 9DA Recycling facilities are now available for all customers at which you can deposit your old electrical products. Customers will be able to take any old electrical equipment to participating sites run by their local councils.
Need help?
Do you have a question about the eiQCH110CEILING and is the answer not in the manual?
Questions and answers