Sign In
Upload
Download
Table of Contents
Contents
Add to my manuals
Delete from my manuals
Share
URL of this page:
HTML Link:
Bookmark this page
Add
Manual will be automatically added to "My Manuals"
Print this page
×
Bookmark added
×
Added to my manuals
Manuals
Brands
Neopost Manuals
Printer
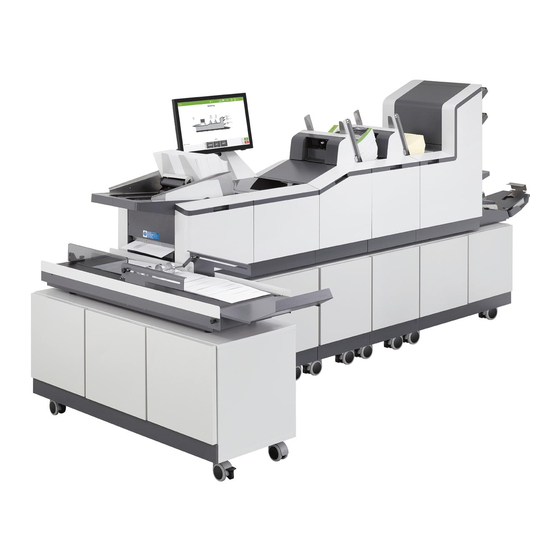
DS-600i
User manual
Neopost DS-600i User Manual
Dynamic envelope printer
Hide thumbs
1
2
3
Table Of Contents
4
5
6
7
8
9
10
11
12
13
14
15
16
17
18
19
20
21
22
23
24
25
26
27
28
29
30
31
32
33
34
35
36
37
38
39
40
41
42
43
44
45
46
47
48
49
50
51
52
53
54
55
56
57
58
page
of
58
Go
/
58
Contents
Table of Contents
Bookmarks
Table of Contents
User Guide
Revision Level
Table of Contents
Technical Specifications
Pack Thickness for Printing
Mechanical & Electrical
System Description
Creating a Job in IMOS
Scripting Modes
Important Note
Creating a Customer 'Project' from the NTL 'Template
Designing the Print Layout for the Customers Project
Page Setup
DEP Paper Offset Settings
Offsets U1 and U2
Fonts + Layouts
Print Quality DPI and Transport Speed
Script and Printer
Print Orientation
IMOS Scripting Modes
Mail Shot / Sequential (Non-Reset)
Matching/ Dynamic DB Lookup Using AIMS
Flexmail Automatic Updates (Version 4.2)
Printer Print Quality
IMOS Job Instructions
Troubleshooting Information
Advertisement
Quick Links
1
User Guide
2
Table of Contents
3
Technical Specifications
4
Mechanical & Electrical
5
Creating a Job in Imos
6
Troubleshooting Information
Download this manual
To Contents
NEOPOST TECHNOLOGIES LTD
Dynamic Envelope Printer (DEP)
User Guide
DS-600i/200i/FFI
Issue 3.0
10/08/2017
Page | 1
Table of
Contents
Previous
Page
Next
Page
1
2
3
4
5
Advertisement
Table of Contents
Need help?
Do you have a question about the DS-600i and is the answer not in the manual?
Ask a question
Questions and answers
Related Manuals for Neopost DS-600i
Printer Neopost DS-200i User Manual
Dynamic envelope printer (58 pages)
Printer Neopost M1500 User Manual
(37 pages)
Printer Neopost DS-63 Quick Start Manual
Cleaning and replacing the moistening brushes (4 pages)
Printer Neopost DS-40i User Manual
(37 pages)
Printer Neopost MACH 5DX Service Manual
Rena. digital color duplex printer (166 pages)
Printer Neopost MACH 5 Service Manual
Digital color printer (106 pages)
Printer Neopost MACH 6 Service Manual
Digital color printer (149 pages)
Printer Neopost HD-M11dn User Manual
(115 pages)
Printer Neopost HD-M11dn Setup Manual
(18 pages)
Printer Neopost AS-150 User Manual
Small media inkjet printer (32 pages)
Printer Neopost HD-MF14dn Advanced User's Manual
(140 pages)
Printer Neopost IJ-25 User Manual
Tax machine (43 pages)
Printer Neopost AS-510C Operating Manual
Addressing solution (46 pages)
Printer Neopost AS-970C User Manual
Address and graphics printing solution (128 pages)
Printer Neopost SA50S User Manual
Address printer (47 pages)
Printer Neopost MACH 5 Service Manual
Digital color printer (204 pages)
This manual is also suitable for:
Ds-200i
Ds-ffi
Table of Contents
Print
Rename the bookmark
Delete bookmark?
Delete from my manuals?
Login
Sign In
OR
Sign in with Facebook
Sign in with Google
Upload manual
Upload from disk
Upload from URL


Need help?
Do you have a question about the DS-600i and is the answer not in the manual?
Questions and answers