Do you have a question about the ARTG30LHTA and is the answer not in the manual?
Questions and answers
Shirley Phillips
March 10, 2025
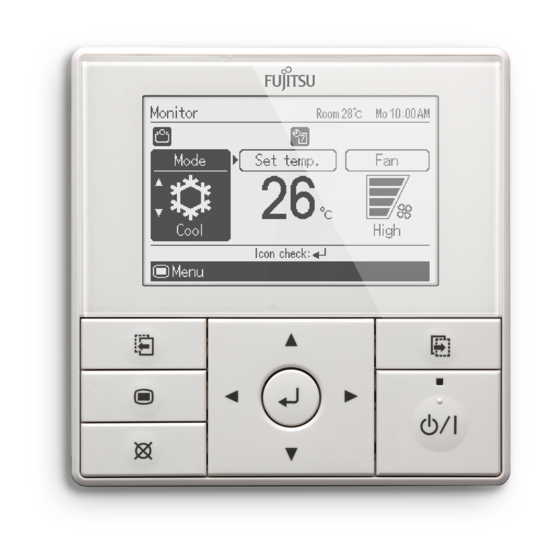
I get this error message which I believe refers to the indoor unit but the manual gave no explanation.
RC Address :00
Code : Er 98.3
What do I need to do??
1 comments:
Mr. Anderson
March 10, 2025
The error code Er 98.3 is not explicitly listed in the provided context. However, the document contains various error codes related to indoor and outdoor unit issues, such as inverter PCB errors, temperature sensor errors, and pressure sensor errors.
To resolve the issue, follow these steps: 1. Turn off the air conditioner and disconnect power for a few minutes. 2. Check for any visible damage or loose connections in the indoor unit. 3. Restart the unit and observe if the error reappears. 4. If the issue persists, refer to the operating manual for specific troubleshooting steps or contact a qualified technician.
If more details are needed, consult the full error code list in the manual.
This answer is automatically generated
Darrell
February 4, 2025
**** not operating in one zone
1 comments:
Mr. Anderson
February 10, 2025
The Fujitsu ARTG30LHTA may not be operating in one zone because at least one zone must always be open. If no zone is selected, the system may display a message requiring the user to check at least one zone. The system allows for either individual zone control ([Zone (single)]) or simultaneous zone control ([Zone (group)]). If no zone is selected, the air conditioner may not function properly.


Need help?
Do you have a question about the ARTG30LHTA and is the answer not in the manual?
Questions and answers
I get this error message which I believe refers to the indoor unit but the manual gave no explanation. RC Address :00 Code : Er 98.3 What do I need to do??
The error code Er 98.3 is not explicitly listed in the provided context. However, the document contains various error codes related to indoor and outdoor unit issues, such as inverter PCB errors, temperature sensor errors, and pressure sensor errors.
To resolve the issue, follow these steps:
1. Turn off the air conditioner and disconnect power for a few minutes.
2. Check for any visible damage or loose connections in the indoor unit.
3. Restart the unit and observe if the error reappears.
4. If the issue persists, refer to the operating manual for specific troubleshooting steps or contact a qualified technician.
If more details are needed, consult the full error code list in the manual.
This answer is automatically generated
**** not operating in one zone
The Fujitsu ARTG30LHTA may not be operating in one zone because at least one zone must always be open. If no zone is selected, the system may display a message requiring the user to check at least one zone. The system allows for either individual zone control ([Zone (single)]) or simultaneous zone control ([Zone (group)]). If no zone is selected, the air conditioner may not function properly.
This answer is automatically generated