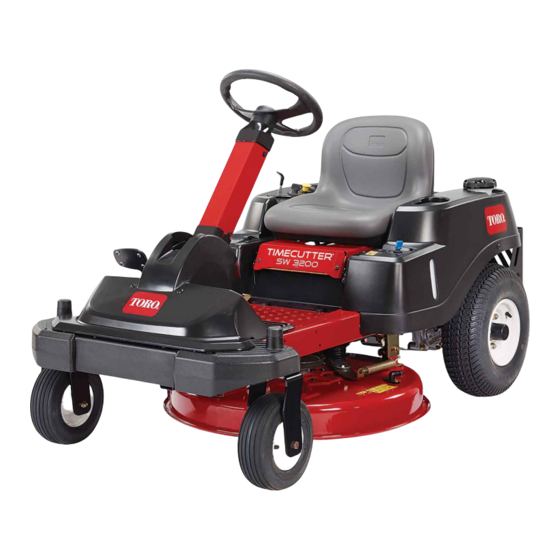
Toro TimeCutter SW4200 Service Manual
Hide thumbs
Also See for TimeCutter SW4200:
- Operator's manual (60 pages) ,
- Operator's manual (52 pages) ,
- Operator's manual (52 pages)


Need help?
Do you have a question about the TimeCutter SW4200 and is the answer not in the manual?
Questions and answers
sometime when I make a hard turn to the left on a sw5000 the left hydraulic unit stays locked and the mower will only go to the left. I can keep trying to get ot to free up and it will go back to normal. what could be the fix
The issue could be related to the tracking adjustment of the hydrostatic drive system. If the unit drifts or stays locked when making a hard left turn, follow these steps:
1. Check Tracking Adjustment – Ensure that the unit drives in a straight line without needing to steer it straight. If tracking is off, adjust it as needed.
2. Raise Rear Wheels – Safely lift the unit so that the rear wheels are off the ground.
3. Inspect Hydrostatic Drive System – Look for any signs of binding or excessive resistance in the hydrostatic drive components.
4. Check for Whining Noise – If there is a whining sound when forcing the unit straight, it could indicate excessive load on one of the hydraulic units.
5. Ensure Proper Belt Tension – Verify that the hydrostatic drive belt is properly routed and tensioned.
If the issue persists after these steps, further inspection of the hydrostatic drive system may be required.
This answer is automatically generated