ADTRAN NetVanta 950 IAD Quick Configuration Manual
Hide thumbs
Also See for NetVanta 950 IAD:
- Hardware installation manual (54 pages) ,
- Quick configuration manual (7 pages)
Advertisement
Quick Links
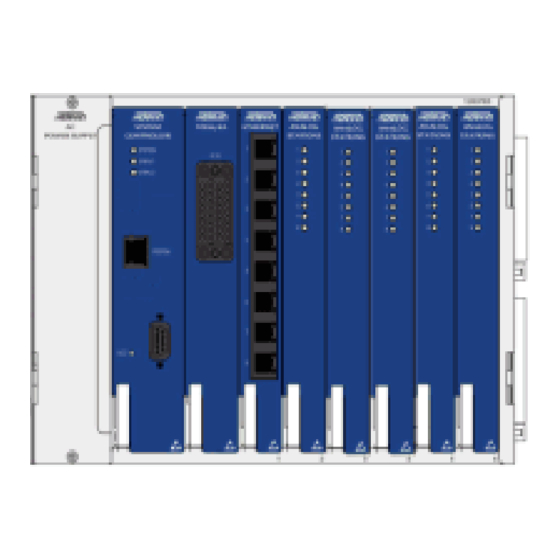
NetVanta 950 IAD
(with Octal FXS/FXO, Octal Ethernet, and T1/V.35 Modules)
Quick Configuration Guide
Equipment Required
•
A PC with a web browser and network connection and/or VT100 terminal software for
connecting to the unit.
•
DB-9 (male) to DB-9 (female) straight-through serial cable for configuring the unit.
•
Appropriate cable(s) for connecting the system to the existing network
.
The configuration sections of this quick configuration guide are formatted to provide both
step-by-step text descriptions and screen shots. The configuration scripts for the command
line interface are available on the ADTRAN OS Documentation CD.
The configuration parameters used in the example outlined in this document are for
instructional purposes only. Please replace all bold underlined entries (example) with your
specific parameters to configure your application.
Network Diagram
61200788L1-42A
NetVanta 950
2 T1s
Battery Backup
Technical Support 1-888-4ADTRAN (1-888-423-8726)
November 2004
10/100BaseT
Analog Phones
and Fax
Advertisement

Related Manuals for ADTRAN NetVanta 950 IAD


Summary of Contents for ADTRAN NetVanta 950 IAD
- Page 1 The configuration sections of this quick configuration guide are formatted to provide both step-by-step text descriptions and screen shots. The configuration scripts for the command line interface are available on the ADTRAN OS Documentation CD. The configuration parameters used in the example outlined in this document are for instructional purposes only.
- Page 2 Access the CLI via the CONSOLE port or a Telnet session. Refer to the AOS CLI on page 15. 1. Connect the PC with a web browser to the NetVanta 950 IAD ETHERNET 0/1 port on the front panel of the controller module.
- Page 3 6. The initial GUI screen appears. 61200788L1-42A Technical Support 1-888-4ADTRAN (1-888-423-8726)
- Page 4 Configure the Ethernet Interface 1. Click on IP Interfaces on the left side of your screen. 2. Next, click on Default (located under IP Interfaces). Technical Support 1-888-4ADTRAN (1-888-423-8726) 61200788L1-42A...
- Page 5 3. Change the default IP address and subnet mask. 4. Click on Apply to accept the new settings. You will lose your connection to the unit once you click Apply. The browser must be reopened using the new IP address to access the unit. You must click Save to write the new settings into NVRAM (refer to Save the Configuration on page 19).
- Page 6 Connect to and Configure Interfaces 1. Click on Physical Interfaces on the left side of you screen. 2. Click on t to select the T1 interface. 1 0/1 Technical Support 1-888-4ADTRAN (1-888-423-8726) 61200788L1-42A...
- Page 7 3. From this screen, you can use the Configured DS0 Connections box to create a connection from any DS0 on this T1 port to a virtual or physical interface. 4. Select the range of DS0s and the destination interface from the pull-down menu. 5.
- Page 8 Virtual Frame Relay Configuration 1. Use the screen below to edit the settings of your Frame Relay interface, add PVCs, and check the status of the interface. 2. Click on Apply to accept the current configuration changes. 3. Click on Add at the bottom of this screen to access the PVC’s DLCI configuration. Technical Support 1-888-4ADTRAN (1-888-423-8726) 61200788L1-42A...
- Page 9 4. Use this page to edit the settings of a DLCI on a PVC. 5. Click on Apply to accept the current configuration changes. Click Save to write the new settings into NVRAM (refer to Save the Configuration on page 19). 61200788L1-42A Technical Support 1-888-4ADTRAN (1-888-423-8726)
- Page 10 FXS Interface Configuration 1. Use the screen below to edit the settings on an FXS interface. 2. Click on Apply to accept the current configuration changes. You must click Save to write the new settings into NVRAM (refer to Save the Configuration on page 19).
- Page 11 FXO Interface Configuration 1. Use the screen below to edit the settings on an FXO interface. 2. Click on Apply to accept the current configuration changes. You must click Save to write the new settings into NVRAM (refer to Save the Configuration on page 19).
- Page 12 Serial Interface Configuration 1. Use the screen below to edit the settings on the Serial interface. 2. Click on pply to accept the current configuration changes. You still have to click Save to write the new settings into NVRAM (refer to Save the Configuration on page 19).
- Page 13 T1 Interface Configuration 1. Use the screen below to edit the settings on the T1 interface. 2. Click on Apply to accept the current configuration changes. You must to click Save to write the new settings into NVRAM (refer to Save the Configuration on page 19).
- Page 14 Save Configuration Click Save to write the current configuration to NVRAM. Any changes made without saving will be lost after a power cycle or reboot. Download Configuration Click Download to get the currently saved configuration from the NetVanta. Upload Configuration Upload your own configuration file for the NetVanta here.
- Page 15 AOS CLI The AOS CLI allows users to access and control the system through a command driven CONSOLE connection. Users have more configuration control and advanced options available via this type of connection. 1. Connect a VT100 terminal (or PC with VT100 emulation software) to the NetVanta CONSOLE port on the front panel of your Controller Module using a DB-9 (male) to DB-9 (female) straight-through serial cable.
- Page 16 Configure a Telnet Session The following steps show how to access the Telnet configuration parameters and change the password. The default password for initializing a Telnet session is password (all lower case). For security purposes, change the password to something unique. For this example, replace the underlined word with a password of your choosing.
- Page 17 4. Enter exit to return to the Global Configuration mode. Configure the PPP Virtual Interface The following steps outline configuring a PPP Virtual interface (labeled 1) to the NetVanta 950 IAD. The following steps assume the Global Configuration mode is currently active. Verify the prompt of the unit displays (config)#.
- Page 18 For this example we will map a single DS0 from a T1 WAN interface to an FXS port. The NetVanta 950 IAD Octal FXS access module (1200791L1) must be installed for this application to work. The following steps assume the Global Configuration mode is currently active. Verify that the prompt of your unit displays (config)#.
- Page 19 Create a T1 to T1 Cross-Connect For this example we will map DS0s from a T1 WAN interface to another T1 WAN interface. The NetVanta 950 IAD T1/V.35 Expansion Module (1200798L1) must be installed for this application to work. 1. Enter interface t1 0/1 to access the configuration parameters for the WAN 0/1 interface.
Need help?
Do you have a question about the NetVanta 950 IAD and is the answer not in the manual?
Questions and answers