Table of Contents
Advertisement
Quick Links
Advertisement
Table of Contents

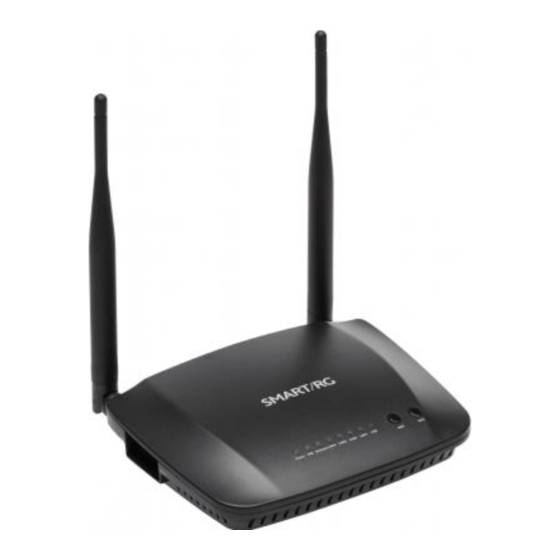
Summary of Contents for ADTRAN SMART/RG SR506n
- Page 1 SR506n Quick Start Guide...
-
Page 2: Installation
Installation For DSL connections, connect one end of the supplied DSL cable to the DSL port on the gateway and the other end to the DSL wall jack installed by your provider. For all other devices, connect an Ethernet cable from the device to any of the LAN ports on the gateway. -
Page 4: Led Indicators
LED Indicators The LEDs on the SR506n can help you understand the current state of your gateway. Action Meaning Power Connected Connected Syncing Internet Connected Authentication failed LAN4 – LAN1 Connected Data is being transferred Connected... -
Page 5: Logging In To Your Gateway
Logging in to Your Gateway To change the settings on your gateway, you must log in to the gateway's interface. Make sure that you have completed the steps in "INSTALLATION" before you begin. Open your Internet browser application, type 192.168.1.1 into the address line and press Enter. - Page 6 Enter the username and password and click OK. The default credentials are admin and admin. Note: Your service provider may use other settings. Please contact your provider for login information. The Device Info summary page appears. Configuring the WAN Manually If the automatic connection process is unsuccessful, refer to the Advanced Setup >...
- Page 7 WiFi Setup Two methods, WPS and Manual, are available for WiFi setup. Perform the steps on this page for both methods, and then follow the instructions for the method you desire. In the left navigation bar, click Wireless. The Wireless > Basic page appears.
- Page 8 If desired, in the SSID field, enter the network name to which you want your client devices connected. Continue with the steps in the method you prefer.
- Page 9 WPS Method If the device you wish to connect to the Internet via your SmartRG gateway supports the WPS secure WiFi connection method, you may follow these steps. 1. In the left menu, click Wireless > Security. 2. In the Enable WPS field, select Enabled and click Apply/Save.
-
Page 10: Manual Method
Manual Method Set up your gateway’s parameters first, then: 1. In the left menu, select Wireless > Security and scroll down to the Manual Setup AP section. 2. Select the SSID of the network you wish to configure. You will need this ID for step 7. -
Page 11: Optional Wall Mount
Optional Wall Mount Insert the two included screws into the wall using the template below. Using wall anchors is recommended. 3 / ” (98mm) Slide the gateway down on the screws. -
Page 12: Additional Support
Additional Support If you require further instructions, contact your local ISP support. SmartRG Inc., an ADTRAN company. All Rights Reserved. © 2020...


Need help?
Do you have a question about the SMART/RG SR506n and is the answer not in the manual?
Questions and answers