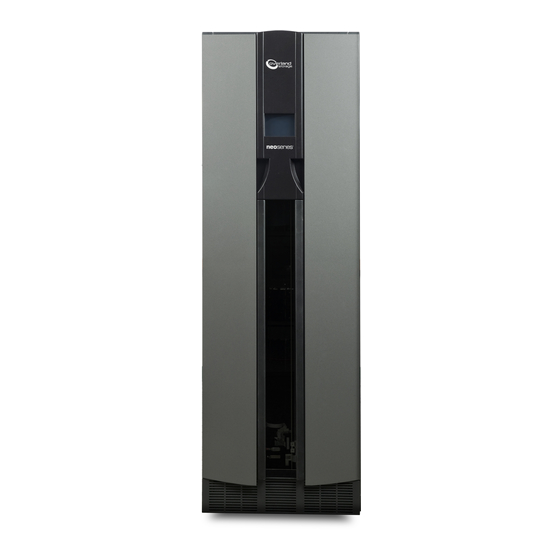
Overland Storage NEO 8000 Remove & Replace Instructions
Horizontal robotics assembly
Hide thumbs
Also See for NEO 8000:
- User manual (162 pages) ,
- Installation manual (50 pages) ,
- Remove & replace instructions (44 pages)

Related Manuals for Overland Storage NEO 8000


Summary of Contents for Overland Storage NEO 8000
- Page 1 NEO 8000 ™ Horizontal Robotics Assembly Spares Kit Remove & Replace Instructions Part Number 104372-102 Release Date 08/2005...
- Page 2 Overland Storage. Overland Storage provides this manual as is, without warranty of any kind, either expressed or implied, including, but not limited to, the implied warranties of merchantability and fitness for a particular purpose.
-
Page 3: Preface
Covers the processes to power up the libraries and verify that the replacement was a success. About this Guide This Remove & Replace guide describes how to change out your HRA in a NEO 8000. It assumes you are familiar with basic functions of your computer and networking. Part Number 104372-102 08/2005... -
Page 4: Conventions
Overland Storage Technical Support For more assistance, search for help at: http://support.overlandstorage.com/ Our Overland Storage Technical Support staff is also available to assist you by phone at: 1.877.654.3429 (Toll-free and active only in US and Canada) 1.858.571.5555 x5 (Worldwide) On normal business days 6 AM through 5 PM (California time) excluding Overland holidays. -
Page 5: Table Of Contents
Purpose of This Manual ....................... iii Manual Organization ........................iii About this Guide .......................... iii Conventions ..........................iv Overland Storage Technical Support ..................iv Chapter 1 - Introduction Replacement Process Overview .................... 1-1 Required Tools ........................1-1 HRA Parts Locations ........................1-2 Electrostatic Discharge Information .................. - Page 6 List of Figures Chapter 1 - Introduction Figure 1-1: HRA Major Components ..................1-2 Chapter 2 - Prepare the Libraries Figure 2-1: Clearance Needed for HRA Removal ..............2-1 Figure 2-2: Library Panel Cover Removal Example..............2-2 Figure 2-3: Back Access Plates and Drives That Need To Be Removed......2-2 Chapter 3 - Replace the HRA Figure 3-1: HRA PCB Connections....................
-
Page 7: Chapter 1: Introduction
Chapter 1: Introduction A Horizontal Robotics Assembly (HRA) is installed inside two connected NEO 8000 libraries to enable the robotics in each of the individual libraries to exchange cartridges by means of a pass-through system. IMPORTANT: Overland Storage recommends that the HRA be replaced by an Overland Storage authorized service provider. -
Page 8: Hra Parts Locations
HRA Parts Locations Figure 1-1 shows the layout of the HRA major components. HRA Controller PCB Signal/Power Flex Harness Shuttle Shuttle Controller PCB Figure 1-1: HRA Major Components Electrostatic Discharge Information A discharge of static electricity can damage static-sensitive devices. Proper packaging and grounding techniques are necessary precautions to prevent damage. -
Page 9: Chapter 2: Prepare The Libraries
There must be at least 3.5 feet (1.1m) of clear space beside the library to allow enough room to remove the HRA from the connected NEO 8000 libraries. If there is not enough room, it is necessary for you to move the library system. -
Page 10: Remove Components For Rear Access
Figure 2-2: Library Panel Cover Removal Example Remove Components for Rear Access If you cannot reach parts of the HRA from the sides or are unable to remove one of the side panels, removal of various access plates from both libraries can allow easier access or assist in leveling the system after it has been moved. -
Page 11: Chapter 3: Replace The Hra
Chapter 3: Replace the HRA You are now ready to replace the old HRA. The new HRA comes complete and ready to install. CAUTION: Follow ESD protocols when working with the printed circuit boards (PCB). Remove the Old HRA Follow these steps to remove the old HRA from the library system. 1. -
Page 12: Attach The New Hra
M4x10mm Screws Figure 3-2: Screws Holding the HRA to the Mounting Brackets 4. Carefully lift the HRA up and off the Mounting Bracket alignment pins. 5. Remove the old HRA from the library system and set it on a secure surface. Attach the New HRA Attach the new HRA to the Mounting Bracket assemblies. -
Page 13: Check The Position Of The Libraries
M4x10mm Screws Figure 3-4: Screw Locations to Attach the HRA to the Brackets 4. Using the drive belt, operate the shuttle by hand the full length of the HRA to ensure that there are no obstructions that interfere with its travel. 5. -
Page 14: Reattach Side Panels And Access Plates
Reattach Side Panels and Access Plates Once the units are confirmed level, reattach the side panels of the libraries using the retained screws. If any access plates were removed from the back panels, reattach them at this time. Figure 3-6: Reattaching the Side Panels 3–4 Part Number 104372-102 08/2005... -
Page 15: Chapter 4: Verify The Hra Operation
Chapter 4: Verify the HRA Operation Once the new HRA is in place, you need to check that everything functions correctly. CAUTION: For the HRA to function correctly, the Master library must have all six (6) drawers enabled before enabling any drawers in the Slave unit. Power on the Library System 1. -
Page 16: Figure 4-1: Starting The Cartridge Cycle Test
NOTE: The GUI refers to the HRA as “Pass-Thru” on the GUI screen. 3. Allow the test to run for 30 minutes or 20-25 HRA (Pass-Thru) iterations. If the test fails, contact Overland Storage Technical Support. Refer to “Overland Storage Technical Support”... -
Page 17: Appendix A: Moving The Libraries
Slave units. 2. Release and remove the Mail Slots from both units. WARNING: Working with a powered NEO 8000 library may cause physical harm and severe damage to unit’s circuitry. Always power down a library before removing any panels. -
Page 18: Move The Library System Back In Place
5. Using a wrench, turn each leveler 3-4 turns counterclockwise to raise it off the floor. 6. Using at least 2 people, roll the library system to an open location. Continue with the standard removal and replacement of the HRA. Move the Library System Back in Place Once the new HRA is in place, you can move the library system back to its original position.
Need help?
Do you have a question about the NEO 8000 and is the answer not in the manual?
Questions and answers