Table of Contents
Advertisement
Quick Links
- 1 Chapter 3 Wiring the Devices
- 2 Chapter 5 Using Click Supervisor
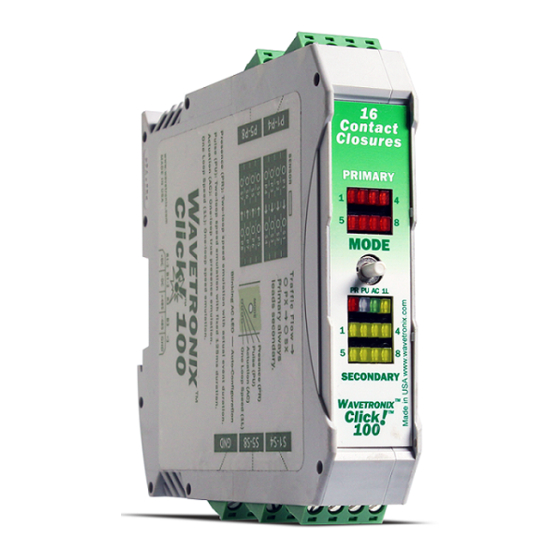
- 3 Chapter 8 Click 104 - 4-Channel Din Rail Contact Closure
- 4 Click 172/174 - Contact Closure Rack Cards
- 5 Chapter 13 Click 200 - Lightning Surge Protector
- 6 Click 201/202/204 - Ac to DC Power Supply
- 7 Chapter 23 Click 301 - Serial to Ethernet Converter
- Download this manual
Advertisement
Table of Contents


Need help?
Do you have a question about the Click 100 Series and is the answer not in the manual?
Questions and answers