Table of Contents
Advertisement
Quick Links
DLT-V83 Industrial Computer
Quick Start and Installation (EN)
These Quick Start and Installation Instructions apply to all models in the DLT-V83
series: For DLT-V8310, DLT-V8312 and DLT-V8315 in various equipment levels.
IMPORTANT:
− Read and observe these instructions before commissioning and
using the DLT-V83.
− Read and observe the "DLT-V83 Safety Instructions".
− Observe all other documents included with the device.
− Retain all documents and pass them on to any future owners of the
equipment.
− Read and observe the "DLT-V83 Operating Instructions" available
online and provided for download from our websites:
www.advantech.com
www.advantech-service-iot.eu
On these websites you will also find the latest versions of all
DLT-V83 documentation.
1
PACKING LIST
Before setting up the system, check that the items listed below are included and in good
condition. If any item does not accord with the table, please contact your dealer
immediately:
− DLT-V83 Industrial Computer
− Power cable (DC or AC variant)
− Cable cover (with or without integrated UPS battery pack)
− Cable sealing set including cable clips, grommets and fastening screws
− Product supplement like these instructions and possibly "OS End User License
Agreement" (depends on optional OS type)
13
Advertisement
Table of Contents

Related Manuals for Advantech DLT-V83 Series


Summary of Contents for Advantech DLT-V83 Series
- Page 1 − Retain all documents and pass them on to any future owners of the equipment. − Read and observe the “DLT-V83 Operating Instructions” available online and provided for download from our websites: www.advantech.com www.advantech-service-iot.eu On these websites you will also find the latest versions of all DLT-V83 documentation.
-
Page 2: Rear Side
OVERVIEW OF IMPORTANT OPERATING ELEMENTS NOTICE: Property damage Users of the DLT-V83 must be trained by skilled personnel and instructed about the operation of the device. 2.1 Rear side Radio antenna: − Do not cover − Must have a distance of >... - Page 3 2.2 Front side (2 model variants) A) Front with Resistive touchscreen Available with: − 5 front keys (as shown in the picture below) − or 26 front keys (5 front keys as shown in the picture below plus additional numeric keys 0 to 9, arrow keys and programmable function keys) Radio antenna: −...
- Page 4 B) Front with PCT touchscreen Radio antenna: − Do not cover − Must have a distance of Programmable > 20 to 50 cm to persons function keys and Shift-key Operate the PCT Front keys: touchscreen with: − Power − Dry fingers −...
-
Page 5: External Connectors
EXTERNAL CONNECTORS 3.1 In the cable compartment under the cable cover DLT-V83 Series: DC variant, maximum equipment level (optional) Pin assignment (standard) Power supply 12/24/48 VDC nominal UPS (optional) Uninterrupted power supply (UPS) 2 x SMA (optional) WWAN/GPS Audio MIC PWR out... - Page 6 DLT-V8315: AC variant, maximum equipment level (optional) Pin assignment (standard) Power supply 100 up to 240 VAC DLT-V8315 Audio MIC PWR out Voice kit COM1, COM2 Serial interfaces 2 x RSMA (optional) Remote WLAN antenna RJ45 LAN Ethernet 10/100/1000 MBit/s USB2, USB1, USB0 USB 2.0 interface (HI-SPEED™), bootable Expansion interfaces package 1 (optional)
- Page 7 3.2 Connectors underneath the antenna (or underneath the protective cap, for devices without radio equipment) Connectors: − Service-USB (USB 2.0 Host, HI-SPEED − CFast slot − Mini-SIM card slot NOTICE: Physical damage − Switch off the DLT-V83 before the protective cap or antenna is removed. −...
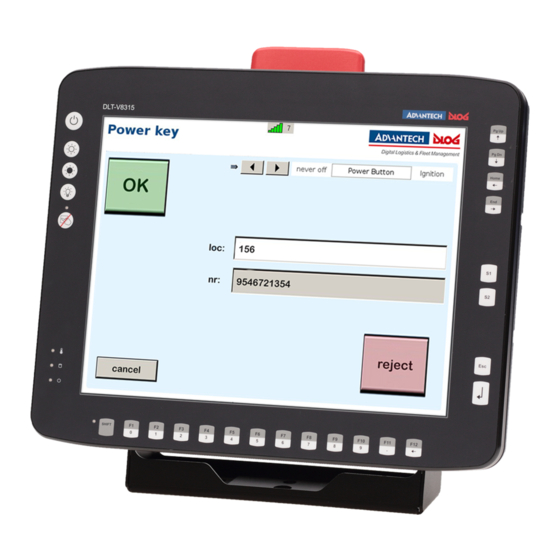
- Page 8 CONFIGURATION (FRONT KEYS, RADIO) 4.1 General Basic settings for the DLT-V83 are defined in advance at the factory, e.g. : − Network settings − Front-key assignment − Functional method of the automatic shutdown function, etc. To adapt these settings, please use the configuration tool for the corresponding operating system on your DLT-V83, e.g.
- Page 9 NOTES ON THE MECHANICAL MOUNTING 5.1 Overview: Recommended mounting sequence Find a suitable installation position for the DLT-V83. Secure the device mounting (RAM or mounting bracket) to the targeted subject/vehicle. Connect external accessories to the DLT-V83. Install an easily accessible disconnecting device such as a switch close to the device.
-
Page 10: Notes On The Electrical Installation
NOTES ON THE ELECTRICAL INSTALLATION Available power supply units Integrated direct current (DC) power supply unit Available for all device variants of the DLT-V83 series: − Integrated, galvanically separated direct current power supply unit − 12/24/48 VDC nominal (wide-range power supply unit) −... -
Page 11: Required Components
CONNECT CABLES, SEAL CABLE PASSAGES 7.1 Required components A) Cable sealing set Cable sealing set components 10 x cylinder head screws DIN 912 M3x12 for fastening the cables to the strain relief rail 7 x cable clips for fastening the cables to the strain relief rail 10 x cable grommets (different size openings);... - Page 12 7.2 Procedure STEP 1: Plug in the power supply cable Plug the relevant power supply cable (AC or DC) into the corresponding slot on the DLT-V83. For DC devices only: Secure the power supply cable, ensure a proper electrical connection Mounting screws −...
- Page 13 Please note: From STEP 2 the information applies to all devices, AC and DC! STEP 2: Fit cable grommet onto power supply cable (AC or DC variant) and secure to the strain relief − Fit a suitable cable grommet onto the power supply cable. NOTICE: The cable grommet must completely surround the cable.
- Page 14 STEP 3: Connect the USB, Ethernet and COM cables Procedure as described for the power supply cable: − Connect the cable. − Fit the appropriate cable grommet to the cable. − Insert both components into the cable passage. − Secure using cable clip and screws to the strain relief rail. STEP 4: Close off unused cable openings Close off all unused cable passages with dummy...
-
Page 15: Attaching The Cable Cover
ATTACHING THE CABLE COVER To prevent fluids or dust penetrating the DLT-V83 during ongoing operation, the cable compartment on the device must be sealed using the corresponding cable cover. The protection class is only ensured if the cable cover is properly installed. 8.1 Attaching the cable cover without integrated UPS battery −... -
Page 16: For Your Notes
FOR YOUR NOTES...
Need help?
Do you have a question about the DLT-V83 Series and is the answer not in the manual?
Questions and answers