Panasonic AW-HS50E Manuals
Manuals and User Guides for Panasonic AW-HS50E. We have 6 Panasonic AW-HS50E manuals available for free PDF download: Operating Instructions Manual

Panasonic AW-HS50E Operating Instructions Manual (398 pages)
Table of Contents
-
English
2-
-
-
-
-
Tally/Gpi46
-
-
Connections47
-
Deutsch
68-
-
-
-
-
LAN-Verbindung112
-
Tally/Gpi112
-
-
-
Verbindungen113
-
-
Anhang (Glossar)
131
-
Français
134-
-
-
-
-
Connexion LAN178
-
Tally/Gpi178
-
-
-
Connexions179
-
-
Italiano
200-
Prima Dell'uso
202 -
-
-
-
-
-
Connessione LAN244
-
Tally/Gpi244
-
-
-
Collegamenti245
-
-
Español
266-
Antes del Uso
268 -
-
-
Key274
-
-
-
-
-
Conexión LAN310
-
Tally/Gpi310
-
-
-
Conexiones311
-
-
Advertisement
Panasonic AW-HS50E Operating Instructions Manual (196 pages)
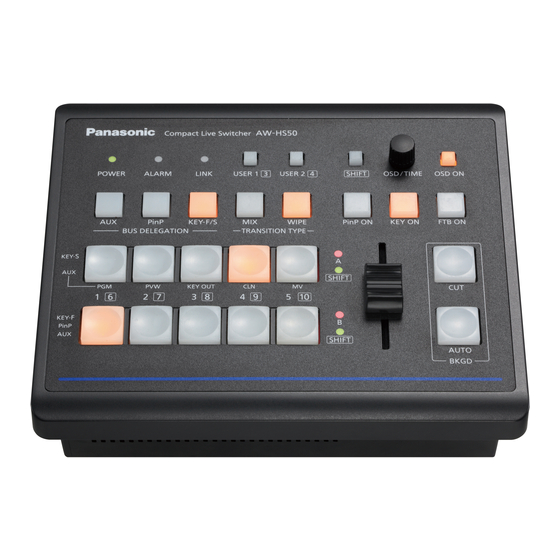
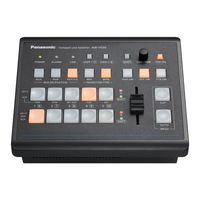
compact live switcher
Table of Contents
-
English
5-
Accessories
10 -
-
Rear Panel17
-
-
3 Appearance
31
-
Deutsch
38-
Zubehör
43 -
-
Steuerpult45
-
Rückwand50
-
-
-
3 Aussehen
64
-
Français
70-
Accessoires
75 -
-
Italiano
102-
Prima Dell'uso
103 -
Caratteristiche
105 -
Accessori
107 -
-
Pannello Comandi109
-
-
-
3 Aspetto
128 -
4 Specifiche
129
-

Panasonic AW-HS50E Operating Instructions Manual (140 pages)
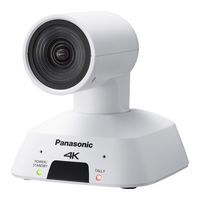
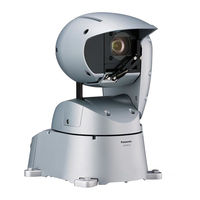
HD Integrated Camera
Brand: Panasonic
|
Category: Security Camera
|
Size: 11 MB
Table of Contents
-
Shooting11
Advertisement

Panasonic AW-HS50E Operating Instructions Manual (84 pages)
4K integrated camera
Brand: Panasonic
|
Category: Digital Camera
|
Size: 2 MB
Table of Contents
-
Accessories11
-
Menu Items35
-
Camera Menu35
-
Scene36
-
AGC Max Gain37
-
Slow Shutter37
-
Gain38
-
Chroma Level38
-
Detail38
-
Contrast39
-
Drs39
-
Dnr39
-
Ldc39
-
-
System Menu40
-
Frequency41
-
Format42
-
Mirror43
-
Digital Zoom43
-
Tally43
-
Ir ID43
-
OSD Status44
-
Color Bar44
-
MIC44
-
-
Language45
-
FW Version45
-
IP Address45
-
Subnet Mask46
-
MAC Address46
-
Initialize46
-
-
Menu Table47
Panasonic AW-HS50E Operating Instructions Manual (68 pages)
4K Integrated Camera
Brand: Panasonic
|
Category: Digital Camera
|
Size: 2 MB
Table of Contents
-
Accessories47
-
Color Bars49
-
Index68
Panasonic AW-HS50E Operating Instructions Manual (56 pages)
HD Integrated Camera
Table of Contents
-
Connections12
-
Appearance17
-
Before Use28
-
Features30
-
Accessories32