
Fluke endurance series Manuals
Manuals and User Guides for Fluke endurance series. We have 6 Fluke endurance series manuals available for free PDF download: User Manual

Fluke endurance series User Manual (147 pages)
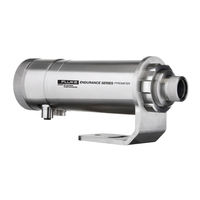
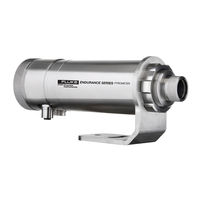
Innovative High Temperature Infrared Pyrometers
Brand: Fluke
|
Category: Measuring Instruments
|
Size: 6 MB
Table of Contents
-
Contacts
16 -
3 Basics
27 -
-
Positioning31
-
-
Power Supply35
-
-
Inputs37
-
Outputs39
-
6 Operation
42-
-
Analog Menu54
-
-
Averaging55
-
Peak Hold55
-
Valley Hold58
-
-
7 Rs485
60-
Installation60
-
Wiring61
-
8 Ethernet
63 -
11 Options
75
Advertisement
Fluke endurance series User Manual (104 pages)
Innovative High Temperature Infrared Pyrometers
Brand: Fluke
|
Category: Measuring Instruments
|
Size: 4 MB
Table of Contents
-
-
-
-
Power Supply32
-
-
-
-
-
Fluke endurance series User Manual (104 pages)
Innovative High Temperature Infrared Pyrometers
Brand: Fluke
|
Category: Measuring Instruments
|
Size: 4 MB
Table of Contents
-
Dimensions23
-
Environment24
-
Installation25
-
Power Supply32
-
Averaging48
-
Peak Hold48
-
Valley Hold51
-
Setpoint52
-
Deadband52
-
Outputs53
-
Trigger53
-
Description58
-
Diagnostics61
-
Accessories63
Advertisement

Fluke endurance series User Manual (100 pages)
Innovative High Temperature Infrared Pyrometers
Brand: Fluke
|
Category: Measuring Instruments
|
Size: 5 MB
Table of Contents
-
Dimensions19
-
Environment20
-
Installation21
-
Power Supply28
-
Averaging44
-
Peak Hold44
-
Valley Hold47
-
Setpoint48
-
Deadband48
-
Outputs49
-
Trigger49
-
Description54
-
Diagnostics57
-
Accessories59

Fluke endurance series User Manual (106 pages)
Innovative High Temperature Infrared Pyrometers
Brand: Fluke
|
Category: Measuring Instruments
|
Size: 5 MB
Table of Contents
-
-
-
Dimensions23
-
-
-
Power Supply32
-
-
-
-
8 Options
55-
-
Description65
-

Fluke endurance series User Manual (102 pages)
Innovative High Temperature Fiber Optic Infrared Pyrometers
Brand: Fluke
|
Category: Measuring Instruments
|
Size: 6 MB
Table of Contents
-
-
-
Dimensions30
-
-
-
-
Power Supply43
-
-
-
-
Advertisement