
Related Manuals for Strong SRT 7002


Summary of Contents for Strong SRT 7002
- Page 1 Digital High Definition Satellite Receiver SRT 7002 User Manual Bedienungsanleitung Manuel de l'utilisateur Manuale per l'uso Használati útmutató Руководство пользователя 03 Sep 2012 15:24...
-
Page 4: Table Of Contents
6.10 Changing between DTV/ VCR contents sTRong declares that this item complies with the basic requirements and other relevant regulations of directives CE 2004/108/EC and 73/23/EC, Rohs 2002/95/EC Subject to alterations. In consequence of continuous research and development technical specifications, design and appearance of products may change. -
Page 5: Instruction
PART 1 • English 1.0 InsTRuCTIon 1.1 safety Instructions do noT InsTAll YouR RECEIvER: In a closed or poorly ventilated cabinet; directly on top of or under any other equipment; on a „ „ surface which might obstruct the ventilation slots. do noT EXPosE ThE RECEIvER oR ITs ACCEssoRIEs: To direct sunlight or any other equipment that generates heat;... -
Page 6: Equipment Set-Up
„ Always make backups of data on your USB storage device before using it with this receiver. STRONG will not take responsibility for any loss of information or circumstances caused by loss of information. Please ensure that either the USB device is already formatted to FAT/FAT32, or format the USB „... -
Page 7: Rear Panel
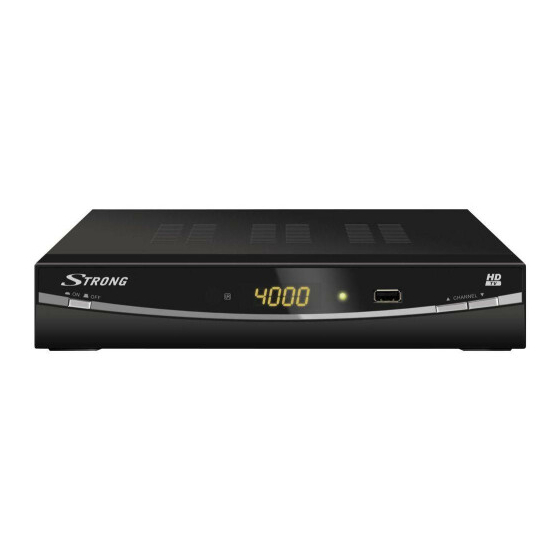
PART 1 • English 1. Power button: To turn ON/OFF the main power supply 2. Remote control sensor: Receives the signal from the remote control 3. lEd display: Shows channel number in operation and time in Standby 4. standby indicator: Shows power state of the receiver Green LED - receiver is turned on Red LED - receiver is in standby mode... -
Page 8: Installing The Batteries
PART 1 • English 10. EXIT Go back one step in the menu/cancellation of current process/exit from main menu to viewing mode 11. tu Decreasing/increasing the volume level in viewing mode/navigating through the menus/changing values of settings in a menu 12. -
Page 9: Using The Remote Control
PART 1 • English 1. Open the cover 2. Install batteries 3. Close the cover noTE: The batteries should not be recharged, disassembled, electrically short-circuited, be mixed or used with other types of batteries. 2.6 using the Remote Control Fig. 5 To use the remote control, point it towards the front of the digital receiver. -
Page 10: First Time Installation
5.0 QuICk guIdE foR usIng YouR RECEIvER We at STRONG understand that you can’t wait to enjoy your new HD receiver. The following quick guide will make you familiar with the basic operation of this device. We do, however, advice you to read the full manual to get the best performance from your STRONG HD receiver. -
Page 11: Operation
PART 1 • English 6.0 oPERATIon In viewing mode, several features are available to make watching TV a true pleasure. This paragraph describes these features. Please also read chapter 7 to get familiar with the menu of your new receiver. 6.1 Changing channels There are different ways to change channels with your new receiver. -
Page 12: Info Banner
PART 1 • English You can change the on-screen duration of the info banner in the Option menu. Please refer to section 7.5 for more details. *Programme information is displayed when available. Availability depends on broadcast. 6.3 selection of audio language Some channels support a choice of different audio formats and/or languages. -
Page 13: Favourite Channels
PART 1 • English 6.9 favourite channels Use the fAvouRITE button to access your favourite channels and to toggle between available favourite groups. Please refer to section 7.1.1 for details on how to create favourite lists. 6.10 Changing between dTv/vCR contents The receiver has the possibility to loop through the signal from the VCR SCART input to the TV SCART. - Page 14 PART 1 • English 3. Now in viewing mode you can select channels from the chosen favourite group only by pressing pq. If you want to change to the main channel list, press ok in viewing mode and then press goTo and select All satellites. delete a Tv or radio programme 1.
-
Page 15: Picture
PART 1 • English 3. To store the changes and exit the menu, press EXIT. 7.1.2 EPg (Electronic Programme guide) Please refer to section 6.8 above. 7.1.3 sort Here you can sort your channels in the following orders: Default Sort the channels in the original order By Service Name Sort the channels in alphabetical order (A-Z) By Frequency... -
Page 16: Channel Search
PART 1 • English video output This setting is only relevant when the receiver is connected to the TV set via Scart. Select RGB for the best picture quality or CVBS if your TV doesn’t support RGB. loop Through (vCR to Tv scart) This option is only relevant if you have a device (video-/DVD-recorder) connected to the VCR scart connector of your receiver. - Page 17 PART 1 • English press tu for moving West/East. It will keep moving as long as the button is Move Continue: hold pressed. By pressing once it will move in 1°step. press tu for moving West/East in 0.3° step. Move Step(1): Store Position: to store the current motor position for selected satellite.
- Page 18 PART 1 • English and press bluE for Scan. A window with scanning settings will be displayed. After configuring the settings like explained in Single Satellite Scan above, press ok or bluE again to start Multi-Scan on all selected satellites. 7.3.1.4 scanning by transponder (manual scan) Press goTo for displaying the transponder list of the highlighted satellite.
-
Page 19: Time And Date Settings
PART 1 • English Edit transponder: Press gREEn to edit the highlighted transponder. In the pop-up banner, change the transponder´s data by using the navigation and numeric buttons. Confirm changes with ok or cancel with EXIT. Delete transponder: Press YElloW to delete the highlighted transponder. Press ok to confirm or EXIT to cancel. -
Page 20: Option
PART 1 • English right channel number by selecting the first letters of the channel´s name in the pop up window. When you have entered all parameters, press ok to store your booking. Edit: Press the gREEn button to edit an existing booking. Delete: Press the bluE button to delete a booking from the list. - Page 21 STRONG dealer or visit our website http://www.strong.tv for more information. In the OTA menu all necessary STRONG OTA settings (Satellite, Frequency, Symbol rate and Polarization) are already set per default but could also be changed manually. Press ok to initiate the update process.
-
Page 22: Usb
FAT32 format. Make sure your USB device is formatted correctly. noTE: STRONG cannot guarantee compatibility (operation and/or bus power) with all USB mass storage devices and assumes no responsibility for any loss of data that may occur when connected to this unit. - Page 23 PART 1 • English REPEAT: Press once for single file repeat, twice to repeat all files or three times for random playing. The symbol for selected repeat mode will appear at the top of the screen. Press once again to return to the common play mode. RECAll: Goes to the parent folder.
- Page 24 (its functionality is explained in the Music section above). *STRONG cannot guarantee the playback of video files although extensions are listed here, as the correct playback depends on codec used, data bit rate and resolution as well. Please consult the STRONG Hotline in your country to get more details.
-
Page 25: Troubleshooting
If the receiver does not work properly after checking it, please contact your local Service line or STRONG dealer. Alternatively you can send a support mail via our website: www.strong.tv. NEVER open or disassemble your receiver. This may cause a dangerous situation and will void the warranty. -
Page 26: Specifications
PART 1 • English Problem Possible cause What to do The external USB HDD does not Power consumption is too high. Connect an extra power supply start. adapter to your USB HDD device. The receiver switches to standby Auto Standby function is Set the power down time or automatically. - Page 27 Audio playback: MP3, WMA formats Picture view: JPG, BMP formats *STRONG cannot guarantee the playback of video files although extensions are listed here, as it depends on codec used, data bit rate and resolution. Connectors SAT IN SAT OUT HDMI (V/A -Output) Type A -Version:...
Need help?
Do you have a question about the SRT 7002 and is the answer not in the manual?
Questions and answers