Advertisement
Quick Links
Made in America
Thank you for purchasing this instrument panel from Intellitronix. We value our customers!
* Always disconnect the battery before attempting any electrical work on your vehicle.*
*Power up the unit before installing to ensure everything is working properly*
KIT COMPONENTS
•
One (1) Digital Circuit Board
•
One (1) Smoked Acrylic Lens
•
One (1) Black Overlay
•
One (1) Temperature Sending Unit (S8013)
•
One (1) Pressure Sending Unit (S8868) 1/8" NPT, 0-100 PSI Oil Pressure
Hardware:
•
(3) #6 Nylock Nuts
Panel Removal
1. Remove the two bottom mounting screws (near the steering column) and the trim piece (this
snaps into place).
2. Remove the clear plastic cover from the instrument panel by removing the six (6) mounting
screws (you do not need to keep this cover).
3. Remove the four (4) mounting bolts that attach the wire housing to the dashboard (KEEP these
for re-installation).
4. Remove the instrument panel from the dashboard.
1 DP4005
INSTALLATION GUIDE
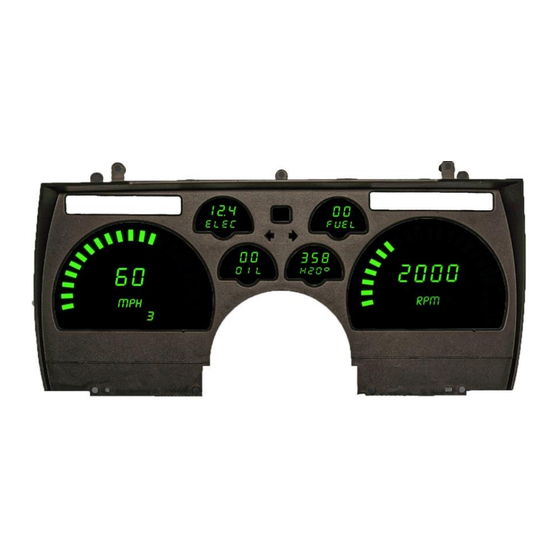
Camaro Digital Dash Panel
Part Number: DP4005
Year Series: '91 - '92
Intellitronix (rev 1/11/2024)
Lifetime Guarantee
1/8" NPT, 1/2" NPT Bushing
•
(3) #6 - 32-3/4" screws
•
(3) nylon washers
www.intellitronix.com
Advertisement

Related Manuals for Intellitronix DP4005


Summary of Contents for Intellitronix DP4005
- Page 1 Made in America Lifetime Guarantee Thank you for purchasing this instrument panel from Intellitronix. We value our customers! INSTALLATION GUIDE Camaro Digital Dash Panel Part Number: DP4005 Year Series: ‘91 - ‘92 * Always disconnect the battery before attempting any electrical work on your vehicle.*...
- Page 2 Secure the assembly using the lock nuts provided Place the new gauge assembly into the modified housing and attach the front bezel to the housing with the factory hardware. The new gauges will be wedged between the bezel and housing. 2 DP4005 Intellitronix (rev 1/11/2024) www.intellitronix.com...
-
Page 3: Wiring Instructions
Purple - Dimmer Connect to the parking lights to dim the LEDs 50% when the headlights are on. However, *DO NOT * connect to the headlight rheostat control wire, or the dimming feature will not work properly and may cause damage to Unit. 3 DP4005 Intellitronix (rev 1/11/2024) www.intellitronix.com... - Page 4 If your vehicle has a GM HEI ignition, connect to the terminal marked ‘TACH’, or, on some systems, a single white wire with a spade terminal. If your vehicle has an after-market ignition – some systems will connect to the TACH output terminal. 4 DP4005 Intellitronix (rev 1/11/2024) www.intellitronix.com...
- Page 5 The other wire (Low output) Ground at the Engine block. To find High and Low output wire color or pin location will need to be looked up by Vehicle vin or Model and year and consult your factory Pinout Chart. 5 DP4005 Intellitronix (rev 1/11/2024) www.intellitronix.com...
-
Page 6: Trip Distance
Speedometer - White (Intellitronix Speed Sender to replace factory cable drive) - Disconnect the mechanical speedometer cable from the transmission and insert the new electronic sensor into the transmission. This panel comes with a 3-wire sensor. Follow this wiring for the Intellitronix speedometer sending unit: White -Wire is the speed signal;... - Page 7 The odometer will continue to display the pulse reading for a few seconds. Once it reverts to the default mode, you have successfully calibrated your speedometer. 7 DP4005 Intellitronix (rev 1/11/2024) www.intellitronix.com...
Need help?
Do you have a question about the DP4005 and is the answer not in the manual?
Questions and answers