Sign In
Upload
Download
Table of Contents
Contents
Add to my manuals
Delete from my manuals
Share
URL of this page:
HTML Link:
Bookmark this page
Add
Manual will be automatically added to "My Manuals"
Print this page
×
Bookmark added
×
Added to my manuals
Manuals
Brands
TOHATSU Manuals
Outboard Motor
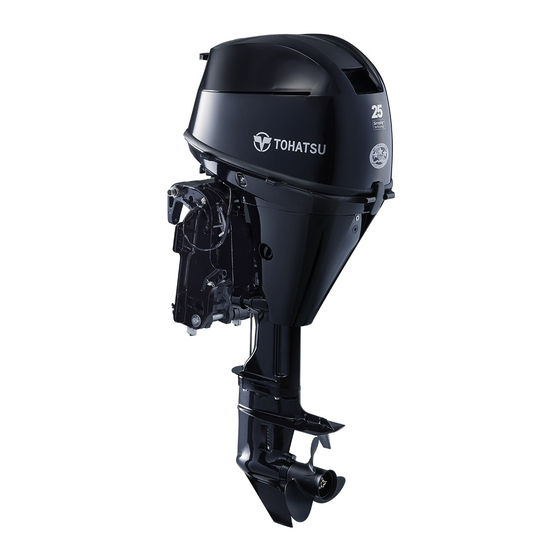
MFS 25d
Owner's manual
TOHATSU MFS 25D Owner's Manual
Hide thumbs
Also See for MFS 25D
:
Owner's manual
(348 pages)
,
Service manual
(413 pages)
1
2
3
4
5
6
Table Of Contents
7
8
9
10
11
12
13
14
15
16
17
18
19
20
21
22
23
24
25
26
27
28
29
30
31
32
33
34
35
36
37
38
39
40
41
42
43
44
45
46
47
48
49
50
51
52
53
54
55
56
57
58
59
60
61
62
63
64
65
66
67
68
69
70
71
72
73
74
75
76
77
78
79
80
81
82
83
84
85
86
87
88
89
90
91
92
93
94
95
96
97
98
99
100
101
102
page
of
102
Go
/
102
Contents
Table of Contents
Troubleshooting
Bookmarks
Table of Contents
Table of Contents
General Safety Information
Specifications
Parts Name
Label Locations
Installation
Mounting the Outboard Motor on Boat
Battery Installation
TOCS (Tohatsu Onboard Communication System) Installation
Pre-Operating Preparations
Fuel Handling
Fuel Filling
Engine Oil Filling
Break-In
Warning System
Engine Operation
Before Starting
Fuel Feeding
Starting the Engine
Warming up the Engine
Forward, Reverse, and Acceleration
Stopping the Engine
Steering
Trim Angle
Tilt up and Tilt down
Shallow Water Operation
Removing and Carrying the Outboard Motor
Removing the Outboard Motor
Carrying the Outboard Motor
Trailering
Adjustment
Steering Friction
Throttle Grip Friction
Remote Control Lever Friction
Trim Tab Adjustment
Multi-Function Tiller Handle Angle Adjustment
Inspection and Maintenance
Daily Inspection
Periodic Inspection
Off-Season Storage
Pre-Season Check
Submerged Outboard Motor
Cold Weather Precautions
Striking Underwater Object
Operation with Multiple Outboard Motors
Troubleshooting
Tool Kit and Spare Parts
Propeller Table
Emission Control System Information
Advertisement
Quick Links
1
Table of Contents
2
Specifications
3
Parts Name
4
Engine Oil Filling
Download this manual
O W N E R' S
M A N U A L
AAAA
MFS 25D
MFS 30D
OB No.003-11172-0BB1
Table of
Contents
Previous
Page
Next
Page
1
2
3
4
5
Advertisement
Table of Contents
Need help?
Do you have a question about the MFS 25D and is the answer not in the manual?
Ask a question
Questions and answers
Related Manuals for TOHATSU MFS 25D
Outboard Motor TOHATSU MFS 25D Service Manual
4 stroke (413 pages)
Outboard Motor TOHATSU MFS 20d Owner's Manual
(348 pages)
Outboard Motor TOHATSU MFS 2.5B Owner's Manual
(60 pages)
Outboard Motor TOHATSU MFS 30B Owner's Manual
Tohatsu outboards (72 pages)
Outboard Motor TOHATSU MFS 3.5B Owner's Manual
Tohatsu outboards (52 pages)
Outboard Motor Tohatsu MFS 25B Owner's Manual
(72 pages)
Outboard Motor TOHATSU MFS 25B Owner's Manual
(78 pages)
Outboard Motor TOHATSU MFS 25B Owner's Manual
(336 pages)
Outboard Motor TOHATSU MFS 2.5B Owner's Manual
(260 pages)
Outboard Motor TOHATSU MFS 25C Owner's Manual
(86 pages)
Outboard Motor TOHATSU MFS 25C Owner's Manual
(388 pages)
Outboard Motor TOHATSU MFS 25C Owner's Manual
(98 pages)
Outboard Motor TOHATSU MFS 3.5C Owner's Manual
(67 pages)
Outboard Motor TOHATSU MFS 25C Service Manual
4 stroke (320 pages)
Outboard Motor TOHATSU MFS 2.5 Owner's Manual
(45 pages)
Outboard Motor TOHATSU MFS25 Service Manual
(319 pages)
This manual is also suitable for:
Mfs 30d
Table of Contents
Save PDF
Print
Rename the bookmark
Delete bookmark?
Delete from my manuals?
Login
Sign In
OR
Sign in with Facebook
Sign in with Google
Upload manual
Upload from disk
Upload from URL


Need help?
Do you have a question about the MFS 25D and is the answer not in the manual?
Questions and answers