Table of Contents
Advertisement
Quick Links
Advertisement
Table of Contents

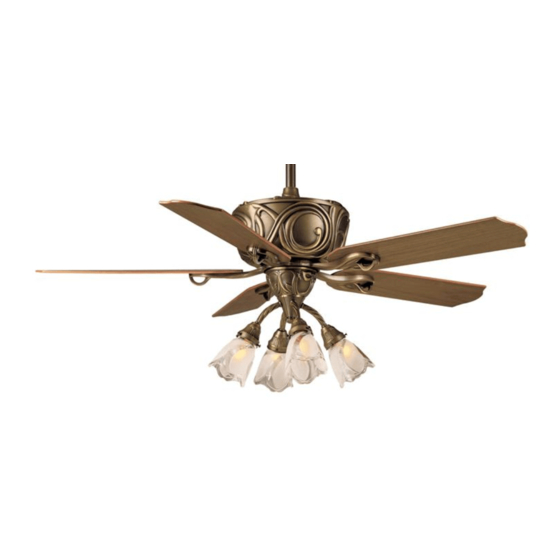
Summary of Contents for Casablanca Nouvelle
-
Page 2: Table Of Contents
• This fan is designed to be installed on an existing electrical outlet box. The outlet box must be UL Listed for ceiling fan installations, if it is not, a new box must be installed. Casablanca extension poles are available for sloped or high ceiling installations. -
Page 3: Mounting Recommendations
MOUNTING RECOMMENDATIONS Before mounting your Casablanca fan, read the following helpful recommendations. The location of the fan, air circulation, and fan size are all important factors to consider before installation. Location Ceiling fans have practical uses in almost every room in your home. We suggest you follow these mount- ing recommendations as you decide where to install your Casablanca fan. -
Page 4: Fan Installation - Getting Started
The fan carton contains the fan body, warranty card, owner's manual, and all the parts necessary (except blades) to assemble and install your Casablanca ceiling fan. These parts are shown at the start of each installation section. Before you start, go through this Owner’s Manual and confirm that you have all the... -
Page 5: Adaptor Plate Installation
OUVELLE ADAPTOR PLATE INSTALLATION Note: After removing the old fixture, check the outlet box to insure that it is supported by a joist or beam across its upper surface. If not, a 2" x 4" stud must be installed. Proceed with installation as follows: Step 1. -
Page 6: Fan Preparation 1
On sloped ceilings, align the canopy hatch opening toward the top or peak of the room. Your Casablanca fan may be installed on a vaulted or cathedral ceiling in the same man- ner as described for a flat ceiling. -
Page 7: Installation & Wiring
OUVELLE DOWNROD & MOTOR COVER INSTALLATION Preparation Step B. Route the black and white wires from the motor through the downrod and ball assembly. Make certain that you do not scrape the insulation. Preparation Step C. Using the provided allen wrench, unscrew the allen set screw until it clears the inside of the motor coupling. -
Page 8: Canopy Electrical Connections
CANOPY ELECTRICAL CONNECTIONS Step 6. Connect the fan wires to the outlet box wiring by placing the bare ends of the wires to- gether and then securing with a wire nut. Connect in this order: • GREEN leads from mounting plate and fan to GROUND conductor of power source. - Page 9 Tighten securely by hand only. 4/5 Blade Combination Flywheel Your Casablanca fan includes our 4/5 combination fly- wheel. This flywheel accommodates your preference to use either 4 or 5 blades on your fan. If you desire a 4- blade fan, locate the square counterbores on the fly- wheel and use these threaded holes to mount the blades.
-
Page 10: Light Fixture Installation
LIGHT FIXTURE ELECTRICAL CONNECTIONS IF NOT INSTALLING LIGHT FIXTURE SKIP TO STEP 19 CHECK THAT THESE LOCKNUTS AND THE ASSEMBLY NUT ARE VERY TIGHT TIGHTEN WITH A WRENCH IF REQUIRED CAUTION: Before installing light fixture check that the light fixture is securely tightened to the lower switch housing. -
Page 11: No Light Fixture Option
OUVELLE LIGHT SHADE & BULB HARDWARE FINGER SCREW (3 PER SHADE) LIGHT SHADE & BULB INSTALLATION Step 16. Install three finger screws into each light fitter. Turn only once or twice. Step 17. Position the shade fully in the fitter and tighten each finger screw two turns each in rotation until the shade is centered in the fit-... - Page 12 NO LIGHT FIXTURE OPTION - HARDWARE NO LIGHT FIXTURE OPTION - HARDWARE ASSEMBLY Step 20. Line up the center holes of the cap and lower switch housing to allow the threaded button to be installed. Hand tighten securely NO LIGHT FIXTURE OPTION - INSTALLATION HARDWARE NO LIGHT FIXTURE OPTION - INSTALLATION Step 21.
-
Page 13: Inteli•Touch Control Operation
For this reason the following precautions must be observed: 1. Use only the Casablanca W-32 wall control. 2. Do not use any additional control with your Inteli-Touch fan (for example, dimmer, fan speed control, etc.). -
Page 14: Automatic Demonstration Program
INTELI•TOUCH OPERATION button is normally left in the on position. Always turn the power off during cleaning or servicing the fan and during thunderstorms. It is also used to exit or enter additional programs. POWER must be left on to retain a previously set fan speed or light level. INTELI•TOUCH OPERATION There are six individual speed settings for the fan;... - Page 15 INTELI•TOUCH OPERATION The Light-Minder program automatically turns OFF the fan mounted lights after two hours. To enter the Light-Minder Program: 1. Turn the OFF for at least three seconds. 2. Turn the 3. Immediately operate the buttons in the following sequence: 4.
-
Page 16: Troubleshooting
MITTENT: Check AC supply for irregularities, (noise spikes, fluctuations, or failure); or circuit board assembly. TROUBLESHOOTING Never Lubricate this Fan! The precision motor at the heart of your Casablanca fan features sealed bearings that are lubricated for life. Do not attempt to oil the motor. - Page 17 761 CORPORATE CENTER DRIVE • POMONA, CA 91768 TOLL FREE: 888-CASA-1ST (227-2178) www.CasablancaFanCo.com ©COPYRIGHT 2000 CASABLANCA FAN COMPANY • U.S. PATENT PENDING PRINTED IN ROC...


